Introduction
- This guide gives an overview of the OEE site and covers the basics needed to setup OEE data calculations.
Overview of the OEE site
The OEE site is divided into 3 components: A top-menu, a side-menu and the content page.
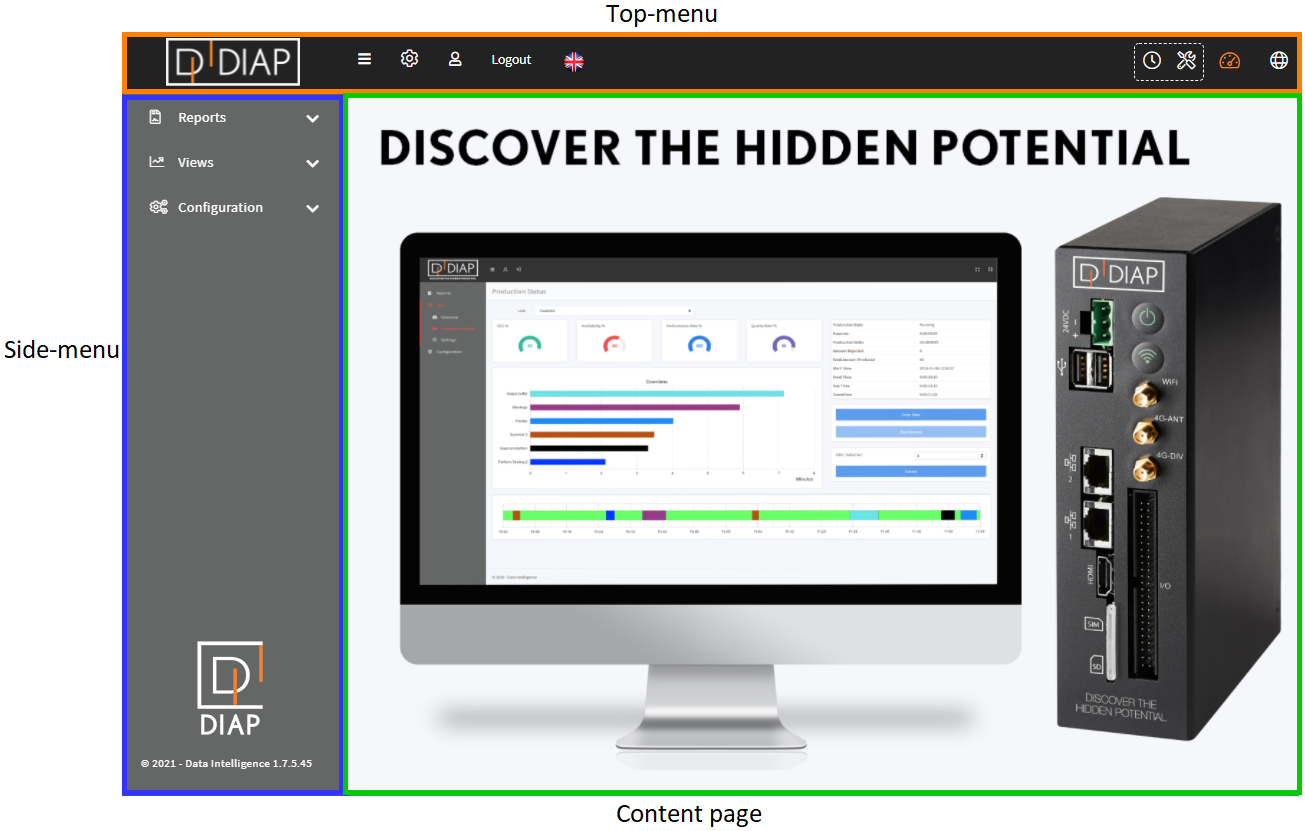
Top-menu
The top-menu consists of collapsing the side-menu.

Managing one's user account.

Log out.

Language selection.

Accessing other parts of one's license.
DIAP-live.

OEE (This site).

Remote Access.

Side-menu
The side-menu consists of Reports.
Reports are sites containing functions for reviewing past OEE data.
Views.
Views are sites for viewing live data and handling stops, orders and rejects.
Configuration.

Configuration are sites for configuration units, data sources, shifts, stops and products.
Content page
Content page is where you view the content of the different sites.
Company settings
In site settings you can define the ideal cycle type and enable the use of user defined operators.
Go to the site settings site.

The first setting is used to define the ideal cycle type:
- seconds per. pcs
- psc. per hour
- pcs. per minute

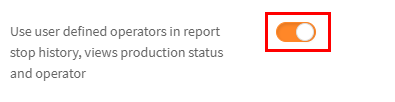
The next setting is to enable the use of "user defined operators" in report stop and on orders.
The next setting is to enable the use of "default next order number" in Production status and Operator on order change.

Remember to save any changes made by clicking the save button.

Setup unit
A unit is a representation of your production equipment. It can represent a whole production line or component on the production line. It is an encapsulation of what you wish to monitor OEE data on.
Go to the Units site.

Here, there are some basic settings, which you should always set for the unit.
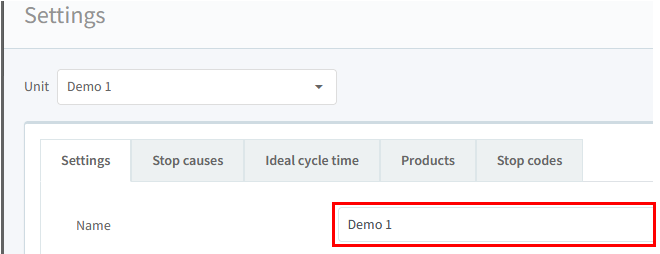
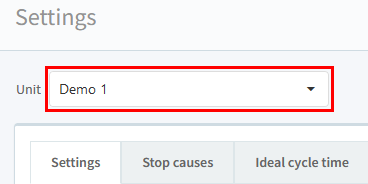
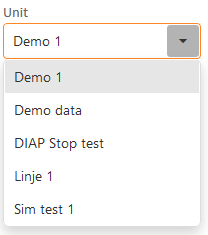
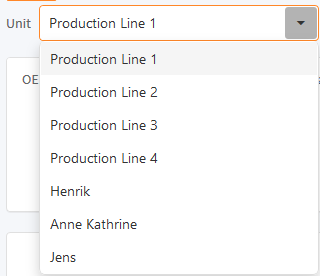
First, select the unit you wish to setup for OEE.

Next, give it a meaningful name for what it represents.
Now, set the timezone to the one that the unit is located in. This setting is very important, as it affects what is requested in Reports and the timestamps shown in Views.

The next setting is timeline duration. It sets how many minutes the timelines in the
Views->Overview site should span backwards from the current time.

The OEE Target specifies a percentage you want this unit to have a as a target.

You can read more about how to use the OEE Target in the How to make use of "OEE target" FAQ.
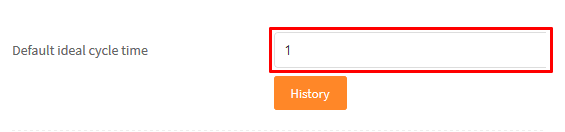
The default ideal cycle time is a default that is used to calculate performance for the unit, when no information about the product's ideal cycle time is available.
The ideal cycle time is how many seconds that pass between 2 products being produced under ideal conditions.

The default unit of measurement is a default that is used to represent the unit for the produced products, when no information about the product's unit of measurement is available. It is also used in live production graphs. This is found in the Views->Production speed site.

The OEE Calculation Type is used to tell which type of production data is measured on the unit. This includes total and good, total and bad or good and bad. This affects how the relation between total and good and bad is calculated on produced products in the Reports and Views.

Show Split stop button enables a button used to split current stop on a unit.

After enabling the split stop button, select the event servers that should split their current stop when you click the split stop button (If you are unsure, then just select them all).

You can read more about how to use split stop in the How to split current stops on a unit guide.
The rejects registered by sets include rejects registered by a signal or a User. If signal is selected, then you can setup the source for the signal in the Configuration->Data source site. If User is selected, then your controls are available in the Views->Production status site for registering rejects.

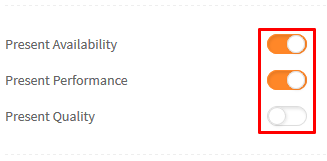
The Present Availability, Performance and Quality are set if their aspect should be included in the OEE calculations for the Reports and Views sites.
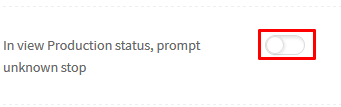
The view production status, prompt unknown stop can be set if a pop-up should be shown when a stop need a stop cause in the Production status.
After you have setup your unit, click Save to save its settings.
Now you have setup the basic settings for your unit.
Availability Setup
To measure the availability aspect on a unit, there are a few things that must be setup.
Creating stop reasons
Go to the Stop causes site.

Here, you can create the stop reason that you will use to categorize the stops that happen on your unit. A stop cause is a representation of a stop. To create a stop cause, click the "+" button.

A form is shown for creating a stop reason. Give it a name.

And give a description for the stop cause.

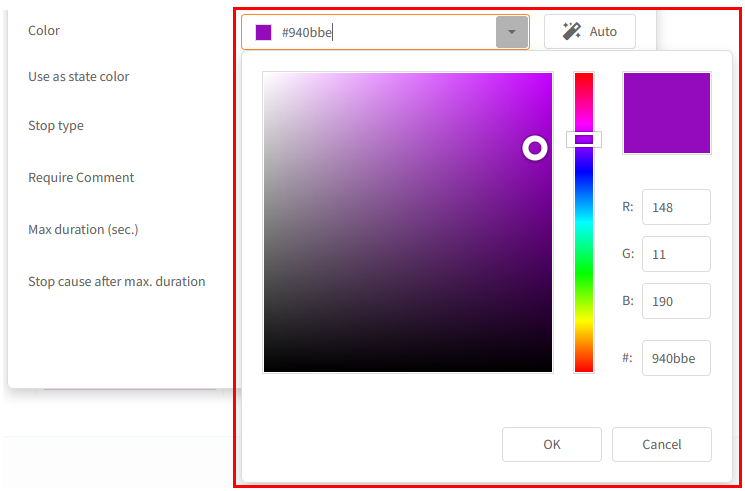
Select a color representing the stop reason, for when it is shown in graphs and timelines.
Set whether the stop's color should be used in the unit state color or not:

The unit state color is used several view like Shifts->Overview:

The default state colors are:
Green: Running

Gray: Scheduled Loss

Yellow: Info Stop

Red: Planned stop, Unplanned stop
You can read more about unit state color here: How to see a unit's current state
Select a StopType for the stop reason.

These are the following StopTypes:
- Scheduled Loss: This type represents a unit that is not scheduled for production (Shutdown, no orders, breaks and lunches). A stop of this type will be excluded from the OEE calculations.
- Planned Stop: This type represents a unit that is scheduled for production and is not running because of a planned event such as a changeover, setup or make-ready event. Planned stops affect the availability of the OEE calculations.
- Unplanned Stop: This type represents a unit that is scheduled for production and is not running because of a unplanned event such as a equipment failure or material shortage. Unplanned stops affect the availability of the OEE calculations.
- Info Stop: This type represent a unit that is scheduled for production and running but not production because of an outside cause like the unit hasn't received the necessary materials. Info stop affects the performance of the OEE calculations.
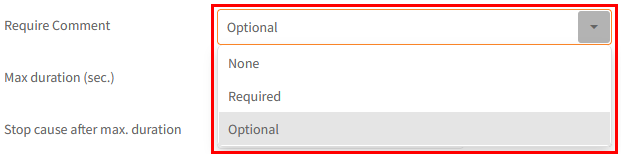
Comments are either not used, required or optional.
Set Max duration to 0 seconds:

Max duration is used when one categorize a stop into a stop cause, it sets the maximum allowed duration for a stop, when it is categorized into a stop cause, if the stop is longer than max duration, then the stop is split into 2 stops. You can read more about max duration here: How to set max duration on stops
Click Update, to create the Stop cause.


Repeat this process, until all your stop causes are created. You can organize your stop causes in a tree structure by dragging and dropping them in the table. You can see a more detailed description of this in How to use stop reason tree structure
Assign stop reasons to a unit
In order for your unit to use the stop reasons that you have created, you need to assign them to the unit.
Go to the "Units" menu.
Select the unit.

Click the "Stop causes" tab.

Click the stop reasons that should be used with the unit.
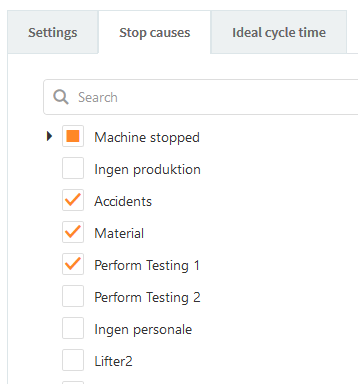
Now, the selected stop reasons are ready to be used.
Defining shifts and available time
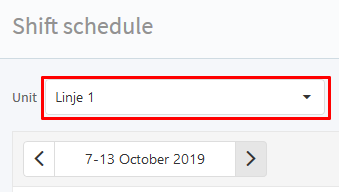
Next, you need to setup when a unit is planned for production. This is done with the shift schedule. Go to the "Shift schedule" menu.

Select the unit.
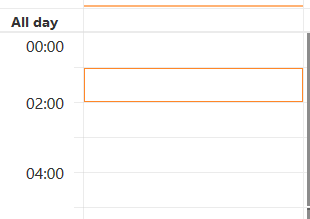
Double click the hour, where you wish to create a shift.
A Schedule Details pop-up will be shown.
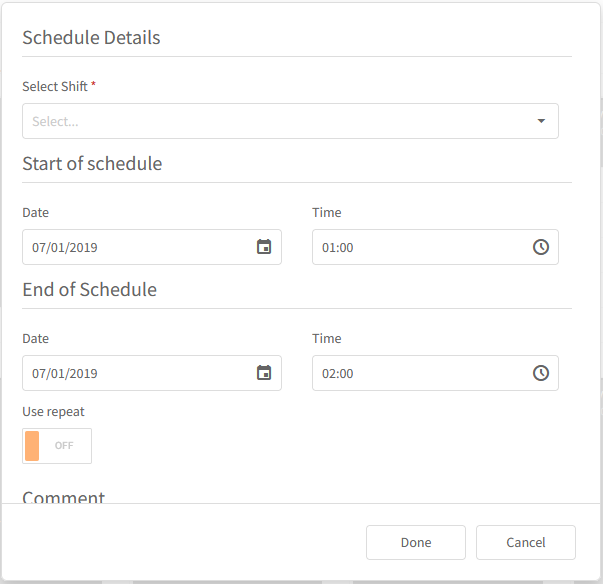
Provide the following:
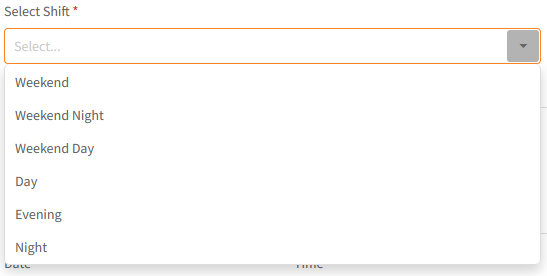
Select Shift.
Select the shift type that best describes the shift you are about to create.
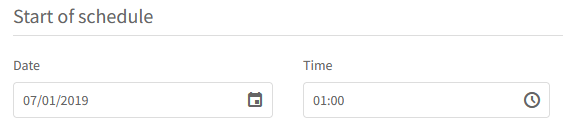
Start of schedule.
Select the start date and time of the shift (If it is not already correct, based on the date and time you double-clicked).
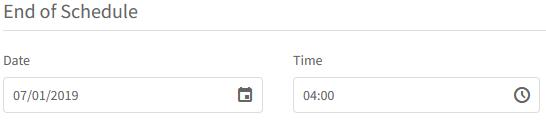
End of Schedule.
Select the end date and time of the shift.
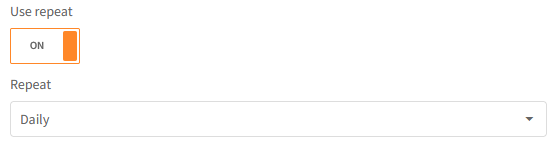
Use repeat.
Select the recurrence for the shift.
Click the "OK" to create the shift.
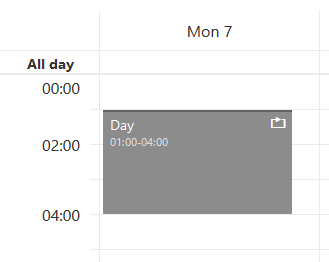
Now your shift is created and the unit is scheduled for production in that period. The periods that are not included in the shift will be excluded from the OEE calculation on Reports and Views. You can see more details about the shift schedule in How to use Shift schedule.
Availability sum up
You have created stop reasons for categorizing the stops that will occur and you have planned when the unit is planned for production.
Performance setup
To measure the performance aspect on a unit, there are some things that need to be setup first.
Product type (optional)
The products that you can create can be categorized into product types. This can help you filter all the products that you have in the system.
Go to "Product types" menu.

To create a product type click the "+" button.

A new row is added to the table with empty fields.

Provide the following:
Give a name to the product type.

Give a description of the product type.

Click the Save button to the right of the row:

Your product type is now created.
Defining products
Go to the "Product" menu.

Here, you can create the products that your unit is producing.
To create a product, click the "+" button.

A new row is added to the table with empty fields.
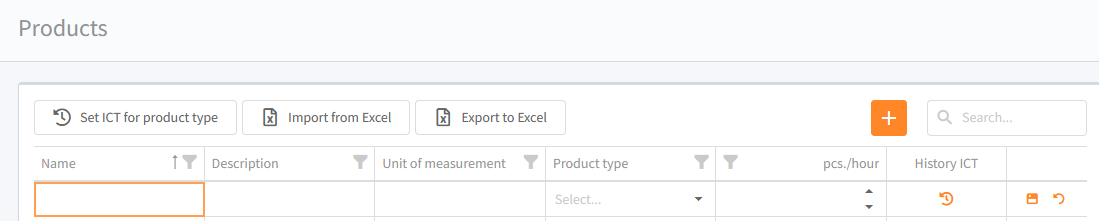
Provide the following:
Give a name to the product. This is the only required field.
Give a description of the product.
Give the unit of measurement. This unit measures the production amount of the product.
You can now click the Save button to the right of the row and the product is created, but there is some other optional information that you can add to the product. This optional information includes product type and ideal cycle time.

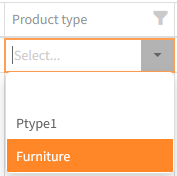
If you have created a product type as shown in Product type (optional), then you can select it as a product type used by your product.
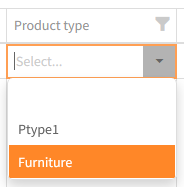
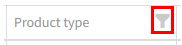
You can filter products by product type, by clicking the filter icon to the right of the Product type header.
The last information needed for a given product is the ideal cycle time. This is the general ideal cycle time for the product and is provided in the unit previously configured in the company settings.
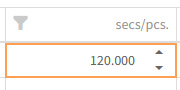
See Defining ideal cycle times (Unit, product, unit product) for more information about the ideal cycle time.
Defining ideal cycle times (Unit, product, unit product)
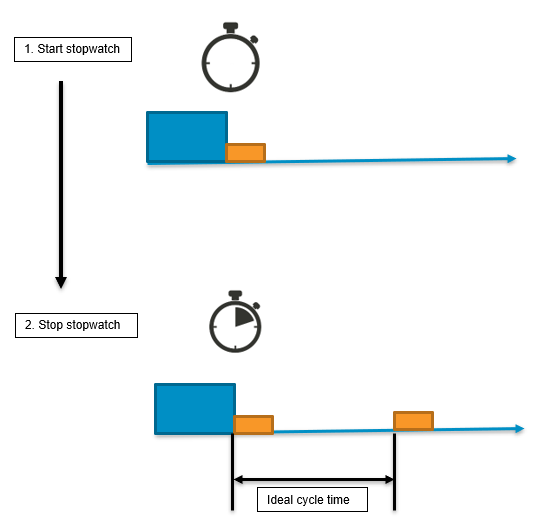
The ideal cycle time is the time that goes between 2 products being produced under ideal conditions. You can measure your ideal cycle time by taking a stopwatch, start it when the first product comes out of the production line and stop it, when the second product comes out of your production line.
There are the following types of ideal cycle times:
- Unit-Product: This is the ideal cycle time when a unit has a different ideal cycle time than the rest of the units of a specific product. For example: Line 1 is better (or worse) at producing car 1, than the rest of the lines. This type should be used when there is a specific ideal cycle time between a unit and a product.
- Product: This is the ideal cycle time when a product generally has an ideal cycle time. For example: Car 2 has a ideal cycle time of 86400 seconds (1 day) regardless of which unit it is produced in. This type should be used when a product as a specific ideal cycle time that is generally true.
- Unit: This is the ideal cycle time when a unit generally has an ideal cycle time. For example: Line 2 produces with an ideal cycle time of 86400 seconds (1 day) regardless of which product it is producing. This type should be used when you don't have one of the others, as it is used as a contingency.
- No ideal cycle time available: This is a system case, when none of the other types are available. Its ideal cycle time is 0.01 seconds. It is designed to give you a very poor performance, so you can see, that something is wrong and that you are missing an ideal cycle time configuration. This is a safe guard and shouldn't happen.
Priority of the ideal cycle time
When OEE is calculated, the following priority is used to select which ideal cycle time type should be used:
- Unit-Product
- Product
- Unit
- No ideal cycle time available
Define Unit-Product ideal cycle time (Optional).
Define ideal cycle time when you have a specific ideal cycle time between a unit and a product.
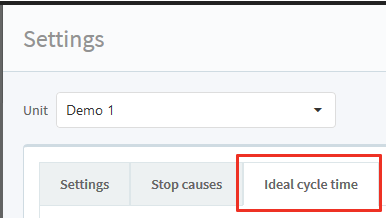
Go to the "Units" menu.
Select the unit.

Click the Ideal cycle time tab.
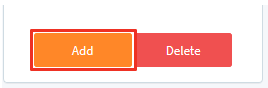
Click Add product.
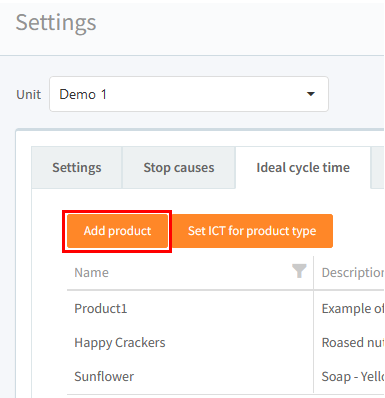
Select your product.

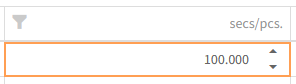
Given the ideal cycle time in seconds.

Click Add.

Click Close.
Now, your unit will use this ideal cycle time when it is producing the product that you have selected.
Define Product ideal cycle time(Optional).
Define this ideal cycle time when you a have product with a specific ideal cycle time that is generally true.
You have already seen how this is done for a new product in Defining products, but if you want to add or update an ideal cycle time for an existing product. Go to the "Product" menu.

Click the Edit button to the right of the product that you wish to add or change the ideal cycle time for.

Now give the ideal cycle time in seconds.
Click the Save button.

Define unit ideal cycle time.
This ideal cycle time is the default ideal cycle time for the unit, as it is used as a contingency. It is used when you have not provided an ideal cycle time of the previous two types. You should always have one defined for each of your units. It was shown in Setup unit, how to setup one for a unit.
To define an ideal cycle time for a unit, go to the "Unit" menu.
Select your unit.
Give an ideal cycle time in seconds for the unit.
Click the Save button.
Performance sum up
You have a created and defined a product and you have setup the ideal cycle time.
Quality setup
To measure the quality aspect on a unit there is one setting that you need to setup first.
Defining OEE calculation type
The OEE Calculation Type is used to tell which type of production data is measured on the unit.
- Total and good: Use this type, when you are measuring total production and good production.
- Total and bad: Use this type, when you are measuring total production and bad production.
- Good and bad: Use this type, when you are measuring good production and bad production.
This affects how the relation between total and good and bad is calculated on produced products in the Reports and Views. For example, if you have selected Total and good as the unit's OEE calculation type, then the bad is calculated by the difference between total and good. If you have selected Total and bad as the unit's OEE calculation type, then the good is calculated by the difference between total and bad. If you have selected Good and bad, then total is the sum of good and bad. It was shown in Setup unit, how to setup OEE calculation type for a unit.
Go to "Units" menu.
Select the unit.


Setup data collection
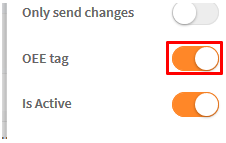
Collection for a unit can be done from the DIAP's tags that are marked as OEE tag.
See Configuration of sensors (I/O) for how to configure sensors and see Configuration of tags (PLC) for how to configure PLCs.
Data source
After you have marked the necessary tags, you have to setup data sources. Go to "Data source" menu.

Select the unit.
Now add a data source by clicking the Add button.
There are several data sources available for collecting data for a unit. You can see more about them here: OEE Application - Configuration.
The following sections are examples of collecting different types of data for your unit.
Stop data collection example
Stop code
This is an example of how to collect stop code for your unit, when your DIAP tag contains the state of your unit.
Select Stop Code.
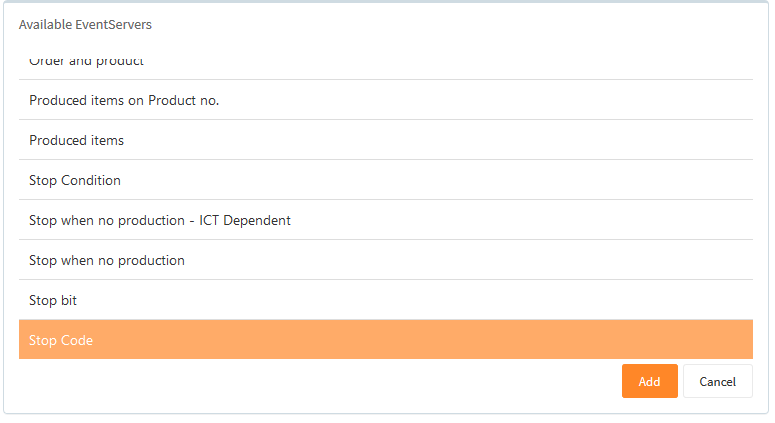
And click the Add button.

Give a name for the datasource.

Select how long a small stop can last in seconds. A stop is considered a small stop when it hasn't lasted longer than this period of time.

Select small stop reason. This is the stop reason for the small stops. Start by clicking the Change button.

Select the stop reason.
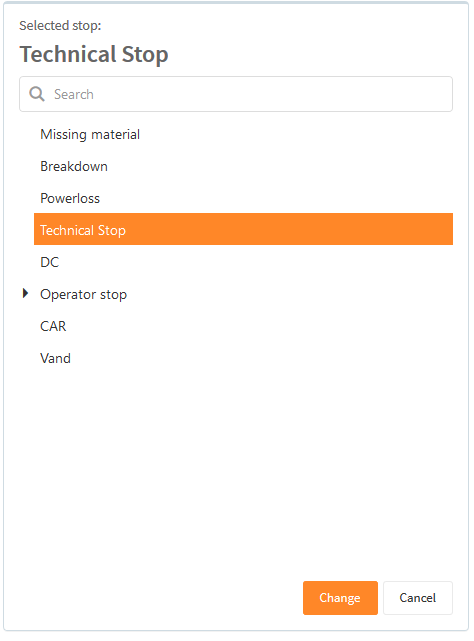
Click the Change button.
Registration type is set as default to Start a new stop. This will create a new stop for each stop code coming after each other. You can see more about this here: Setup registration of stop code.

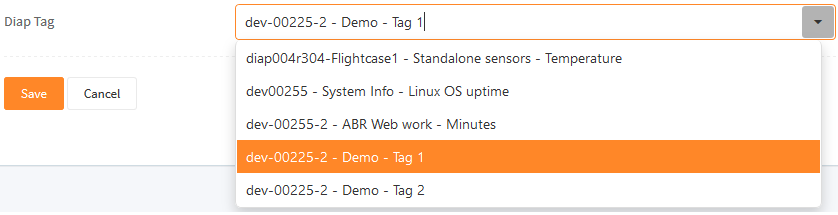
Select the DIAP Tag, where the data is coming from.
Click the Save button.

Production data collection examples
Good produced items
Select Produced items.
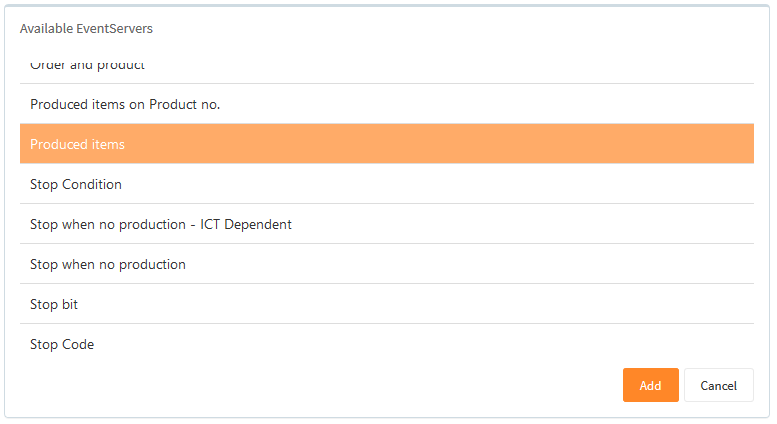
And click the Add button.

Give a name for the datasource.

Select the DIAP Tag, where the good produced item data is coming from.

Select Good as the registration type. This marks the produced items as good produced items.

Reset value is default set to 0. This is the value, that the configuration should expect, when the DIAP tag is reset.

Click the Save button.

Bad produced items
Select Produced items.

And click the Add button.

Give a name for the datasource.

Select the DIAP Tag, where the bad produced item data is coming from.

Select Bad as the registration type. This marks the produced items as bad produced items.

Reset value is default set to 0. This is the value, that the configuration should expect, when the DIAP tag is reset.

Click the Save button.

Order data collection example
Orders and products
Select Order and product.
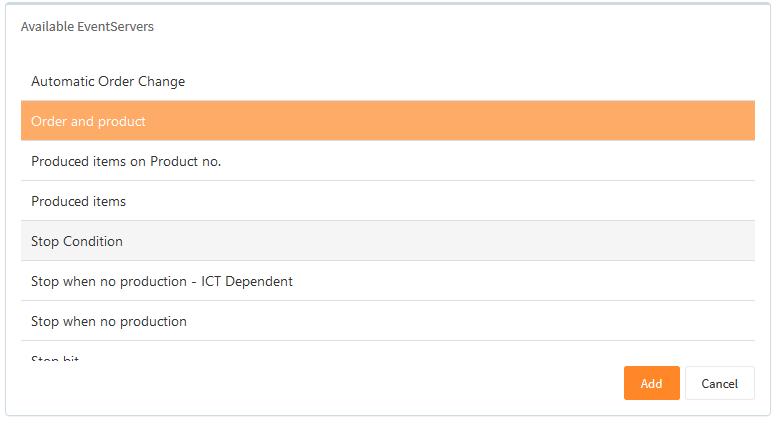
And click the Add button.

Give a name for the datasource.

Select the Order DIAP Tag. This is where the order data is coming from.
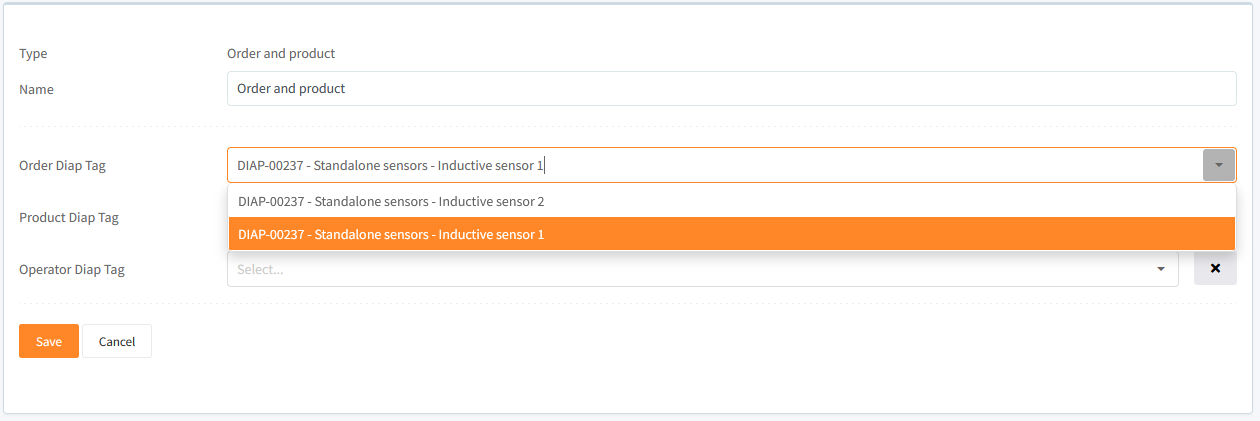
Select the Product DIAP Tag. This is where the product data is coming from.
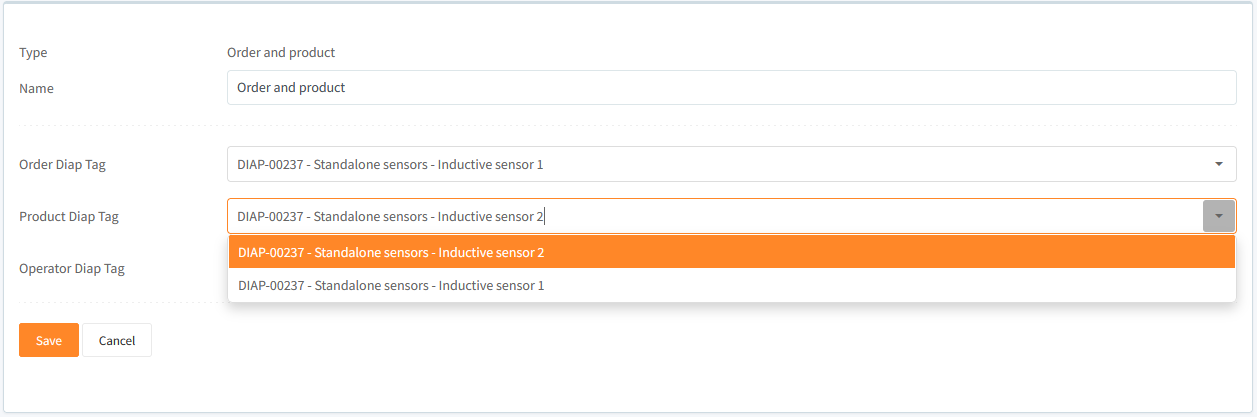
Click the Save button.
Start data collection
After you have setup the units data sources, you can start collecting data.
Go to "Data source status" menu.

Select your unit.
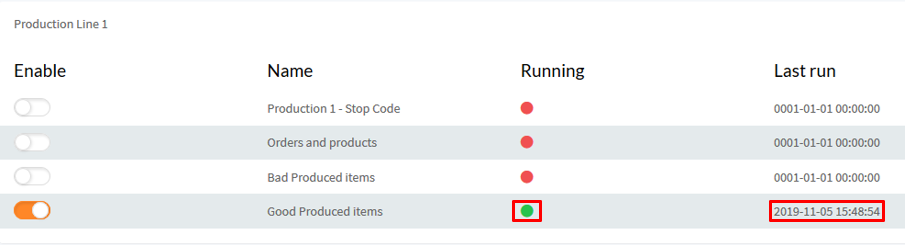
To start data collecting, click the switches for your units data sources.
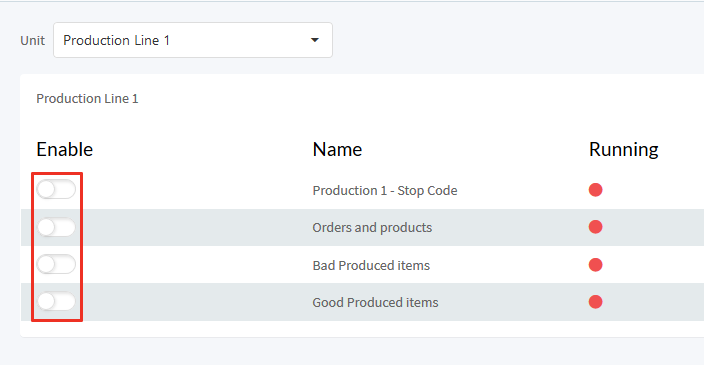
You can see that a data source is collecting data by the green circle and the last run timestamp is changing value.
Start an Order
If you haven't setup a data source for collecting orders and products as shown in Orders and products, you need to start your orders manually for your unit. Go to the "Production status" menu.

Select your unit.
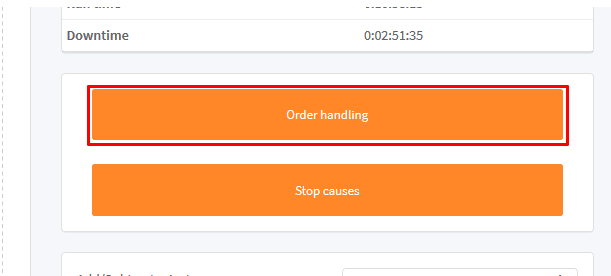
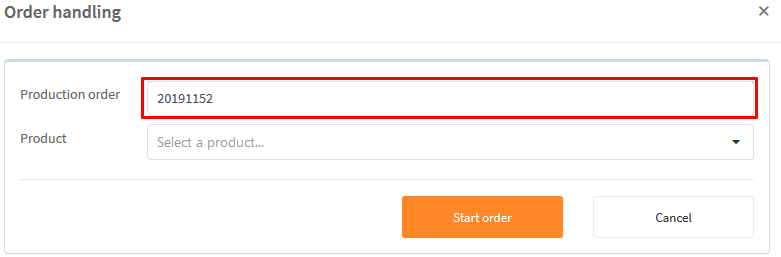
Click the Order handling button.
Given the Production Order.
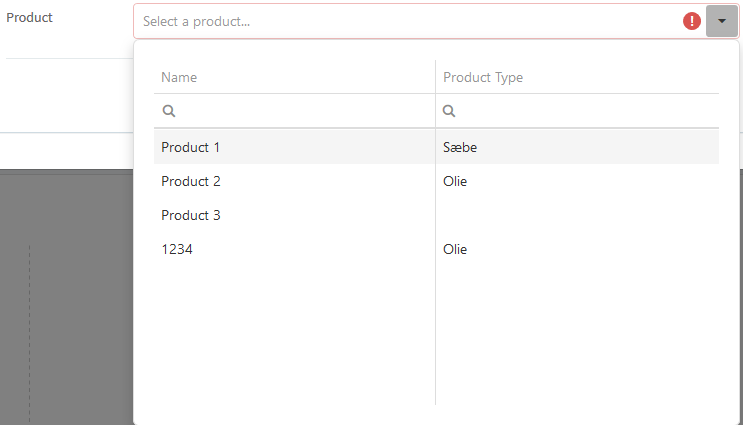
Select the Product.
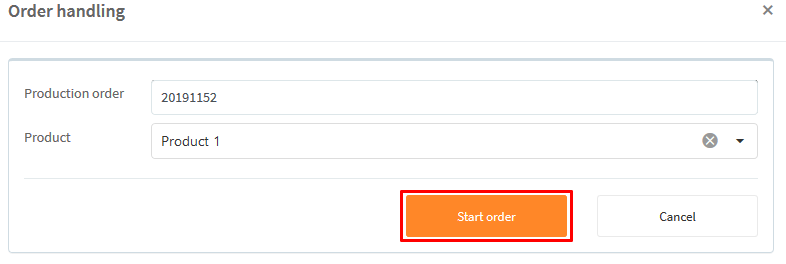
Click the Start order button.
Getting started sum up
You have learned the following in this guide:
- Setup a unit
- Availability
- Creating stop reasons
- Assigning stop reasons to a unit
- Planning production for a unit with shifts
- Performance
- Creating products
- Defining ideal cycle times for unit, product and unit product
- Quality
- Defining OEE calculation type
- Creating data sources
- Start data source to collect data
- Start an order with a product manually