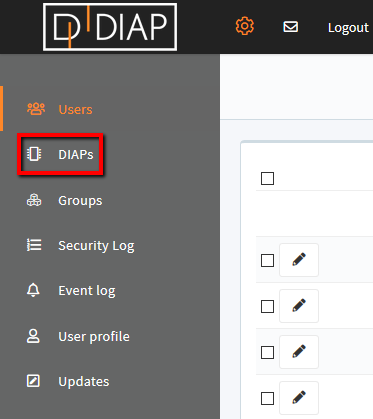
Click the 'Cogwheel' in the top left menu.
Select 'DIAPs' in the menu.
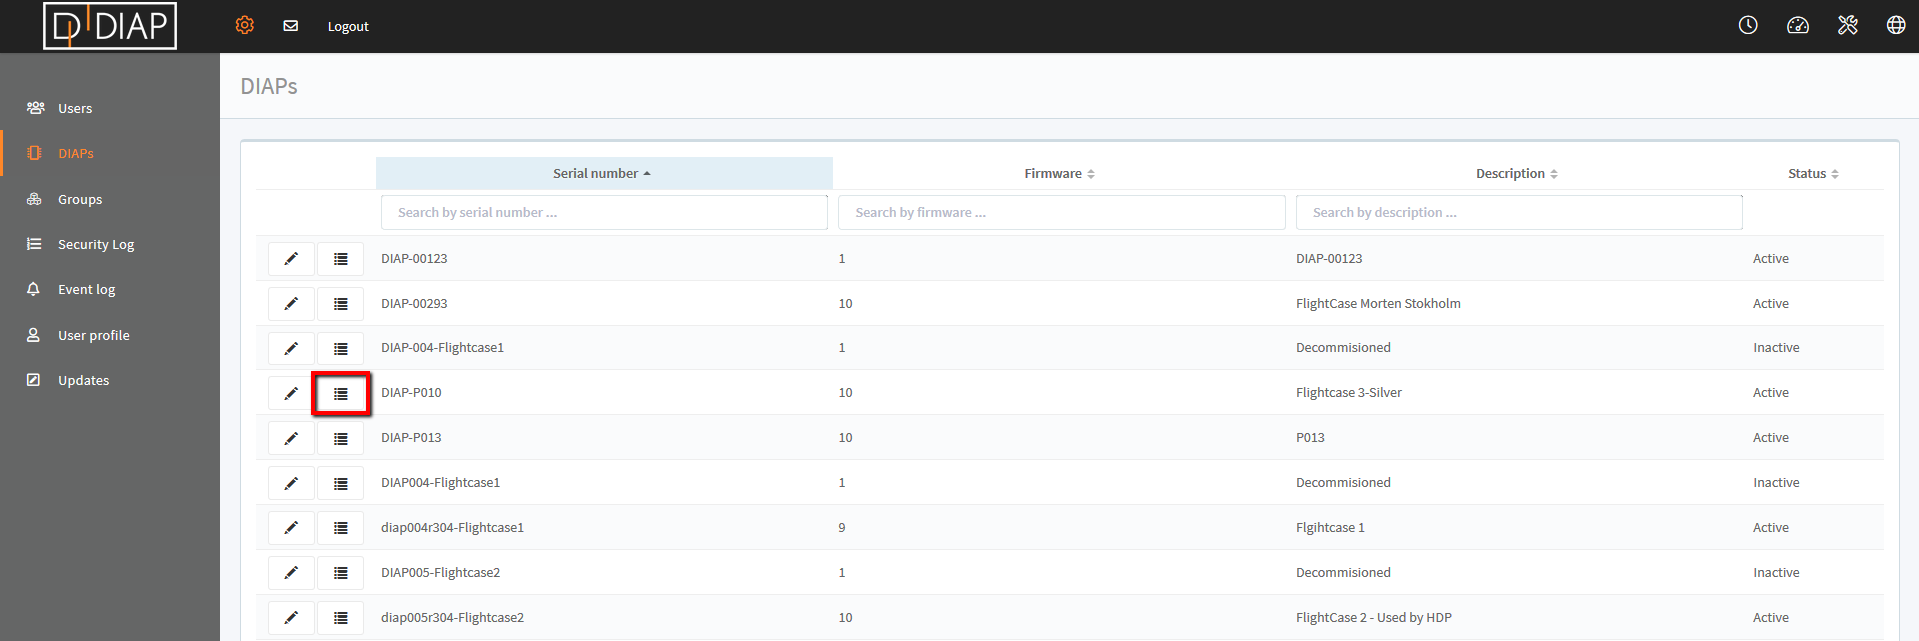
Find and select the DIAP for which you want to add/edit a PLC - click the icon 
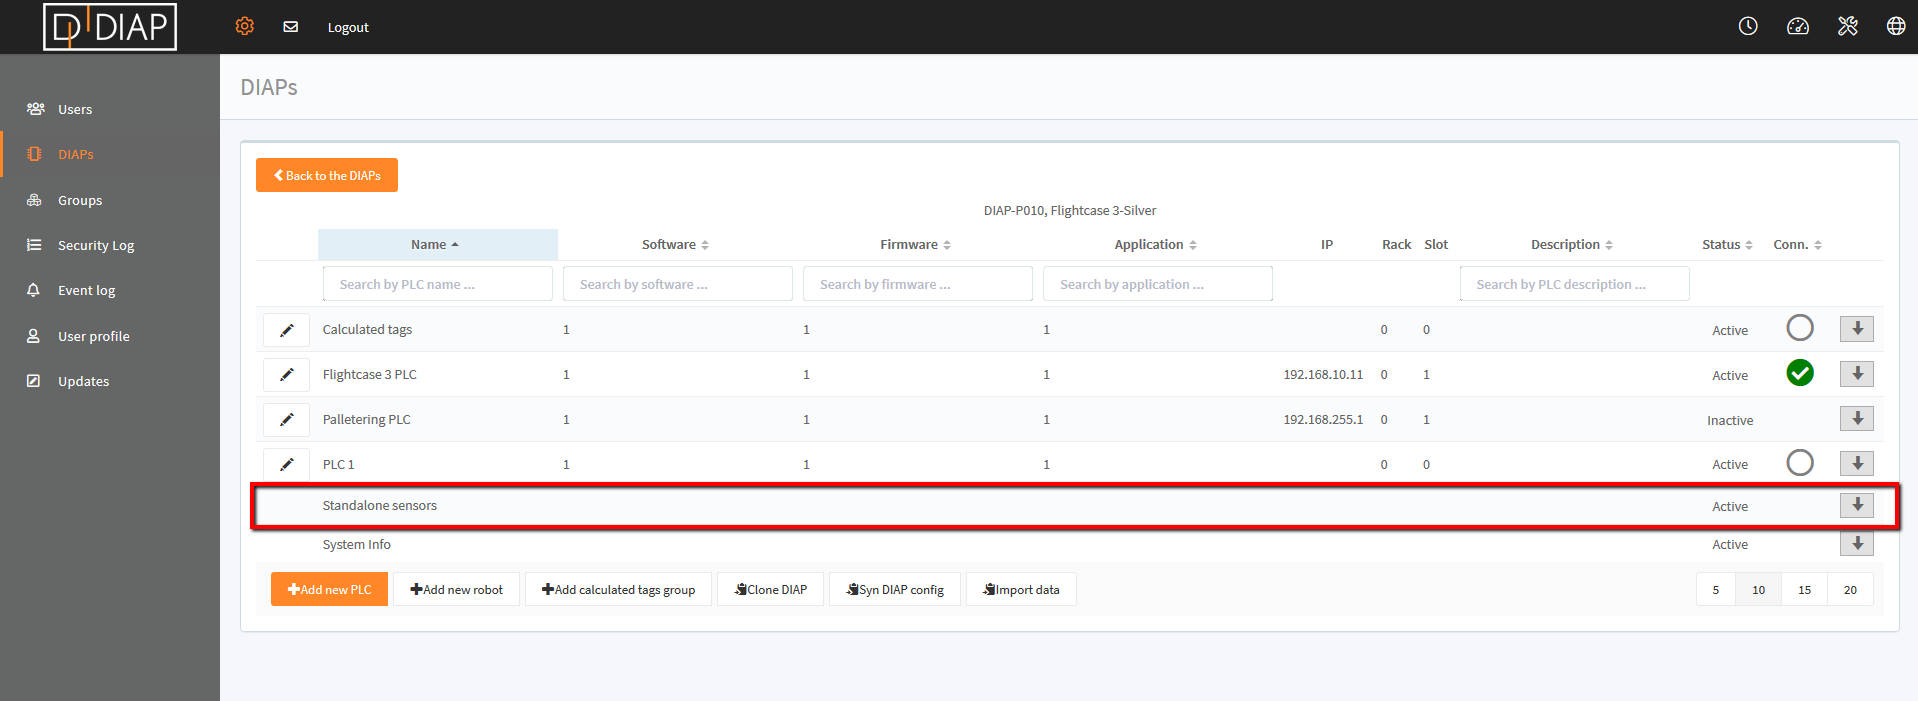
Expand the 'Standalone sensors' tab.
Click the button 'Add new sensor'.
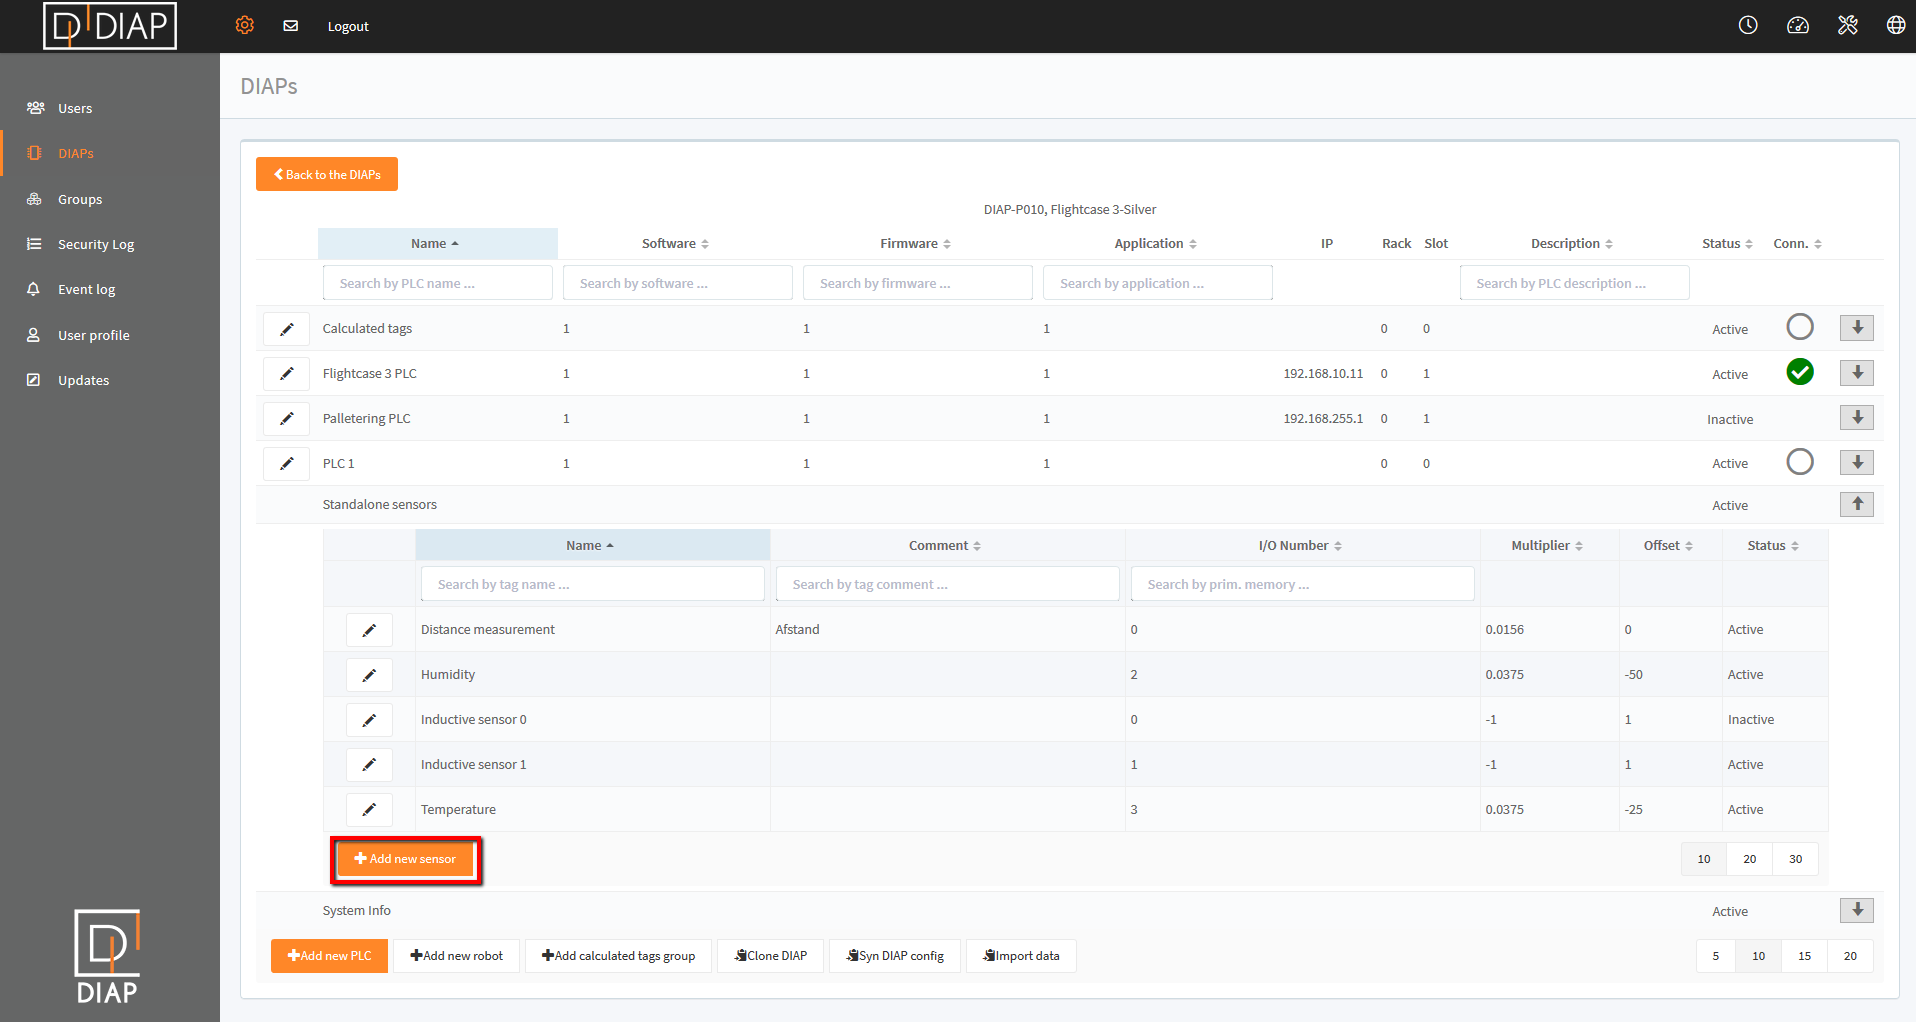
A pop-up will appear. Fill in the required information.
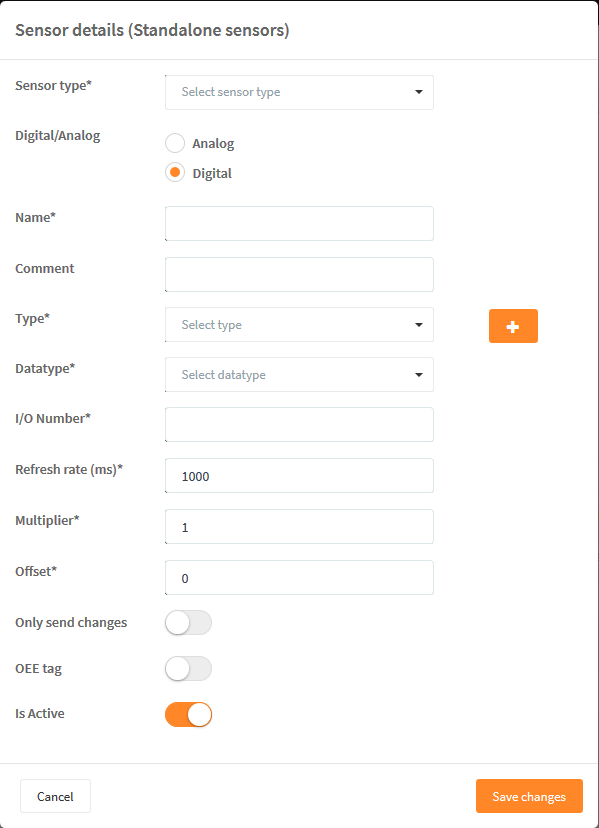
Field explanation:
- Sensor Type: Select sensor information (what type of data is collected). E.g. voltage, temperature, acceleration etc.
- Digital/Analog: Select whether the sensor is digital or analog. Selecting analog will remove the field 'Datatype'.
- Name: Enter a name for the sensor.
- Comment: Enter a comment for the sensor. The text entered here will only be displayed in the column 'Comment' in the table.
- Type: Select sensor type. You can create a new type using the plus sign (+). This is a sensor category.
- Datatype (the field is only shown if digital sensor is selected in step 2): Select if the sensor is a binary tag.
- I/O Number: Enter the I/O port used in the DIAP breakout box. Please find an overview of I/O connections at the bottom of this page.
For example: If you use I/O 32, the analog I/O number = 0.
Digital I/O numbers range from 0 - 7
Analog I/O numbers range from 0 - 3 - Refresh rate (ms): Define the frequency of data collection from the sensor.
- Multiplier: You have the option of entering a multiplier to get the correct value from the sensor.
- Offset: You have the option of entering an offset to get the correct value from the sensor.
- Only send changes: When enabled, the sensor will only send new data when the value changes. When disabled, data will be collected each 1000 ms (if 1000 ms is entered in Refresh rate).
- OEE tag: When enabled, the sensor can be used for OEE configuration. Always enable the toggle if you wish to use the tag for OEE measurings.
- Is Active: When enabled, the sensor is active and will appear. When disabled, the sensor will be hidden.
Relation to convert to 4-20 mA in the software
Multiplier has to be set to 0.006 on analog signals.
Please see an example:
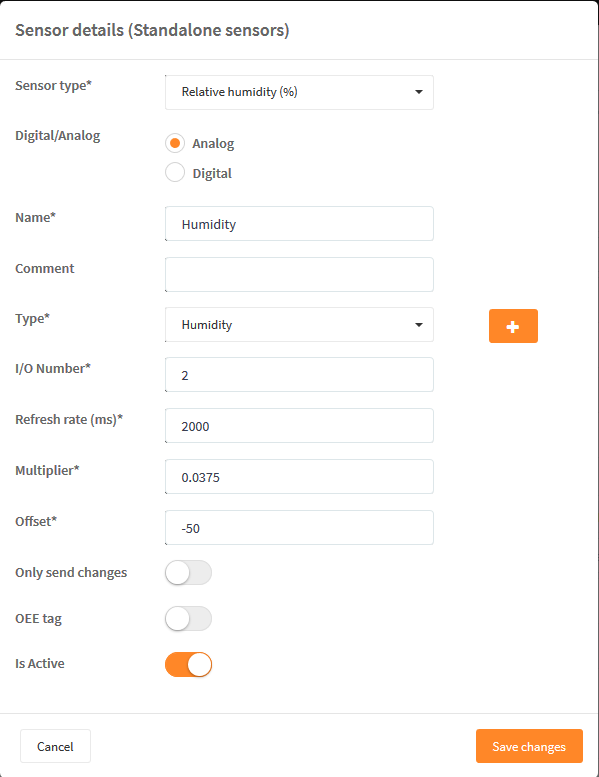
Remember to 'Save changes' when finished.
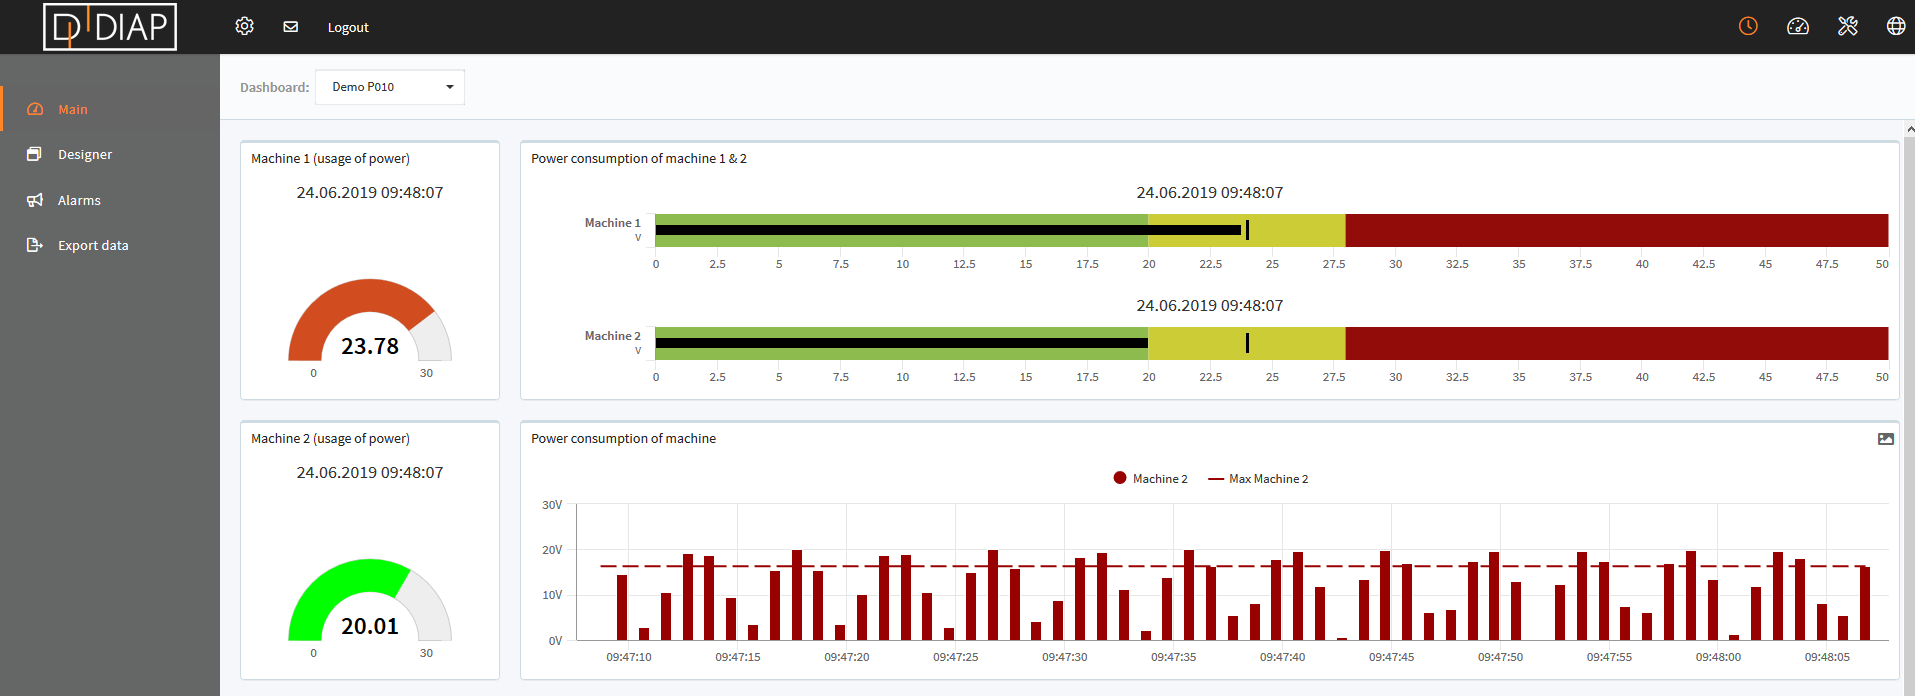
DIAP will now collect data from the sensor.
I/O Connections:

Remember power for the I/O break-out box (L+ / L-)