Introduction
- This guide describes how you can manage your unit with the Production status view and see detailed inform about its production status.
Production status
This is view is meant for management of units, like categorizing stops, changing orders or starting breaks and also have detailed information about unit's status, active order and production.
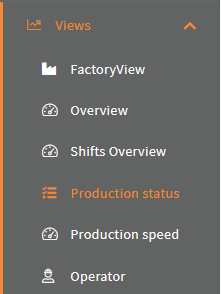
Go to Views -> Production status:
Production status site
The production status view has the following parts:
- Configure button
- Unit selection
- User defined operator
- OEE numbers
- Production information
- Stop information
- Timeline
- Order handling
- Split stop
- Break button
- Categorize stop
- Add rejects
Configure button
This button is for opening the configuration of the operator site.

See Configure site
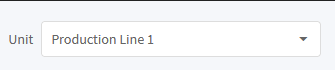
Unit selection
This is where you select the unit, that should be managed.
User defined operator
This is the control for using an user defined operator.
This is used for binding operators to stops.

See How to use user defined operators.
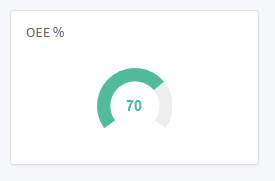
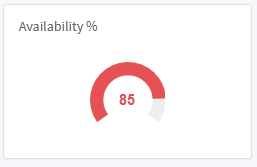
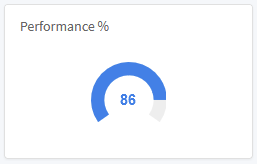
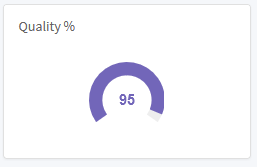
OEE numbers
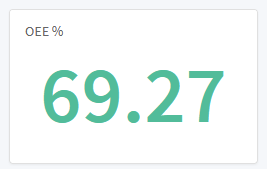
- OEE: The OEE percentage number.
- Availability: The availability percentage number.
- Performance: The performance percentage number.
- Quality: The quality performance percentage number.
Production information
This shows detailed information about the unit's production.
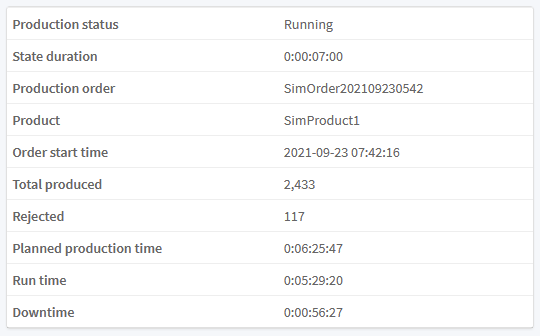
- Production status: The active state of the unit. If the unit is stopped, the name of the active stop is shown else Running is shown.
- State duration: The duration of the active state. It is shown in days:hours:minutes:seconds
- Production order: The name of the active running order.
- Product: The name of the product being produced in the active order.
- Order start time: The start date time of the active order. It is shown in
year-month-day hour:minute:second - Total produced: The total number of produced items since start of the active order.
- Rejected: The rejected number of produced items since start of the active order.
- Planned production time: The duration that unit has been scheduled for production since start of the active order. It is shown in
days:hours:minutes:seconds - Run time: The duration that unit has been running since start of the active order. It is shown in
days:hours:minutes:seconds - Downtime: The duration that unit has been stopped since start of the active order. It is shown in
days:hours:minutes:seconds
Stop information
This shows the different stops and the duration of them.
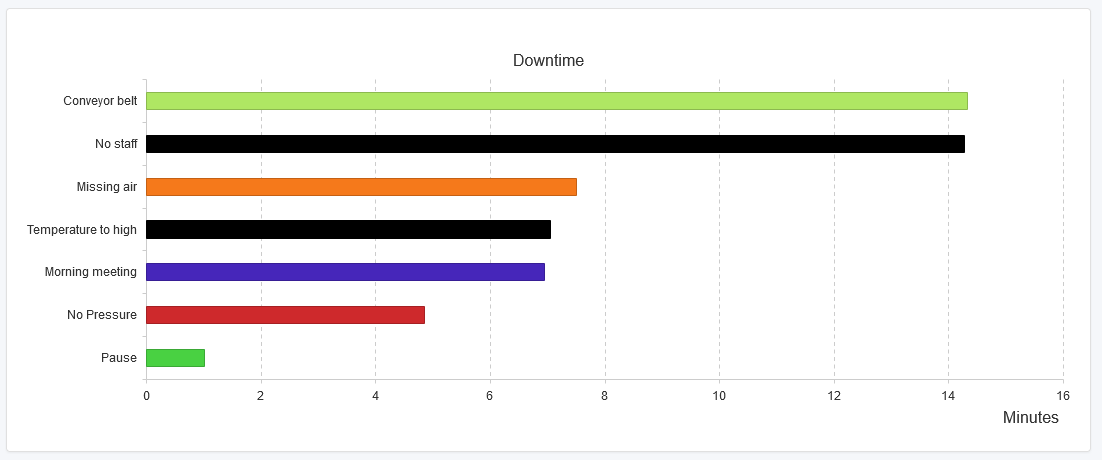
You can move the cursor over a stop's bar to see to the duration, number of stops and average duration per stop, for the given stop cause.

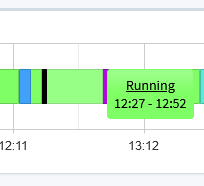
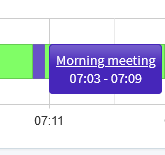
Timeline
This shows the state the unit was in for the given periods.
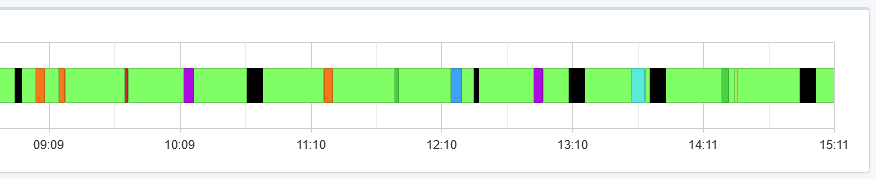
The colors represent the state. When the unit is running, the color is green.
When the unit is not scheduled for production, the color is gray.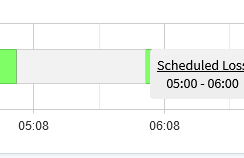
And when the unit is in a stop, the stop cause's color is used. (See more in How to use stop reason tree structure)
Order handling
This is used for changing the active order and product on the unit.
This opens a popup, where you and enter the order name.
and select a product for the order.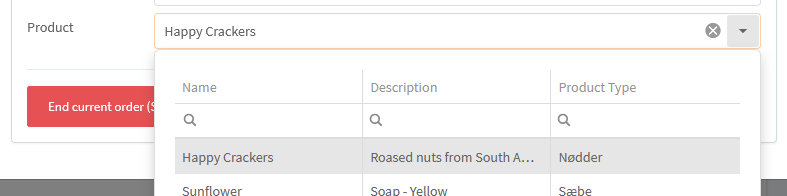
If the unit is setup to register rejects by user, you can also enter total number of rejects the current order had before the unit changes to the new order or ending the current order.

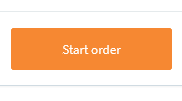
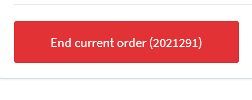
You start an new order when there is no active order on the unit.
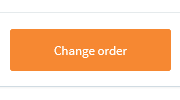
Change the active order.
Or ending the active order.
Split stop
You can split the active stop into 2 stops on the unit.
Clicking the split button, splits all active stops into 2 stops.
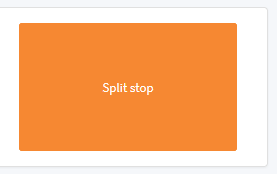
The split button is only shown, if the unit is configured to be able to split a stop, see How to split current stops on a unit. If the site is configured to show the break button, the break button will be shown instead of the split button.
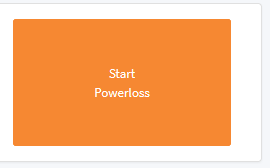
Break button
You can start a break. To start a break, click the break button:
You can see that the unit is on a break, when a big blinking end break button is shown:
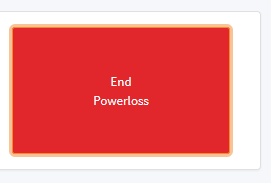
To end the break, click the break button again.
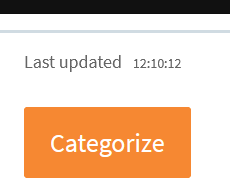
Categorize stop
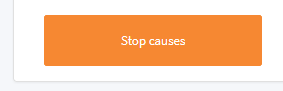
You can categorize stops. Click the Stop cause button:
A list of stops that can be categorized will be shown.
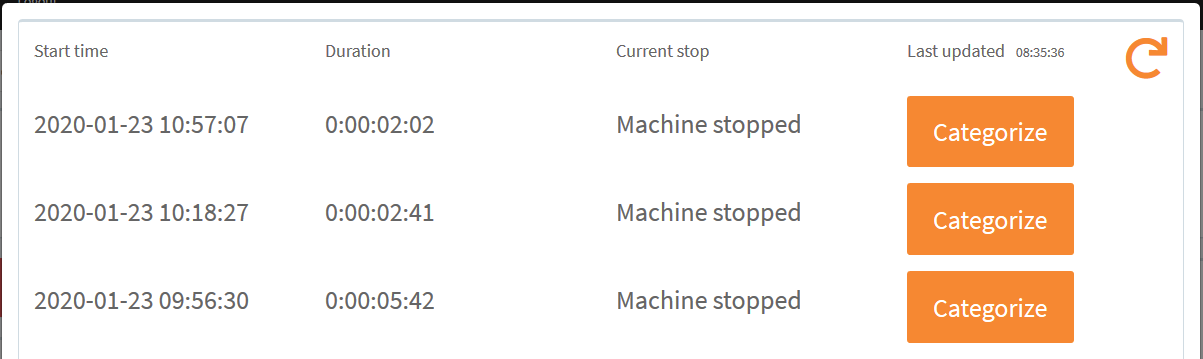
Select a stop by clicking the Categorize button:
Now you can select a stop cause based on the tree structure of the stop causes:
A full description of this window can be found in How to use stop reason tree structure under the section Categorize a stop.
The ! icon shows that the stop cause needs a comment.
A full description of commenting on stops can be found in How to comment on stops.
You can configure the list of stops, that can be categorized, to be updated automatically when it is open. See Auto update of "Categorize stops".
You can also update the list manually by click the refresh icon:

Add rejects
You can register produced items that was rejected:
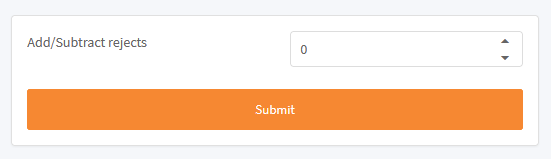
You can manually add rejects to the current order, if you have set your unit's Rejects registered by to User.

If you manually change the order, then you need to provide the total amount of rejects for the current order:

Because changing the order manually with Rejects registered by set to User, will overwrite the current order's rejects if there is a difference between your input and the registered rejects in current order before ending it.
The point of the using the Report rejects control, is that you can on the fly report the rejects as they occur and have this shown in the reports like Reports->Period, if you wait with reporting the rejects until you stop the current stop, then this will result in one timestamp for all the rejects.
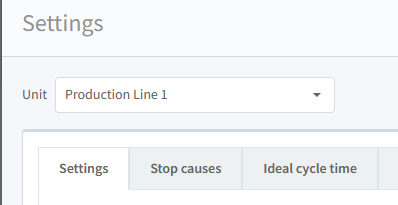
Configure site
This setup what is shown on the operator view.
Click the configure button:

View OEE for
Select what you wish to view OEE for on the site:
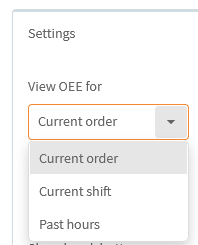
- Current order: This shows the OEE for the active order on the unit.
- Current Shift: This shows the OEE for the active shift on the unit.
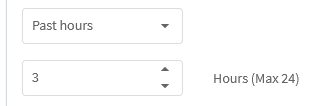
- Past hours: This shows the OEE from X past hours til now.
The timeline follows this selection.
Show OEE as numbers
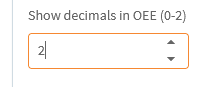
Check this and the OEE numbers will shown as numbers.
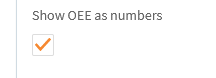

You can also set the number of decimals.
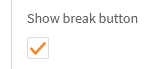
Show break button
Check this to show the break button(if the split button was shown, it will be replaced with the break button).
Select the stop cause used then starting a break, by clicking the Change button.
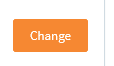

Select a stop cause.

Click the Change button.
Auto update of "Stop cause"
Select this to have the list of uncategorized stops updated automatically when open.
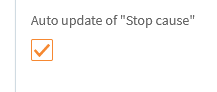
You can see when the last update happened: