Introduction
- This guide describes how you enable and use the functionality to add comments on stops.
Comments
You can comment on a stop to give a more detailed description of the stop, then what is described in a stop cause.
Enable comment on a stop cause
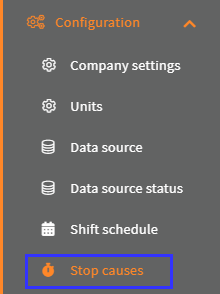
To enable comment a go to Configuration -> Stop causes:
Find the stop cause and click the edit button:

Set Require Comment to Required or Optional:
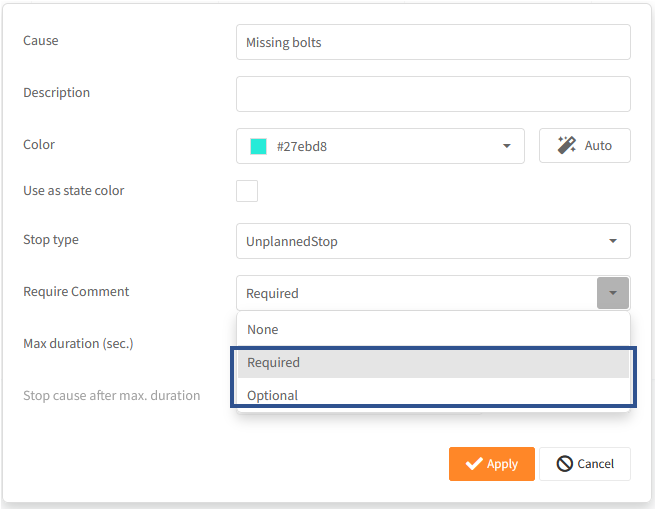
This can also be done, when you create a new stop cause.
How to use comment in Production status
You can add a comment to a stop that needs to be categorized.
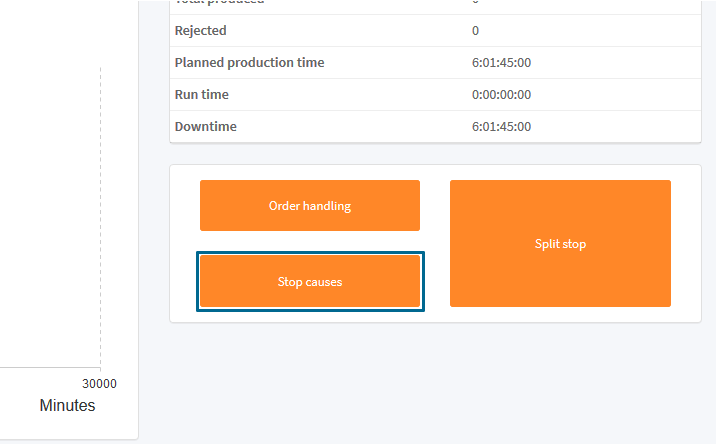
In Views -> Production status:

Click Stop causes (If it is grayed out, that means that there are no stops, that needs to be categorized):
Select a stop to Categorize:

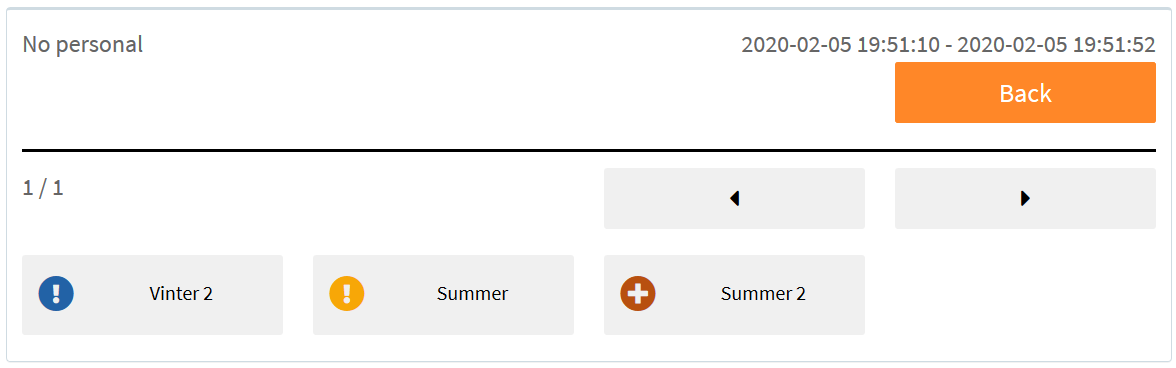
Now every stop cause, that has a comment icon ! in them, means that you need to add comment on the stop, if you select it:

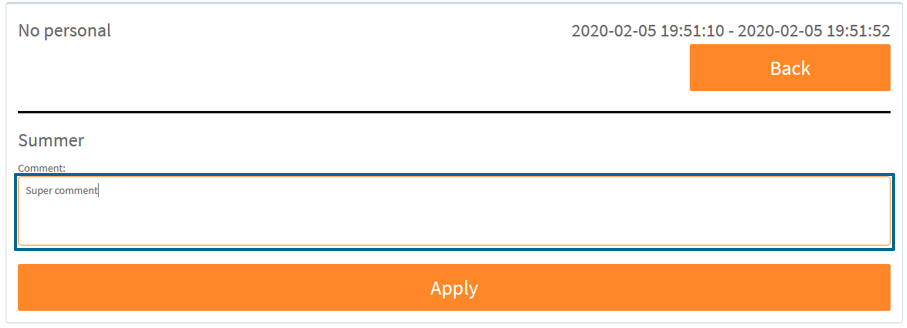
Click a stop cause with the comment icon ! and a comment text box will appear, now enter your comment (Max 1000 characters):
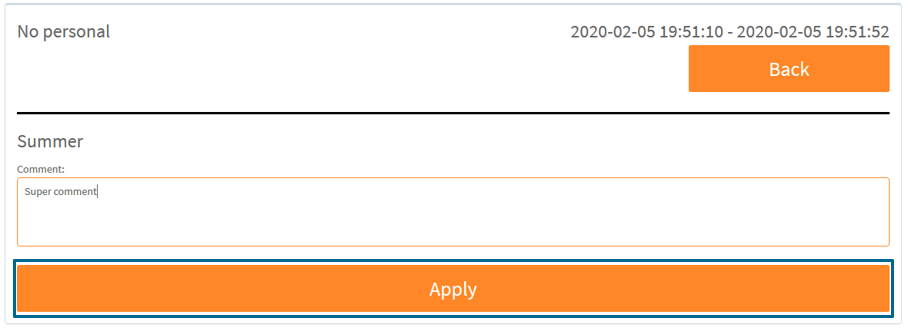
Click Apply:
You can only comment on stop causes with no children
If a stop cause has children:

And they are configured to be used by the unit:

Then when you are categorizing a stop, you will see the children icon + instead of the comment icon !, because the tree structure takes priority over the comment:
Comment in stop history
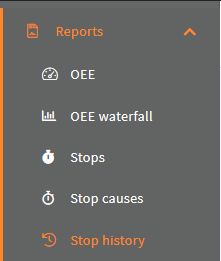
You can view or add more comment to a stop, that has been categorized in Reports -> Stop history:
Select your unit, that the stop happened on and the period, which the stop occurred in:

Click Apply:

Now click the comment, for the stop, at you wish to view or more comments to:
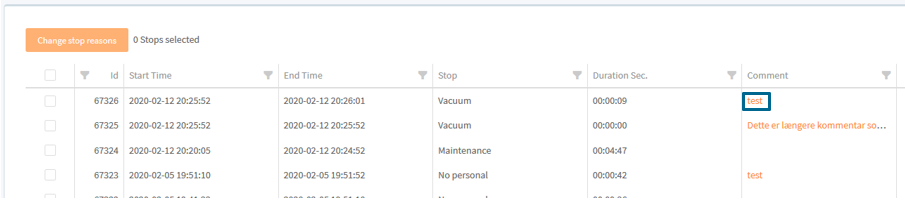
All the comments for the stop will be shown:
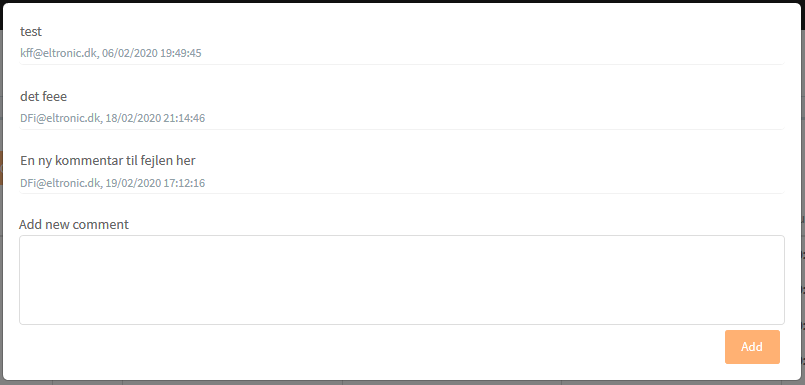
To add a new comment, type it in the Add new comment textbox (Max 1000 characters):

Click Add:
A stop can have max 20 comments and each comment can have max 1000 characters.