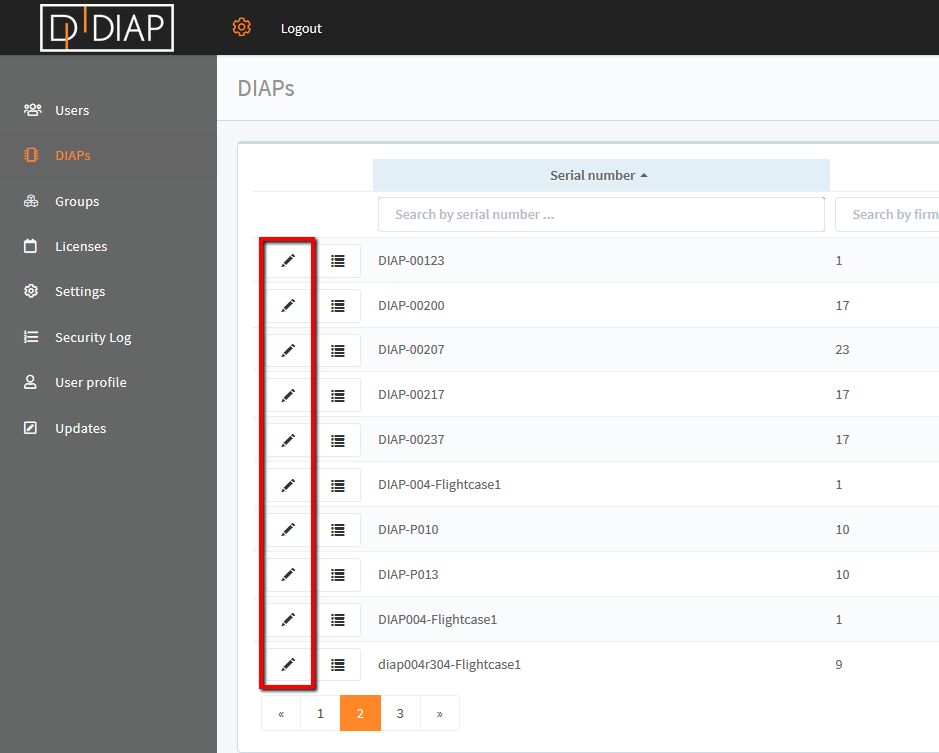
When pressing the "pencil" button, then DIAP details will open.

In here all configuration of how a DIAP should connect to the internet can be setup. There are many other settings that can be made. The guide will be split up in the different tabs and will briefly explain what can be done within them.
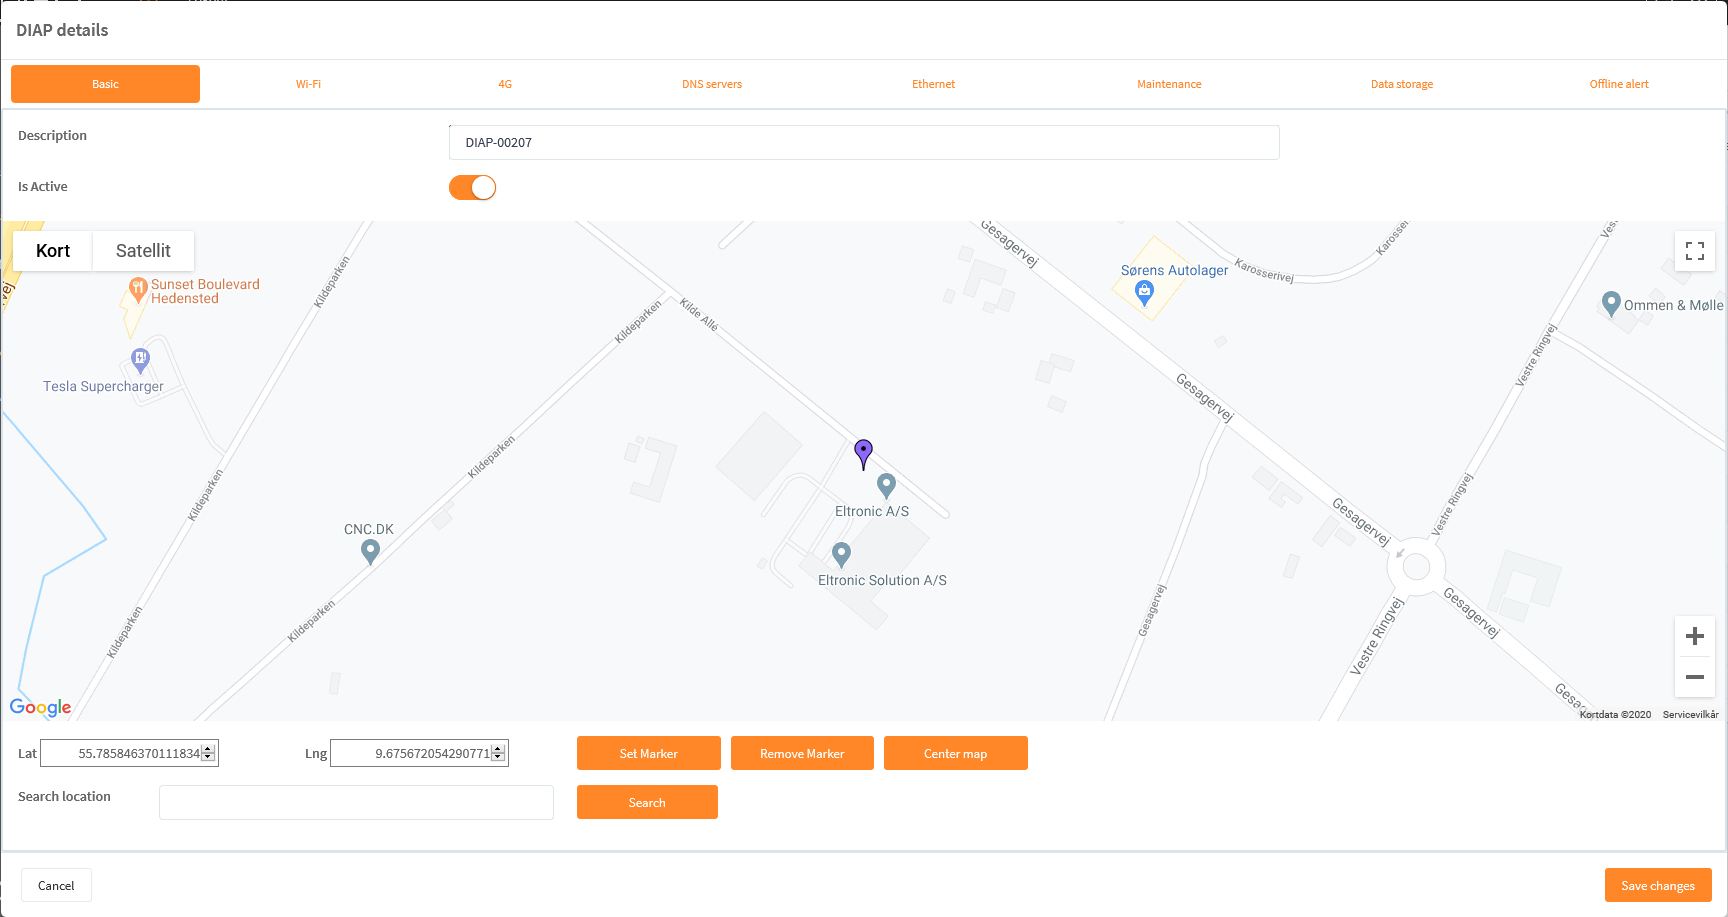
Basic
Under "basic" all the general information such as description and where the DIAP is located can be chosen. A location on a map can be chosen to show where the DIAP is located.

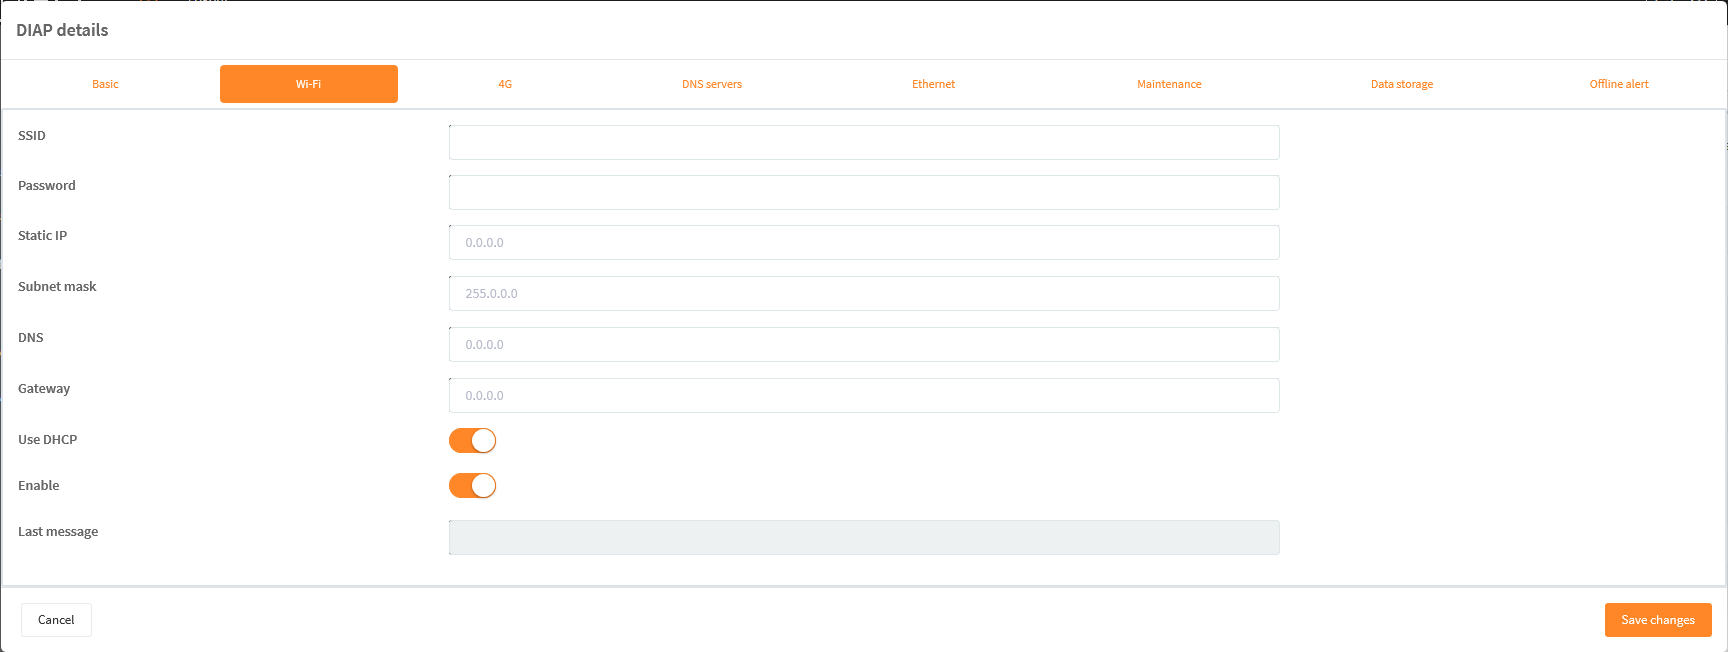
Wi-Fi
In this tab all the settings in order for your DIAP to get connectivity through the available Wi-Fi network can be entered.

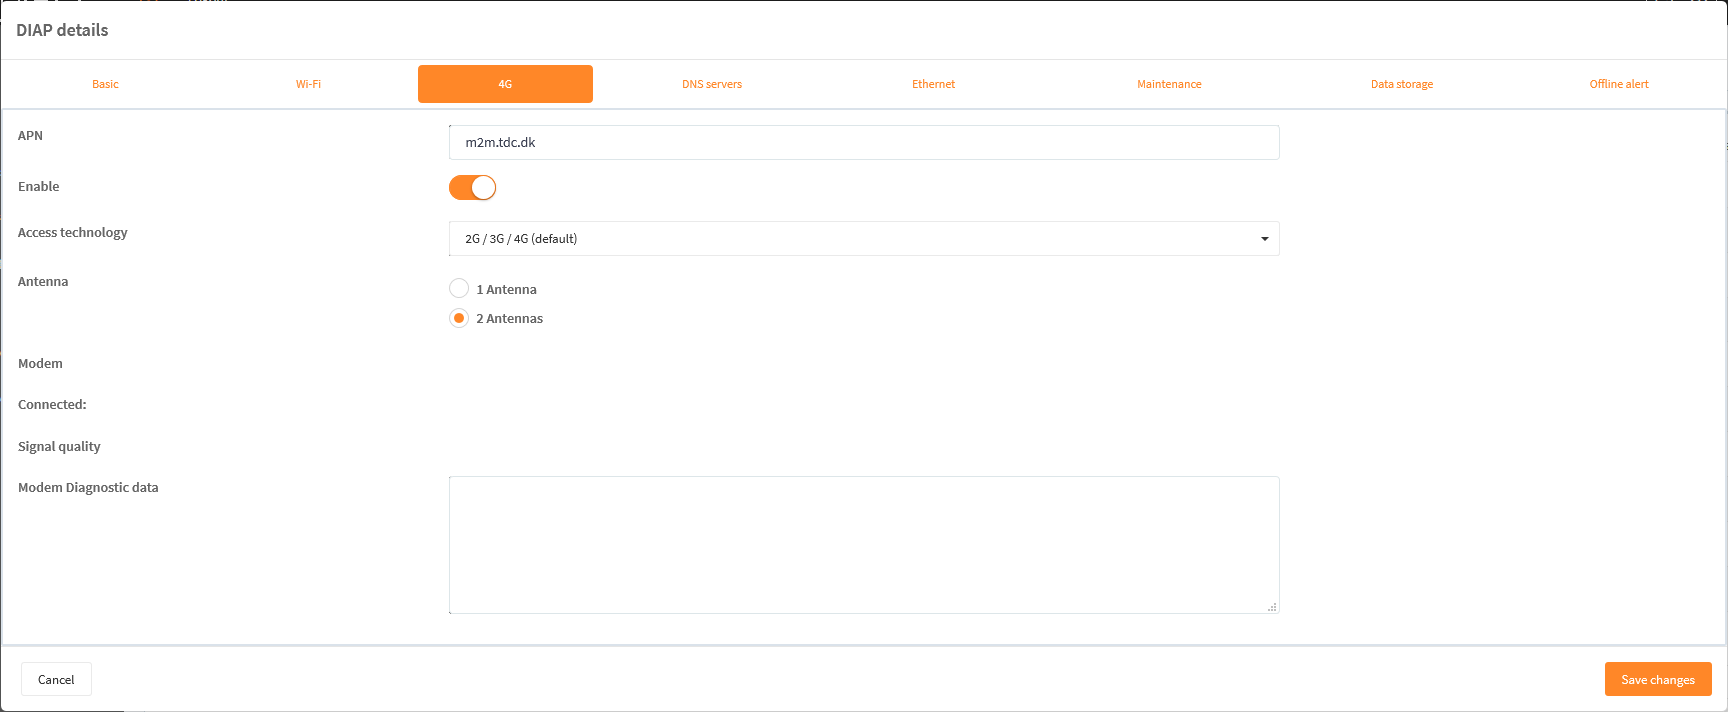
4G
Settings for the 4G can be setup under the tab "4G". APN has to be found from the SIM card provider. A list of APNs from the different suppliers can be found here: https://wiki.apnchanger.org/Denmark

DNS servers
If DNS settings are required, then they can be entered under "DNS servers". This is set as disabled as default.

Ethernet
The IP addresses for the DIAP can be entered under the "Ethernet" tab. This is used to enter which IP address the DIAP should have on the different network. It is possible to enter multiple IP addresses here.

Maintenance
The "Maintenance" tab is only used if there is a local database installation of the DIAP. If the "Cloud" option is used, then this is not necessary to look into.

Data storage
It is possible to determine if the DIAP should use the "Azure" option or the "Local" database option. If local database is required, then please contact the DIAP team for further information.

Offline alert
This tab will enable an alarm to be sent if the DIAP is offline for a certain amount of time. This can be used to give an alert, then the DIAP is offline when it actually should be online.

