Introduction
- This guide describes how to setup the registration of stops based on a condition. This is used, when a signal tells that a unit is stopped based on a condition, like when the signal is less than 5.
Setup
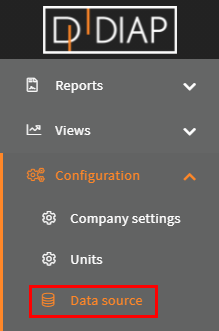
Go to the Configuration ->Data source page:
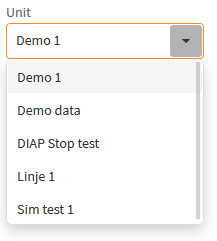
Select the unit you wish to setup the registration for(The units here are examples and are different from yours):
Click the Add button:

Select Stop Condition:

Configuration of stop condition
- Name: The name of the event server, that is collecting the data.
- Small stop time: This is how long a small stop can last in seconds. A stop is consisted a small stop as long as it hasn't lasted longer than this period.
- Small Stop Reason: This is the stop reason that is used with small stops.
- DIAP Tags: The DIAP tag is where the readings are collected from. The structure of the name is [DIAP]-[PLC]-[Tag]
- Stop reason: This is the stop reason that is used, when the stop has lasted longer than Small stop time.
- Stop Condition: This is the condition that should be true, for creating a stop, when the condition is false, the stop will end. There are the following conditions:
- Tag = Value (Equal): Checks if the reading is equal to Value.
- Tag ≠ value (Not Equal): Checks if the reading is not equal to Value.
- Tag > Value (Larger): Checks if the reading is larger than Value.
- Tag >= Value (Larger or Equal): Checks if the reading is larger than or equal to Value.
- Tag < Value (Smaller): Checks if the reading is smaller than the Value.
- Tag <= Value (Smaller or Equal): Check if the reading is smaller than or equal to Value.
- Value: This is the value that the readings are compared to using the Stop Condition.
DIAP tag data type
- Type: Double
The expected data type is decimal numbers like : 0.0, 0.1,1.
Example - Stop Condition
The stop Condition is set to Tag = Value (Equal) and Value to 5, and the units gets the following readings:
- 0
- 5
- 3
- 5
- 5
- 0
Then the the unit will have the following stops:

Now the stop Condition is set to Tag ≠ value (Not Equal), Value to 5 and with the same readings from before, then the units would have the following stops:

Now the stop Condition is set to Tag > Value (Larger), Value to 1 and with the same readings from before, then the units would have the following stops:

Now the stop Condition is set to Tag < Value, Value to 1 and with the same readings from before, then the units would have the following stops:

Example - Configure stop Condition
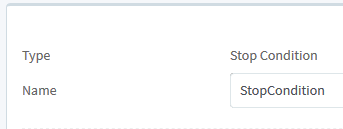
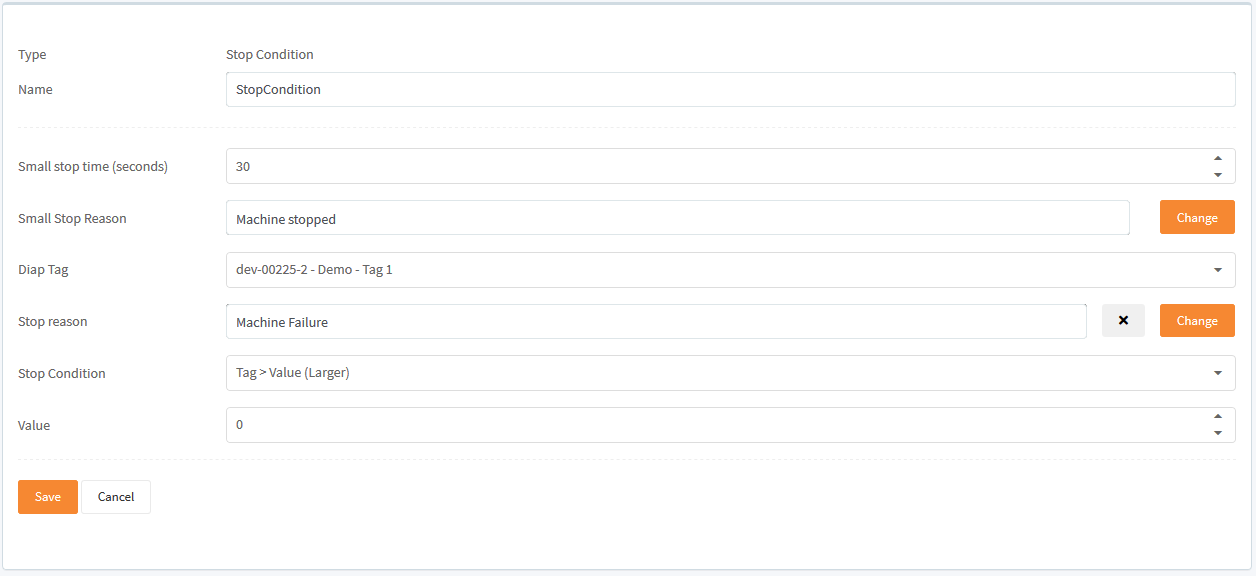
Select a name for the event server, that is collecting the data. Here we called it "StopCondition":
Set how long a small stop may last in seconds. Stops that last to this period and not longer, are consisted small stops. Here we sat it to 30 seconds:

Select a small stop reason, when a small stop is created, it uses this stop reason. Here we used "Machine stopped":

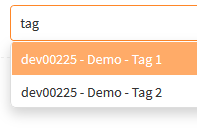
Select the DIAP tag, where the data comes from. Here we selected "dev00225 - Demo - Tag 1":

(You can type in this box to quicker search for the tag):
Select the stop reason, that will be used, when the stop has lasted longer than Small stop time. Here we selected "Machine Failure":

Select the Stop Condition, that will be used, when comparing the readings to Value. Here we selected Tag > Value (Larger):

Set the Value that will used in Stop Condition. Here we set it to 0:

When you are done, the configuration should look something like this(But with your values):
Click Save to save the configuration:

Now you have a configuration for checking a stop condition on the readings, to tell if the unit is running or stopped.
Start collecting data
When you have made your configurations in the Data source, then you need to start the event server for the configuration, so the data get collected.
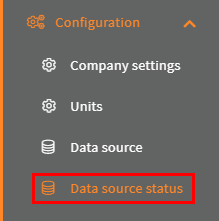
Go to the Configuration->Data source status page:
Select your unit:

Click the switch for the event server with the configuration:

Then the light turns green and the Last run timestamp is updated, when your event server has run your configuration for the first time:

That it. Now your configuration are done and you are collecting data.
