Introduction
- This guide describes how to setup the registration of a unit's state using a signal that toggles it's value like a pulse.
Blinking
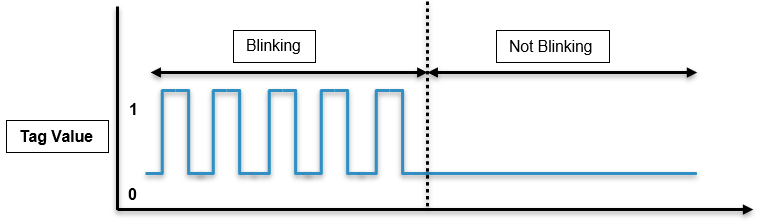
A signal that toggles its value like a pulse, is referred to as blinking:
Setup
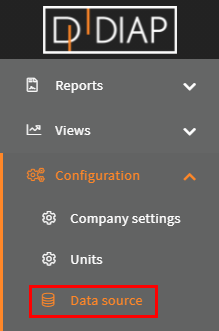
Go to the Configuration->Data source page:
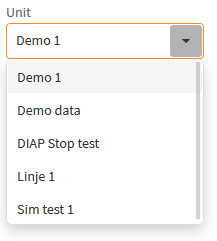
Select the unit you wish to setup the registration for(The units here are examples and are different from yours):
Click the Add button:

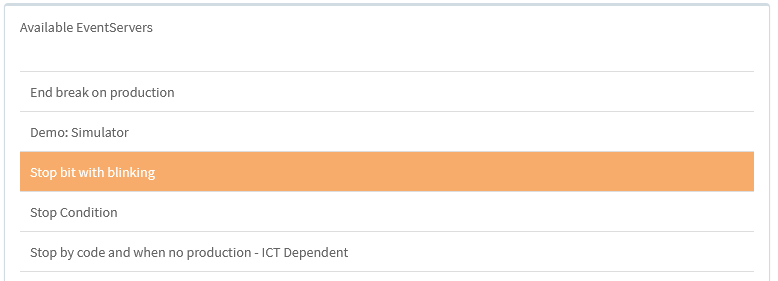
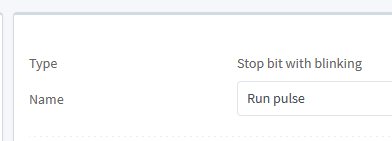
Select Stop bit with blinking:
Configuration of Stop bit with blinking
- Name: The name of the event server, that is collecting the data.
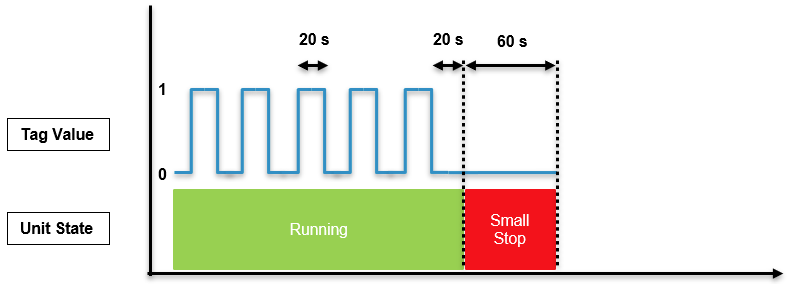
- Small stop time: This is how long a small stop can last in seconds. A stop is consisted a small stop as long as it hasn't lasted longer than this period.
- Small Stop Reason: This is the stop reason that is used with small stops.
- DIAP Tag: The DIAP tag is where the unit state data is collected. The structure of the name is [DIAP]-[PLC]-[Tag]
- Collection old data on startup: This tells the event server, to start with a months old data from the first read(Don't active this, because it could lead to data being processed more than once, this is meant for support).
- Blink interval: This is how many seconds that may pass before the next changed value should occur to say that the value is blinking(a pulse change)
- Stop reason: This is the stop reason that is used, when the stop has lasted longer than Small stop time.
- Blink type: This is used to set a unit's state when the data is blinking. The state options are:
- Run(Blink when running)
- Stop(Blink when stop)
DIAP tag data type
- Type: Double
The expected data type is decimal numbers like : 0.0, 0.1,1.0, 1.2
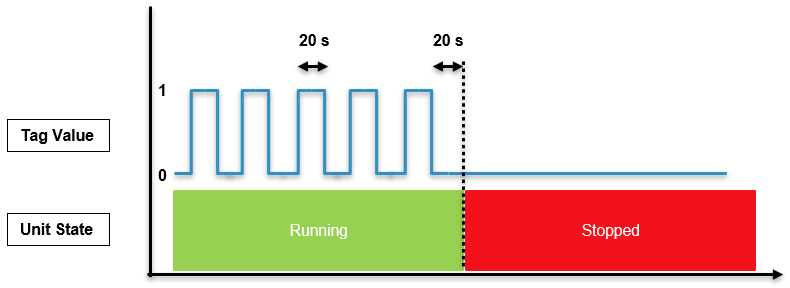
Example - Blinking on run:
A unit is consisted running as long as its state signal changes value within 20 seconds. This means that the event server's Blink type = Blink when running and the Blink interval = 20:


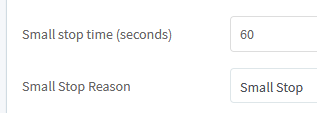
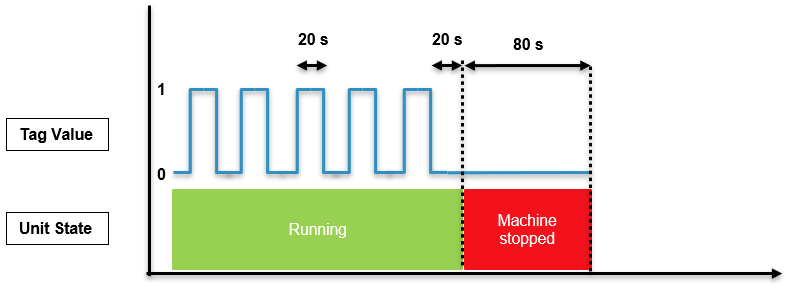
Example - Blinking on run and with stop causes:
With the same setup as the previous example, we now consider stop causes. Let's say, that as long as the stop doesn't last longer than 60 seconds, then it is a small stop, with stop cause Small stop after that the stop is no longer a small stop and it will have stop cause Machine stopped. This means that the event server's Small stop time = 60, Small Stop Reason = Small Stop and Stop reason = Machine stopped:

Example - Configure stop bit with blinking
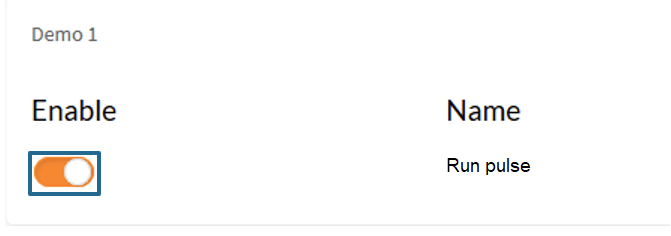
Select a name for the event server, that is collecting the data. Here we called it "Run pulse":
Set how long a small may last in seconds. Stops that last to this period and not longer, are consisted small stops. Here we sat it to 60 seconds:

Select a small stop reason, when a small stop is created, it uses this stop reason. Here we used "Small Stop":

Select the DIAP tag, where the data comes from. Here we selected "dev00225 - Demo - Tag 1"

Skip Collect old data on Startup, it should be turn off:

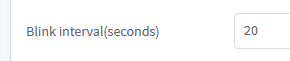
Set how many seconds may pass before the next changed value should occur for considering the signal to be blinking. Here we set it to 20 seconds:
Select the stop reason, that will be used, when the stop has lasted longer than Small stop time. Here we selected "Machine stopped":

Set state for when the signal is blinking Run or Stopped. Here we set it to Run(Blink when running):

When you are done, the configuration should look something like this(But with your values):

Click Save to save the configuration:

Now you have a configuration for setting the state on a unit with a pulse signal.
Start collecting data
When you have made your configurations in the Data source, then you need to start the event server for the configuration, so the data get collected.
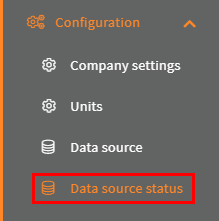
Go to the Configuration->Data source status page:
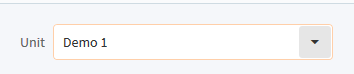
Select your unit:
Click the switch for the event server with the configuration:
Then the light turns green and the Last run timestamp is updated, when your event server has run your configuration for the first time:

That it. Now your configuration are done and you are collecting data.