1. Mounting and wiring
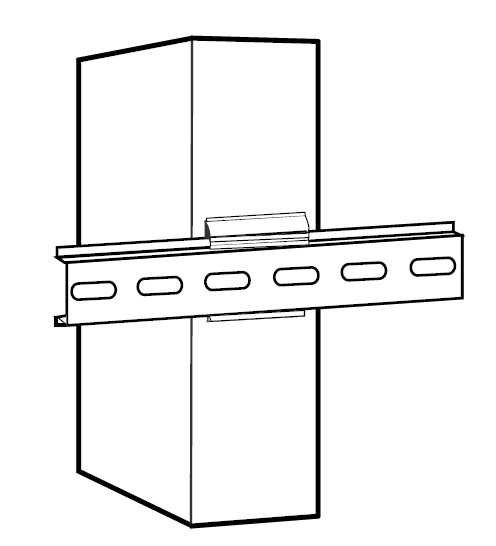
Mount the DIAP gateway on a DIN rail. The gateway is to be installed vertically with the power connector at the top. As a general rule, always install the DIAP gateway in the electrical cabinet.
Connect the DIAP gateway to a 24 VDC power supply. The gateway turns on as soon as it is connected to a power supply.
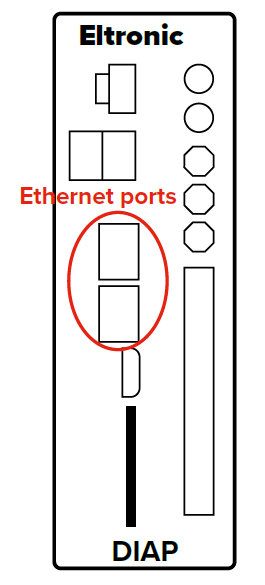
2. Connect DIAP to the internet - use Ethernet Port 1
In order to configure DIAP and start collecting data, DIAP requires an Ethernet connection.
Connect DIAP to the internet by connecting an Ethernet cable to Ethernet Port 1. The lights of both the 'Power' and 'Connectivity' buttons will stay on steadily, if the connection is correct.
All newly configured DIAP will have DHCP active on Ethernet Port 1.
*DHCP: Dynamic Host Configuration Protocol (DHCP) is a network management protocol used to automate the process of configuring devices on IP networks.
3. Login to the DIAP web client
Type in the URL provided by Data Intelligence or your distributor.
It can be one of the following URLs:
- Customer site: https://live.diap.online/
- Demo/distributor site: https://demo.diap.online/
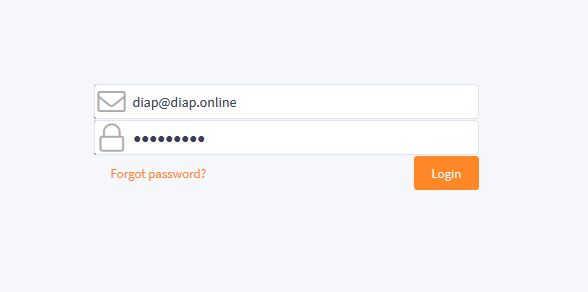
Enter your email and password in the relevant fields and press 'Login'.
If you haven't received any login information, then please send a ticket to disupport@dataintel.dk.
You are now able to collect data and start configuring your DIAP.
All network configuration can be done from the website, which will then be downloaded to the DIAP unit (if the DIAP has internet).
If it is not possible to use Ethernet Port 1, then the following guide can be used for local configuration: Local DIAP configuration.