Introduction
- This guide describes how to use the break button. This button is used for workers to report the breaks on a unit.
Setup
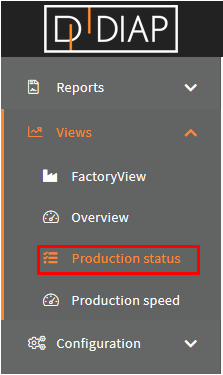
Go the "Production status" menu.
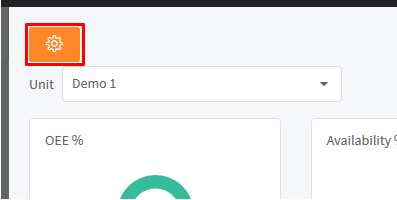
Click the "Configure button".
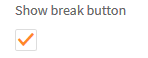
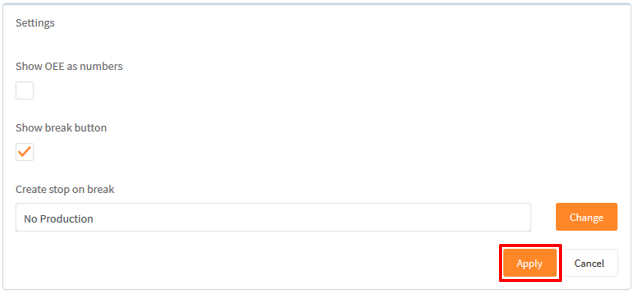
Set the Show break button.
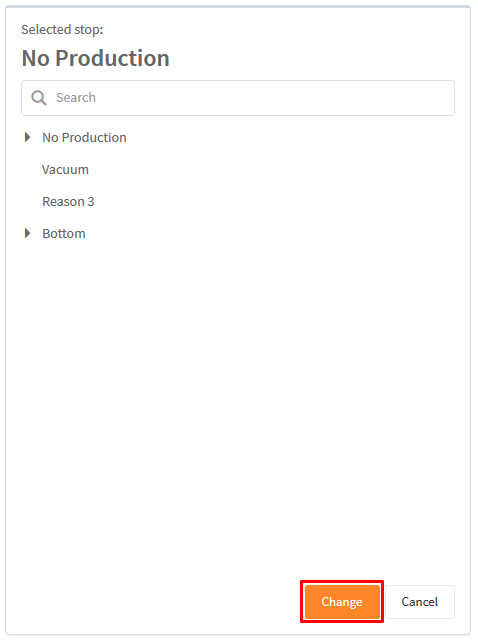
Click the Change button.

Select the stop cause that represents the break.

Click the Change button.
Click the Apply button.
Start a break.
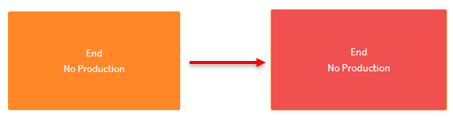
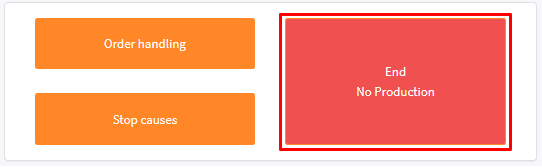
Click the break button to start the break.

This will start a stop with the stop cause that you identified.
When a break is active, the break button will be blinking.
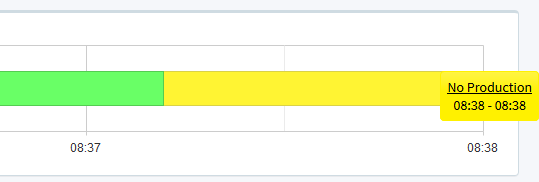
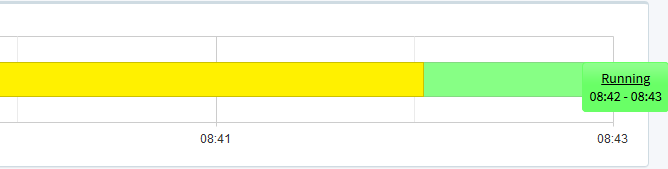
And you can see the stop on the timeline.
Stop a break
Click the break button again to stop the break.
The break button will stop blinking and you can see the stop ended on the timeline.
A break's effect on the OEE
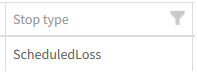
A break is treated like a regular stop. So, it is the stop type of the configured stop that decides how the OEE is affected by a break. In Setup, the No Production stop was configured to represent the break. In this example, the No Production had the stop type scheduledLoss.

Because of that, the break period was excluded from the OEE calculations. You can read more about stop types here: How to use stop reason tree structure, under the Create a stop reason section.