Introduction
- This guide describes how you manage rejected production.
This report can be used to manually add, change or remove rejected production.
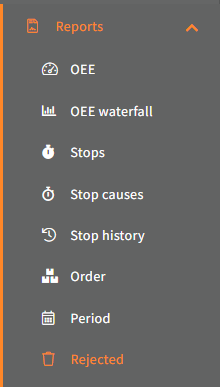
List rejected items
Go to Reports->Rejected:
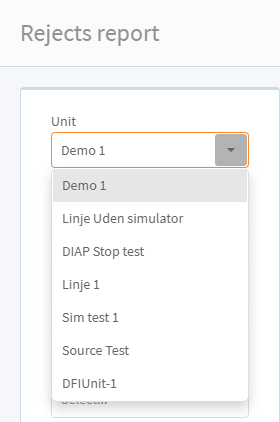
Now select the unit, which rejected production you want to manage:
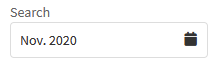
Select the period, which the rejected production started in:
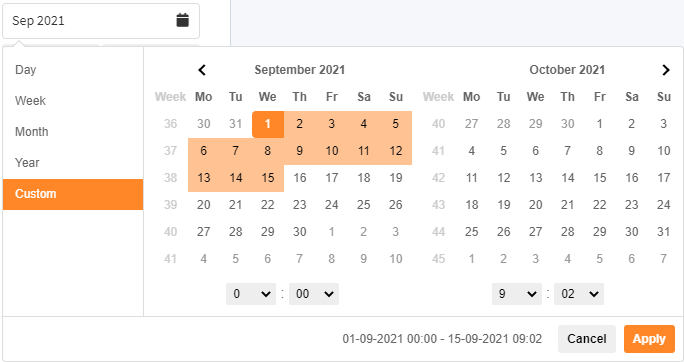
(You can search on with Day, Week, Month and Year):
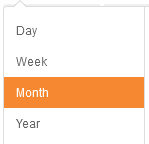
Select the interval, which the period should split it's data into.

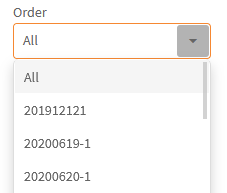
You can filter the data, by selecting a Order, so only rejects for that order is shown:
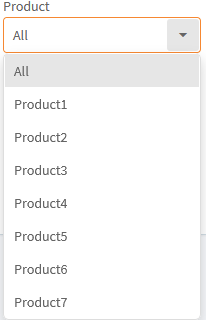
You can select a Product, so only rejects for orders, that was producing that product is shown:
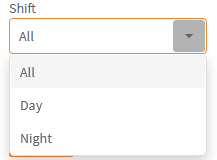
You can select a Shift, so only rejects within that shift type is shown:
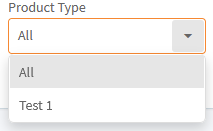
You can select a Product Type, so only rejects within orders, that was producing products, that belongs to that product type is shown:
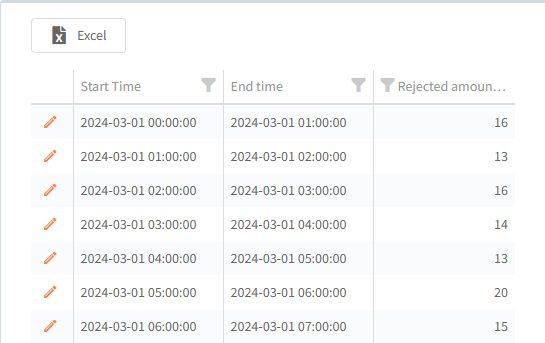
Click Apply to get a list of rejected registrations for that period:

Change rejected amount
Adding new rejected registration
You can add new rejects with these controls:
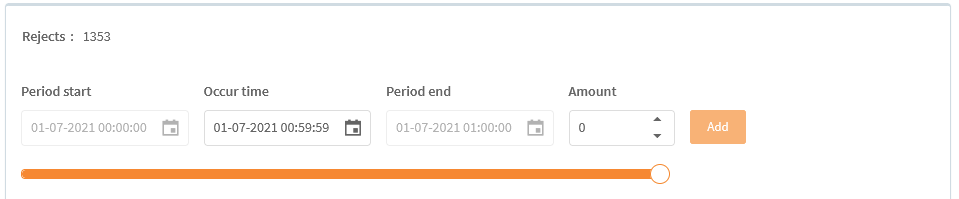
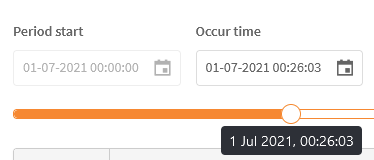
Select when the rejects occurred:
And the amount of rejects:
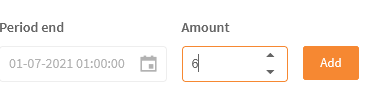
And last click the Add button:

Modify existing rejected registration
Click the Edit button to modify existing rejects:


You also delete existing rejects by clicking the Delete button:
![]()
When you are finished with the changes click the Save button at the bottom to apply the changes:

If you don't want to apply the changes, you can click the Cancel button next to the Save button.