In the following guide, exporting data from the DIAP platform will be explained.
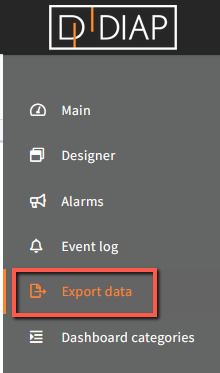
Select "Export data" on the menu.
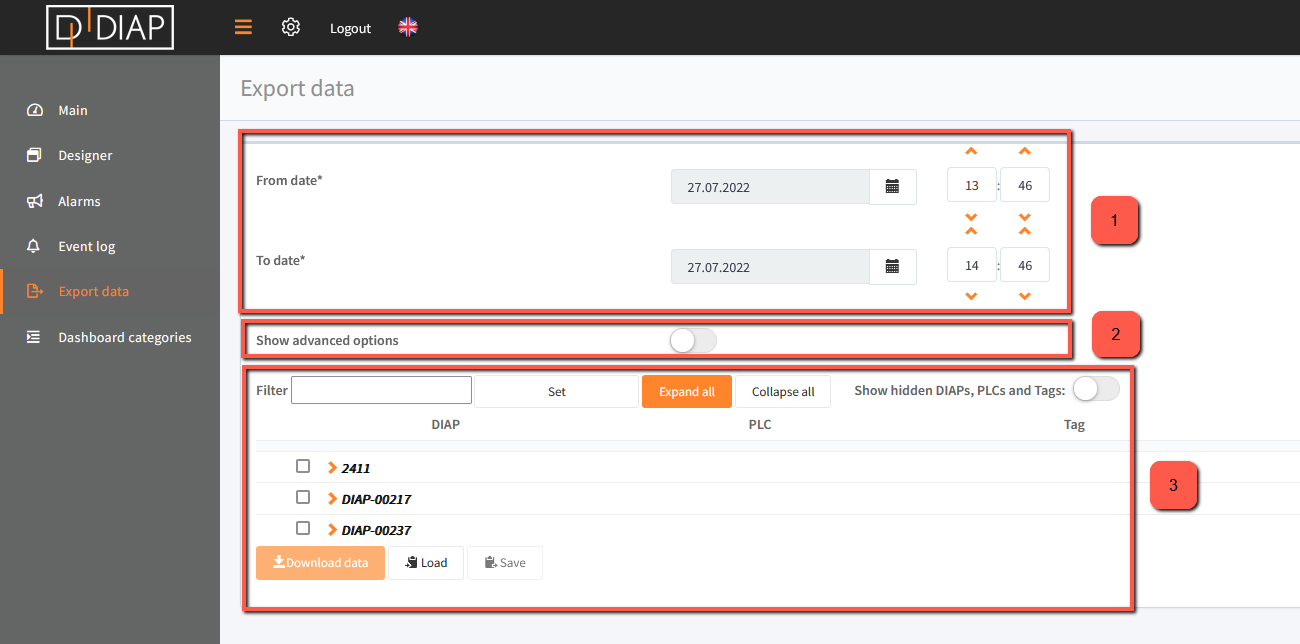
Here is an explanation of the screenshot below:
- The specific time period which you wish to export data from can be chosen.
- The possibility to see advanced export options (see next screenshot).
- Add which information you wish to export.
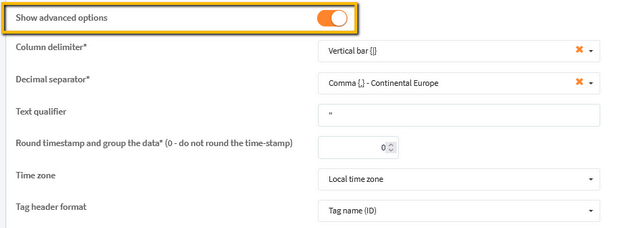
If "Show advanced options" are enabled, then the following will be shown:
- Column delimiter: The possibility to choose which column delimiter should be used in the Excel document.
- Decimal separator: The possibility to choose which decimal separator should be used in the Excel document.
- Text qualifier: A symbol that lets Excel know where text begins and ends.
- Round timestamp and group the data: This will enable the possibility to group data based on the timestamp.
- Time zone: Select the timezone which you want to export the data with.
- Tag header format: Select what has to be included in the header format of the .CSV file.
Data has to be selected to be added to be displayed in the graph. You can display multiple values in the same graph. Data selection can be found in the lower part of the popup window.

Field explanation
- Selection of data - expand the DIAP and select tag:
- DIAP: Select the DIAP that you wish to show data from.
- PLC: Choose PLC or sensor.
- Tag: Select the tag that you would like to visualize data from.
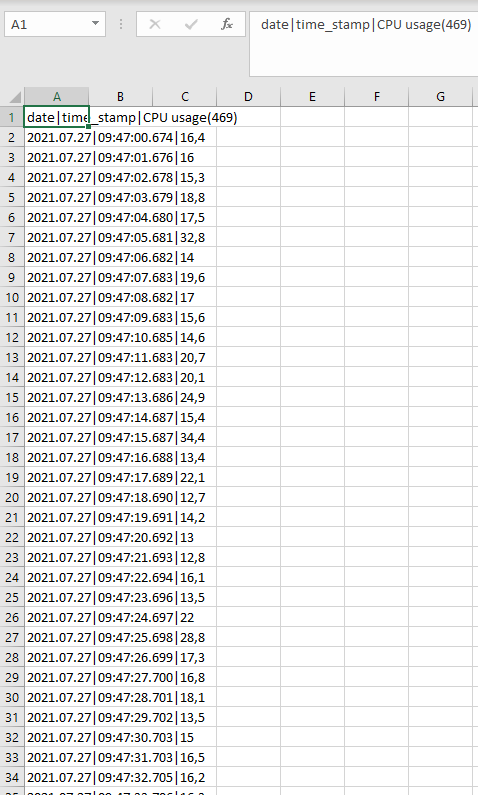
After having selected the required data points from DIAP(s), then press the "Download data"
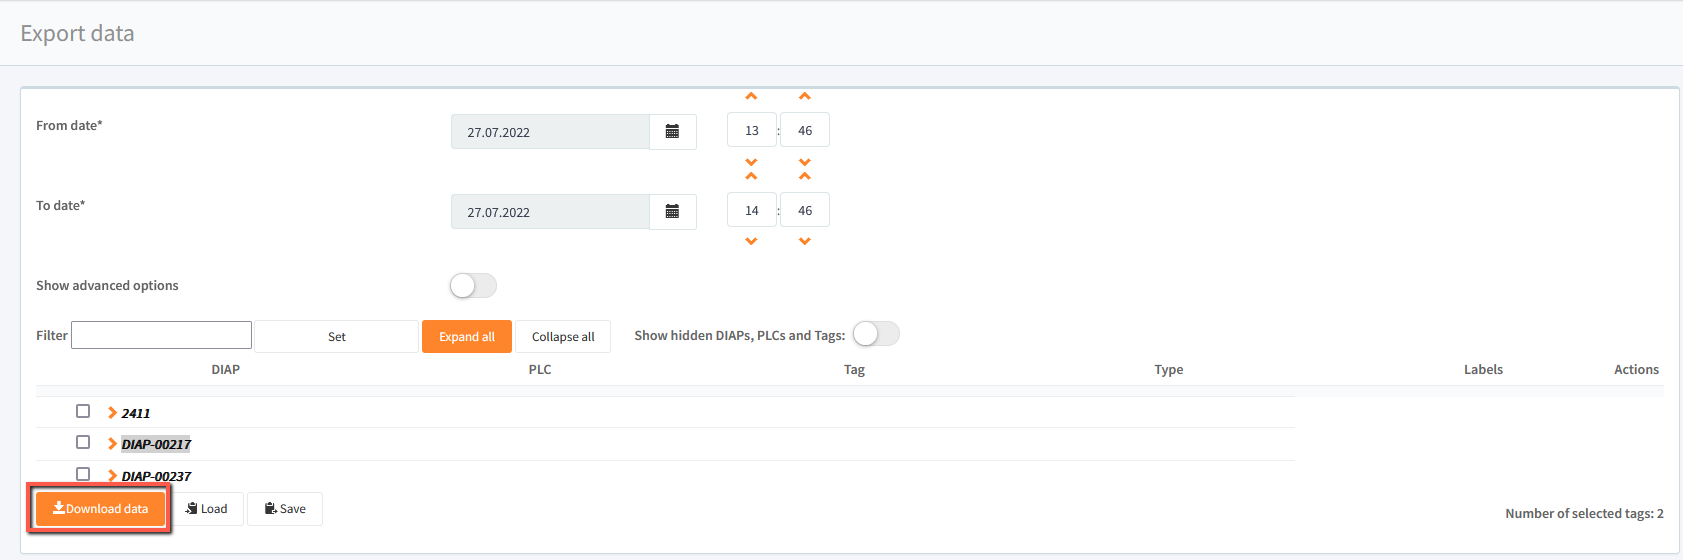
It will download a .zip folder, which contains Excel files.
Unpack or open the .zip folder.
Open the following file in order to access the exported data: "ExportData".
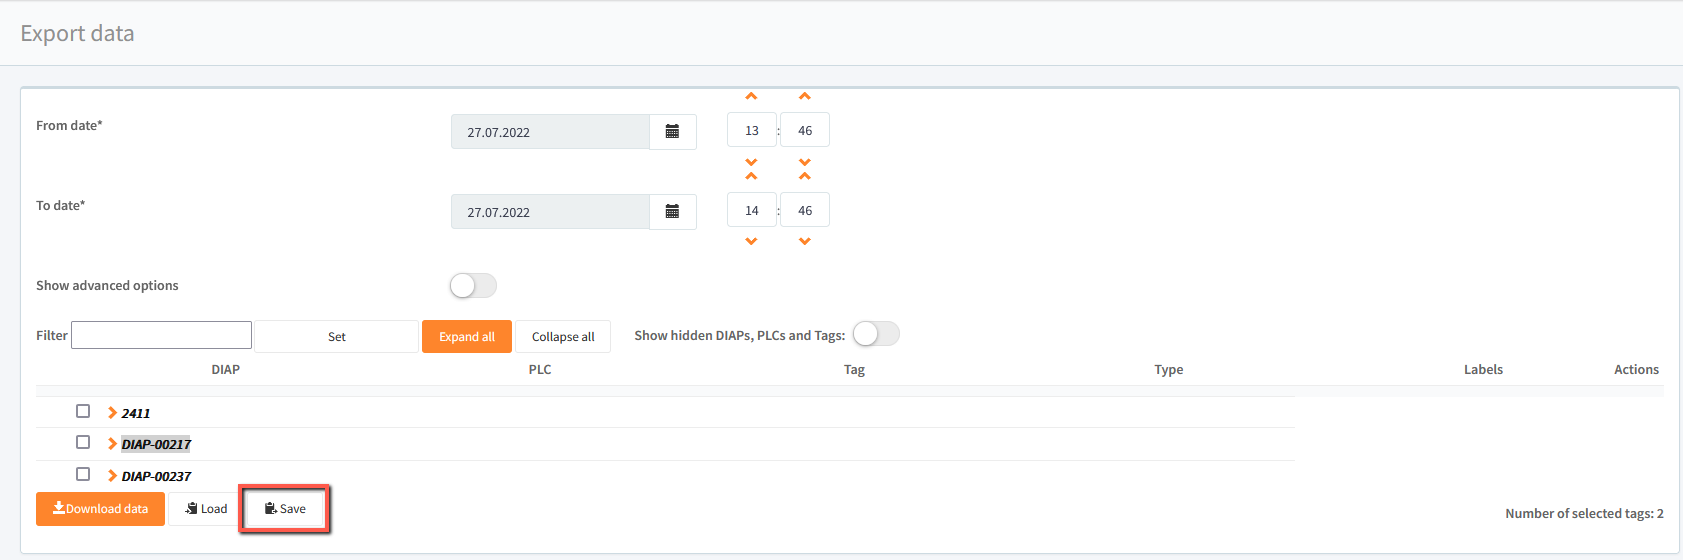
Possibility using a template (Load and Save)
It is now possible to save a tag export template on your own device. Once the different tags has been added to the overview, then the "Save" button can be pressed.
Once the "Save" button has been pressed, then a pop-up will occur to let you decide where to save the file. The file will be a .JSON file.
Once the file has been saved, then you are ready to either share with colleagues or make use of the tag template another time.
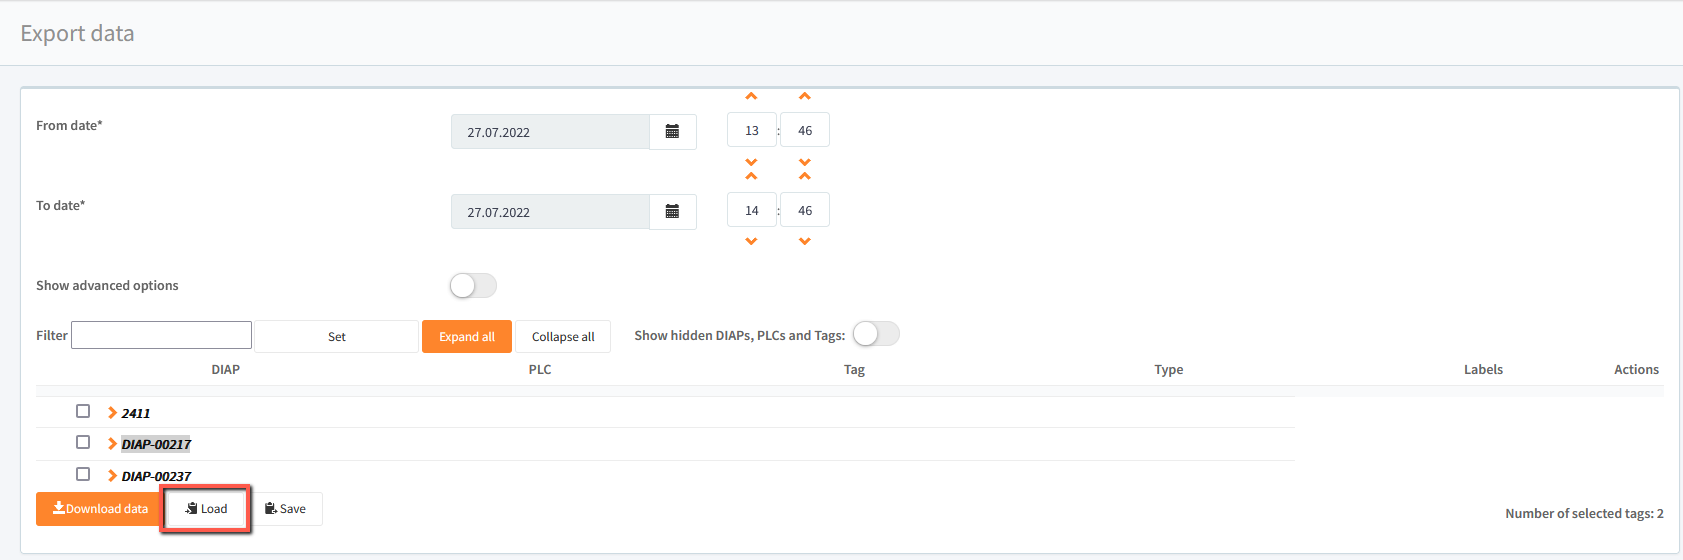
Next time you enter the "Export data" page and the list is empty, then you may make use of "Load" and select your file.
A pop-up will occur. Select the file location of the file and load the file.
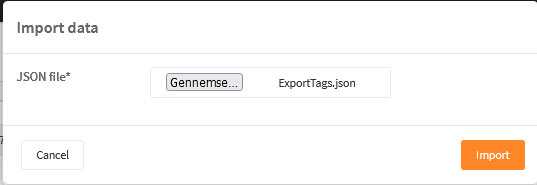
Press "Import" and the tag(s) are now imported and can be used for export of data.