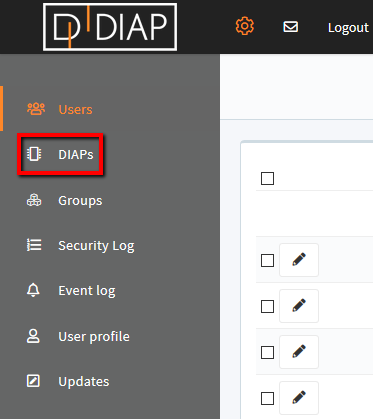
Click the 'Cogwheel' at the left side of the top menu.
Select 'DIAPs' in the menu.
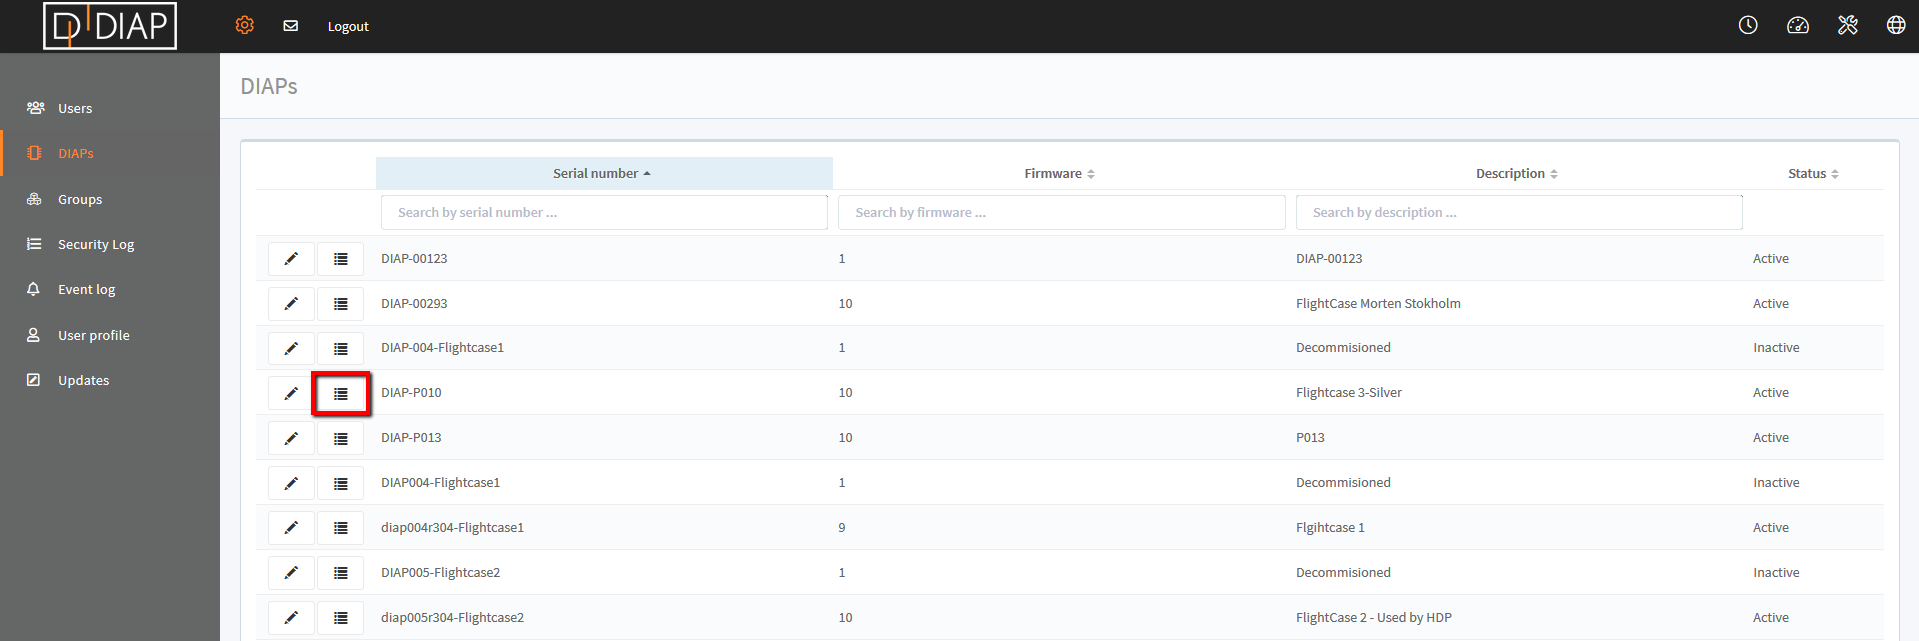
Find and select the DIAP for which you want to add/edit a PLC - click the icon 
Select 'Add new device'. A pop-up will appear on the screen.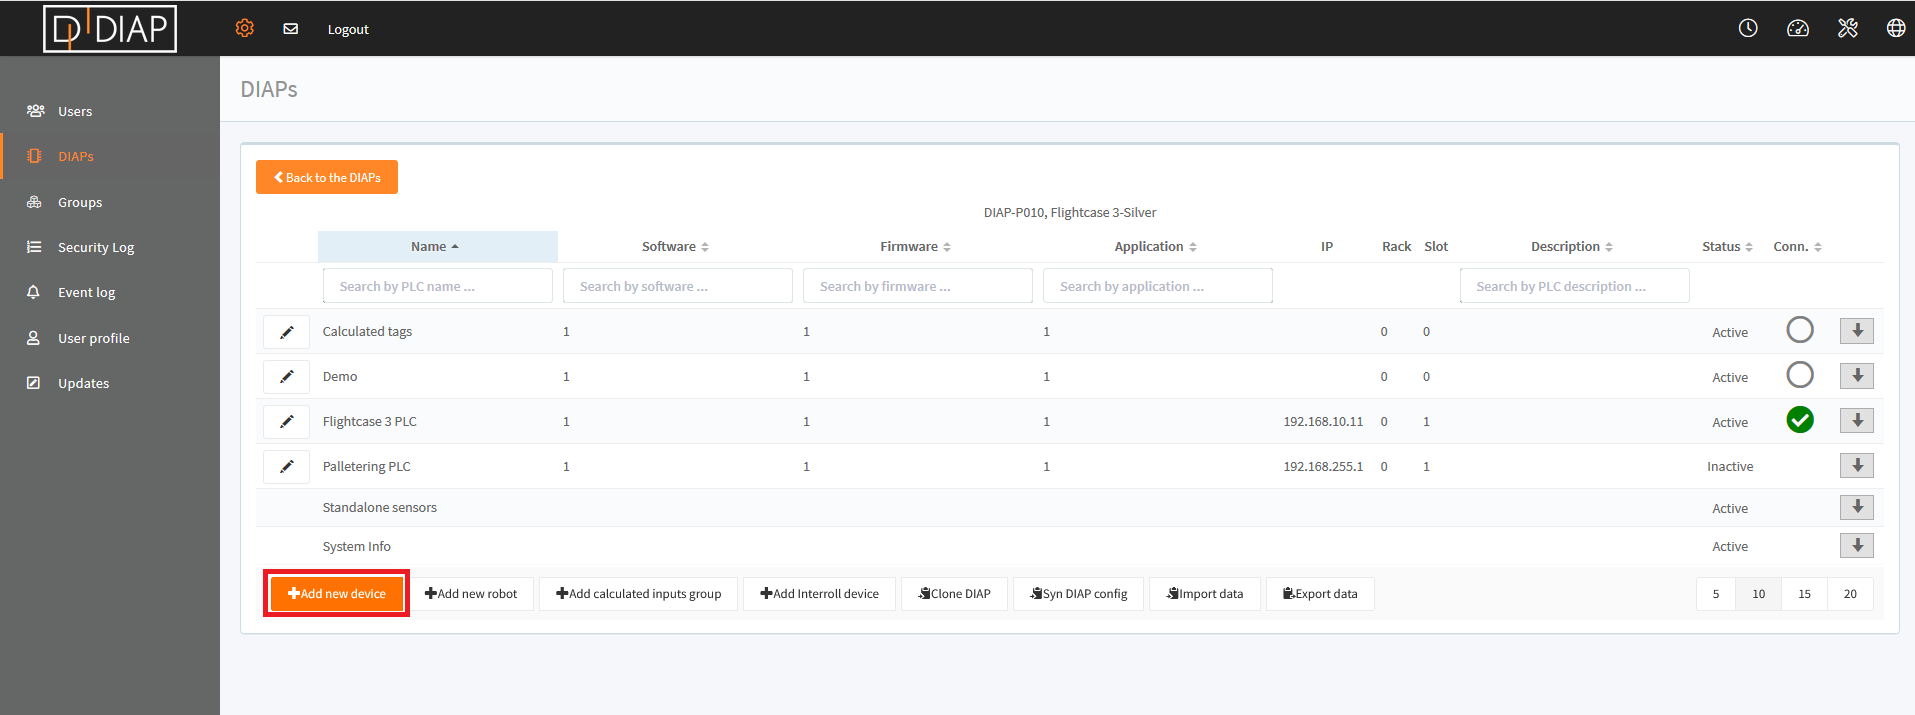
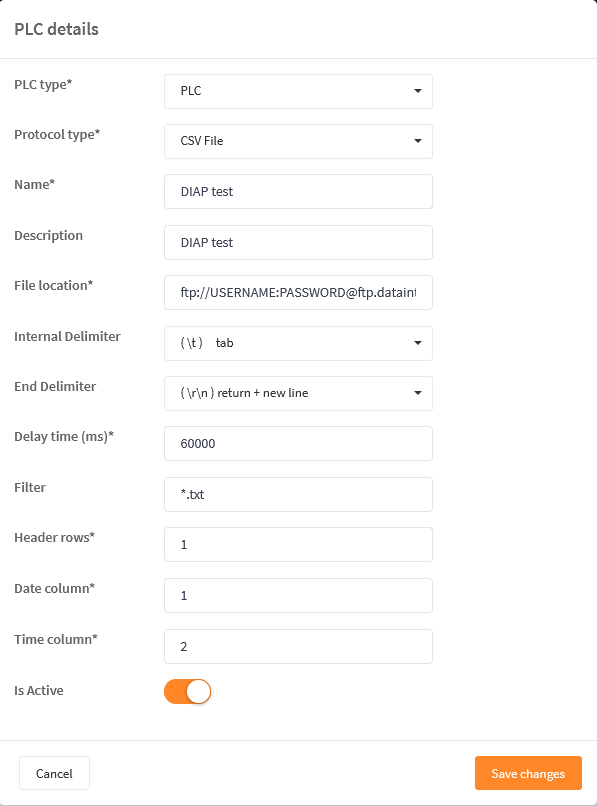
Set the PLC type as anything and "Protocol type" as CSV file, and fill out the required information.

Field explanation (fields only relevant when 'CSV file' has been chosen)
- Name: Enter a name of the CSV. You can enter any text in this field.
- Description: Enter a description of the CSV. You can enter any text in this field.
- File location: What is the location of the files that has to be read. The URL has to be entered together with username and password.
- File location format: ftp://USERNAME:PASSWORD@LOCATION
- Username = the username used to login
- Password = the password used to login
- Location has to be the path; example: ftp.dataintel.dk/diap/example
- Internal Delimiter: Which delimiter is being used internally in the document to define each column.
-
End Delimiter: What defines when the end of the row has been reached.
- Delay time (ms): How long does the delay has to be before reading next file.
- Filter: Which format is the service looking for.
- Header rows: Which row is the header.
- Date column: Which column contains the date.
- Time column: Which column contains the time.
-
Date time format:
Explanation of the Format String
%Y- Year with century as a decimal number.%m- Month as a zero-padded decimal number.%d- Day of the month as a zero-padded decimal number.%H- Hour (24-hour clock) as a zero-padded decimal number.%M- Minute as a zero-padded decimal number.%S- Second as a zero-padded decimal number.%f- Microsecond as a decimal number, zero-padded on the left.
- Is Active: Set the toggle to Enabled if the CSV is active. Set it as inactive if the CSV is no longer active.
Example of a PLC configuration:
Remember to Save changes when finished.

The CSV collector will appear in the list under the DIAP in question.
Adding the fields
Press "+ Add new tag" in order to add what has to be collected from the CSV file.

The following will be shown once "+ Add new tag" has been chosen.
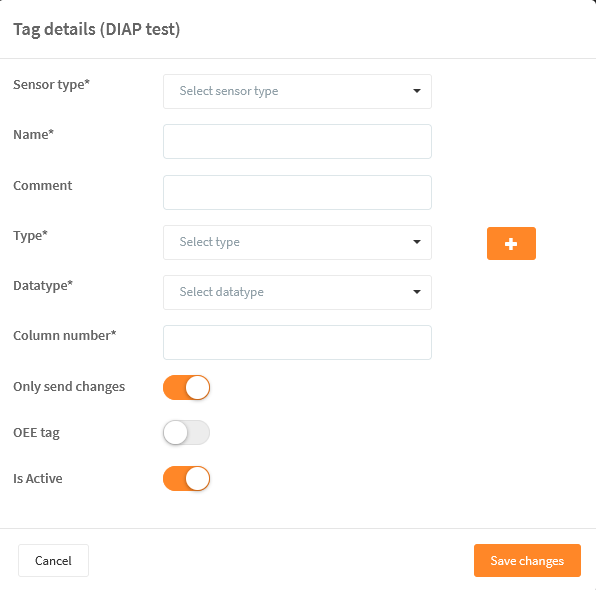
Field explanation
- Sensor type: Select sensor information (what type of data is collected from the tag). E.g. voltage, temperature, acceleration etc.
- Name: Enter a tag name.
- Comment: Enter a tag comment. The text entered here will only be displayed in the column 'Comment' in the table.
- Type: Choose sensor type. You can create a new type using the plus sign (+). This is a sensor category.
- Datatype: Choose if it is a string or number being collected in the column.
- Column number: Which column can the information be found.
- Only send changes: When enabled, the tag will only send new data when the value changes. When disabled, data will be collected each time it is encountered.
- OEE tag: When enabled, the tag can be used for OEE configuration. Always enable the toggle if you wish to use the tag for OEE measuring.
- Is Active: When enabled, the tag is active and will appear. When disabled, the tag will be hidden.
Once the required information has been filled out, then press "Save changes" and continue with the next field.