Requirement before proceeding:
- The checkpoint of the map has to be manually input under the DIAPs setting under the configuration. See the final section on this page.
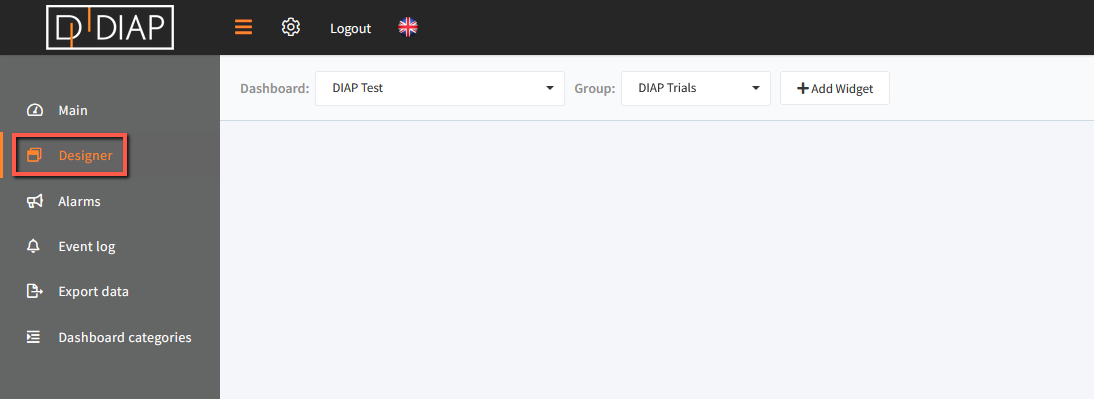
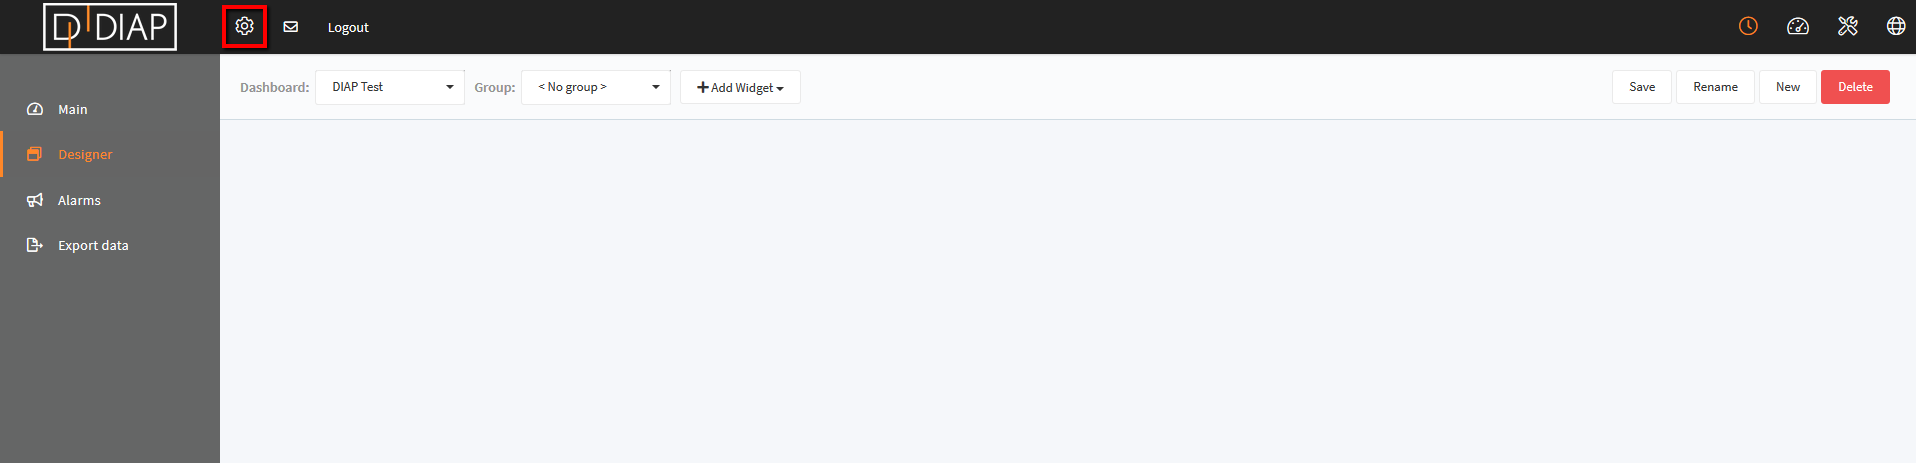
Go to the Real-time application and select Designer in the main menu.
 Click "+ Add Widget" and a popup window will open.
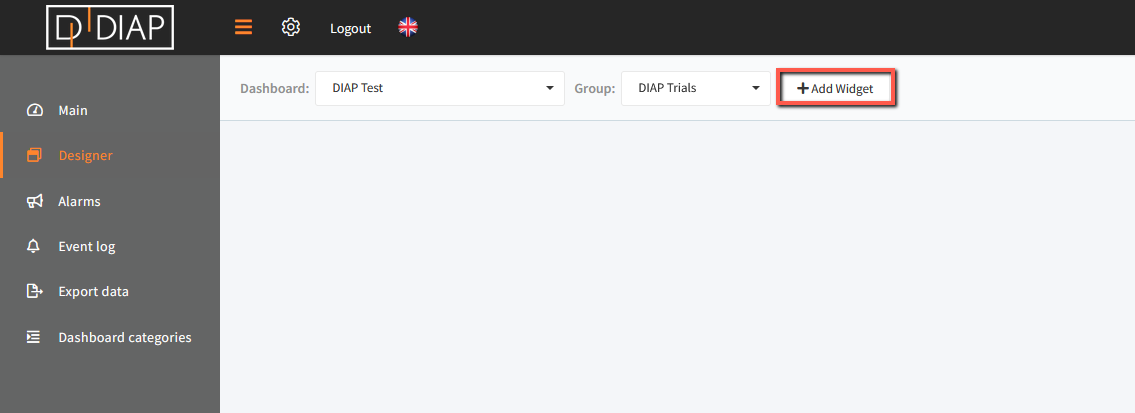 In the popup window you have to choose "DIAPs map"
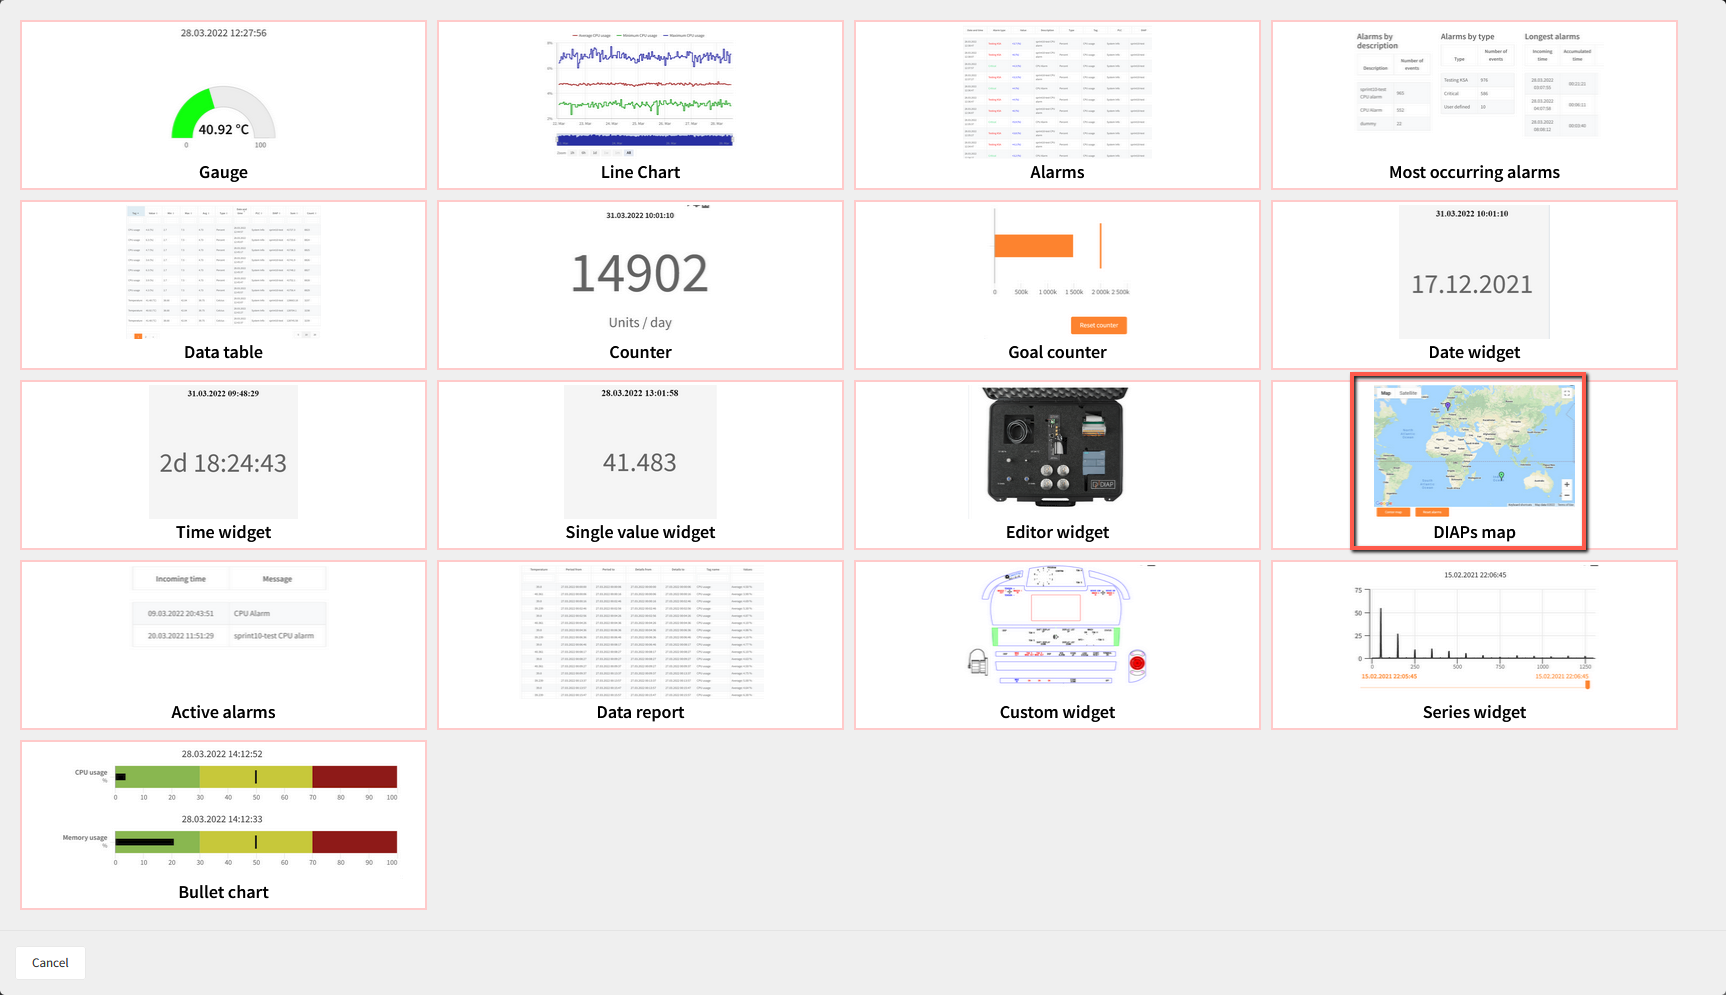
You will now see a pop-up where you need to define the data that you wish the DIAPs map to display.
Choose the DIAP which has to be included in the map.
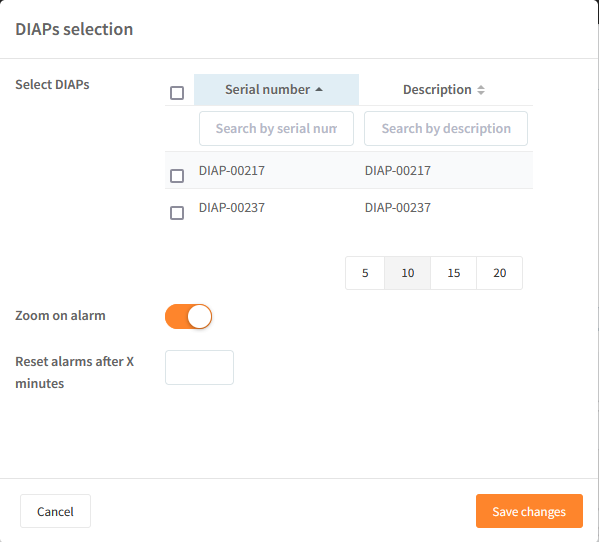
Press 'Save changes' when finished.
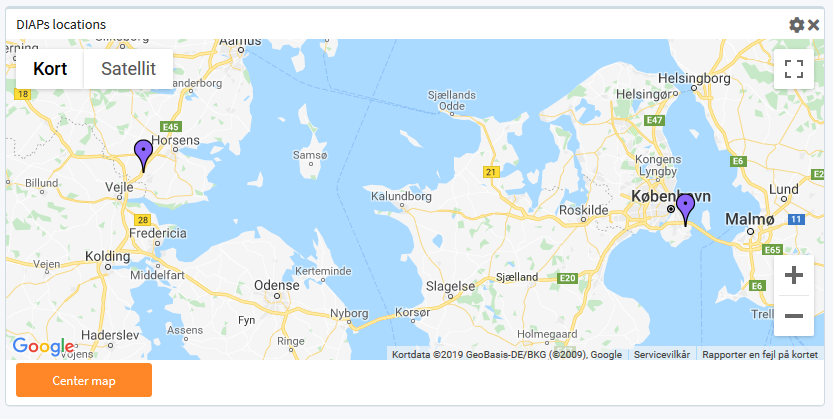
The map will now show the chosen DIAPs on the map.
Setting the location of a DIAP
Press the 'cogwheel'.
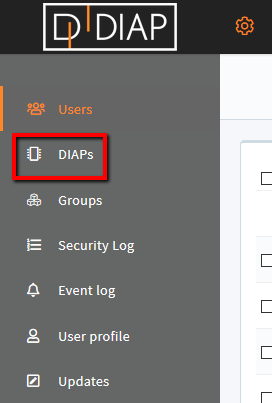
Press 'DIAPs' in the menu.
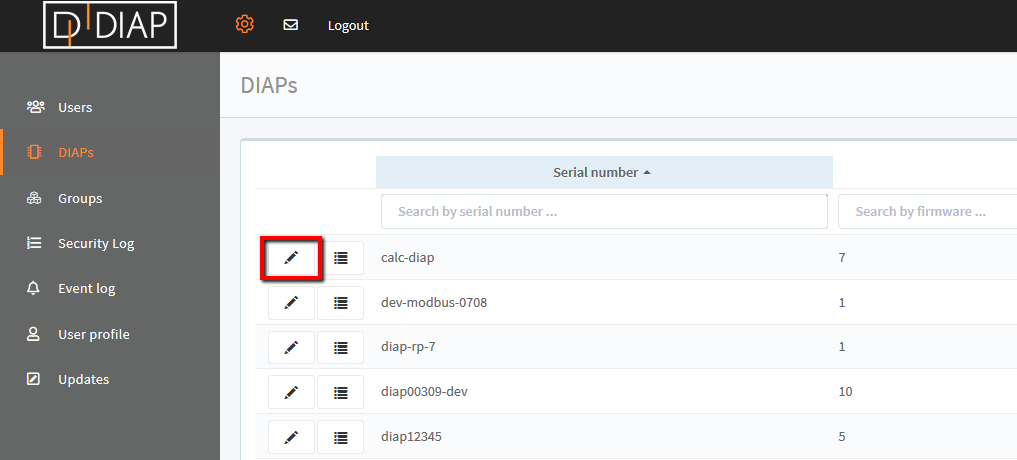
Find the correct DIAP and select the pencil.
A pop-up will occur.
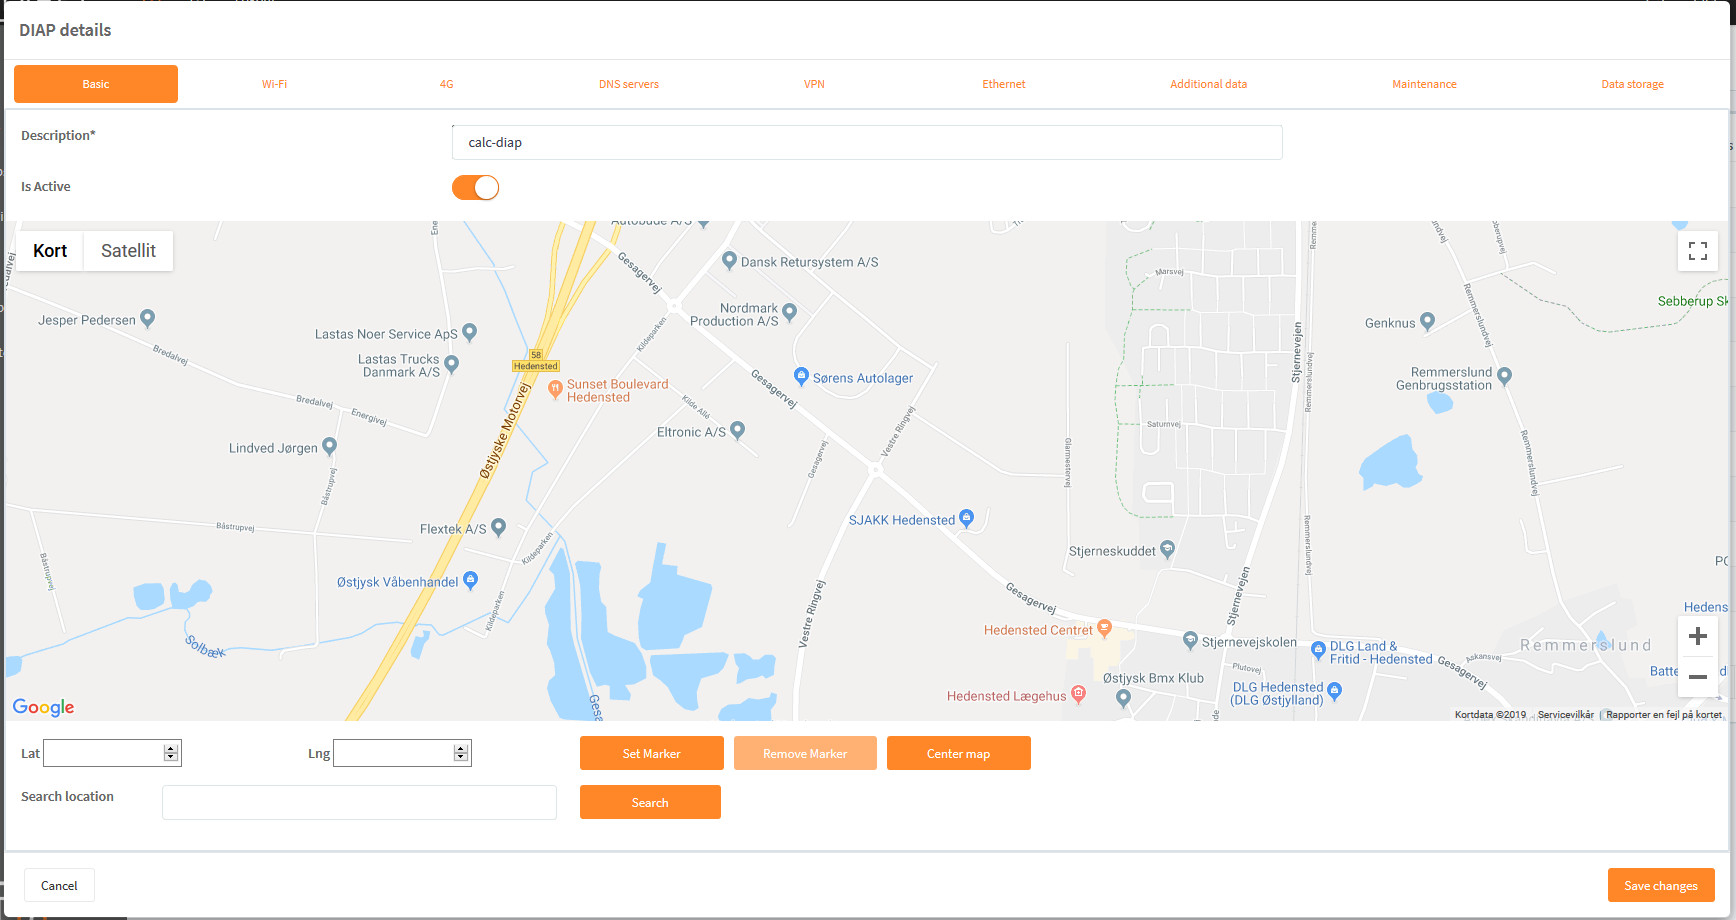
Find and select the correct position on the map and press 'Save changes'.
The position of the DIAP will now be able to be visualized in the Live application.