The 'Counter' widget is ideal for counting certain parts/products within a production or similar. It will be able to count Boolean values (value going from 0 to 1). The widget will then count the amount of times the sensor/tag has been 1.
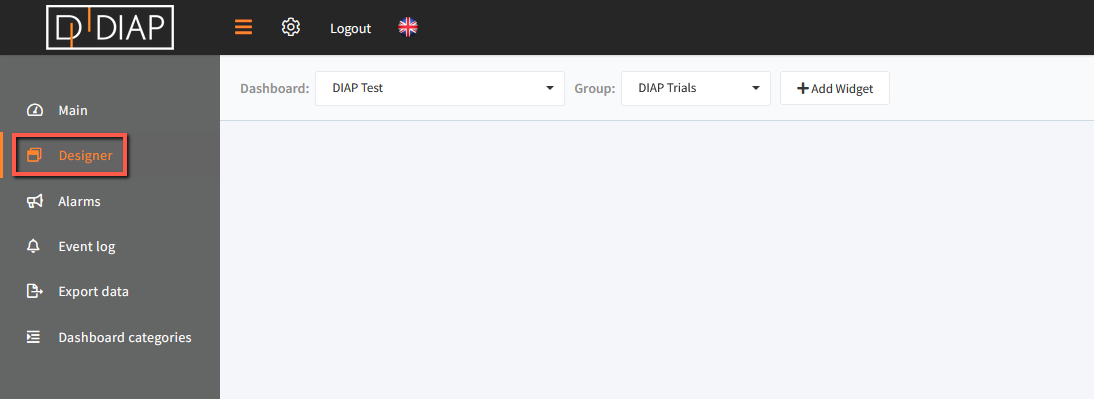
Go to the Real-time application and select Designer in the main menu.
 Click "+ Add Widget" and a popup window will open.
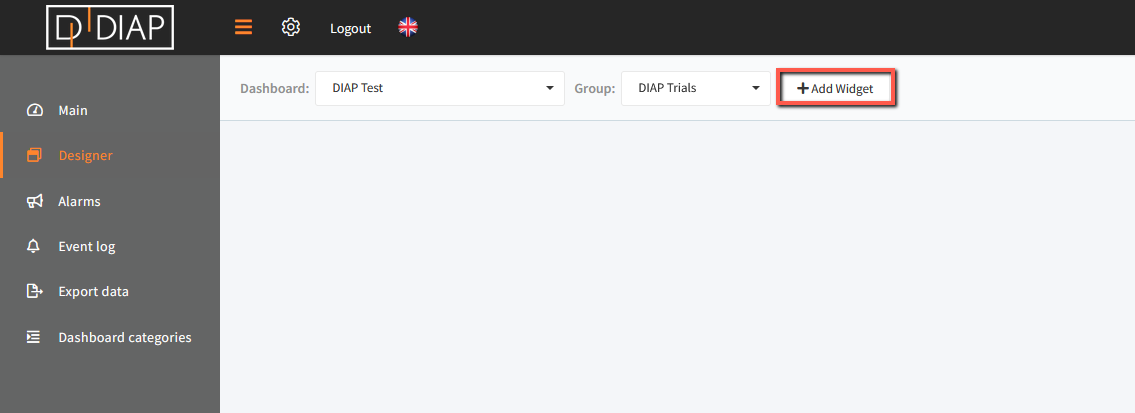 In the popup window you have to choose "Counter"
You will now see a pop-up where you need to define the data that you wish the counter to display.
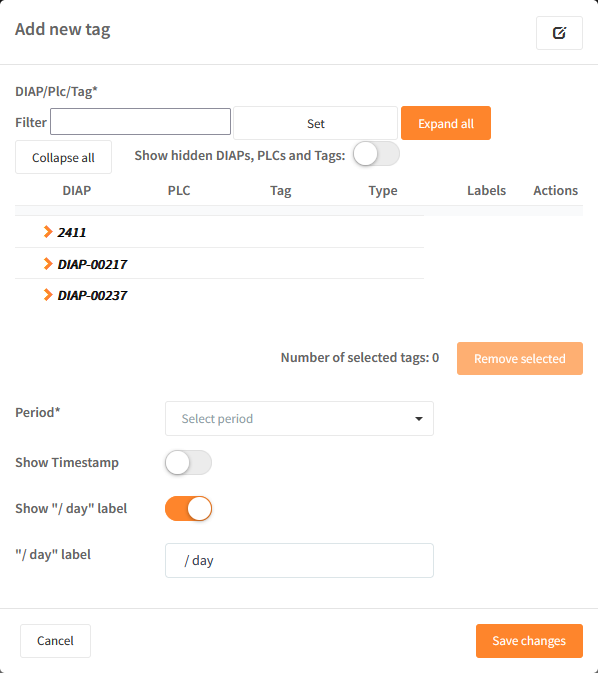
Fill in the information:
Data has to be selected to be added to be displayed in the graph. You can display multiple values in the same graph. Data selection can be found in the lower part of the popup window.

Field explanation
- Selection of data - expand the DIAP and select tag:
- DIAP: Select the DIAP that you wish to show data from.
- PLC: Choose PLC or sensor.
- Tag: Select the tag that you would like to visualize data from.
- Period: Select the period of time which should be visualized
-
- Today: Visualize for today.
- 30 days: Visualize for the last 30 days.
- 365 days: Visualize for the last 365 days.
- Show Timestamp: Will shows the timestamp from the last successful reading from the tag/sensor.
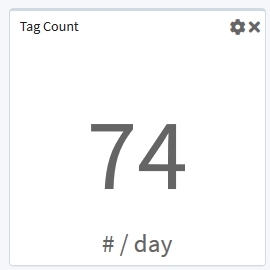
- Show "/ day" label: Determine if the count per day has to be shown on the widget.
- "/ day" label: Determine if it count per day, per hour or something else.
Press the 'Save changes' when finished.
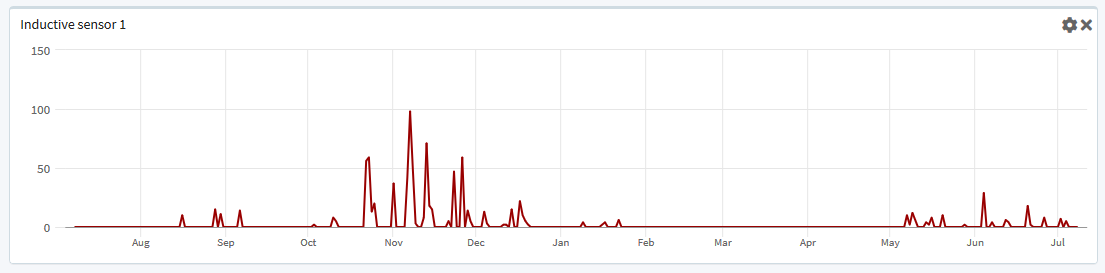
If period 'today' has been chosen, then the widget will look like the widget below.
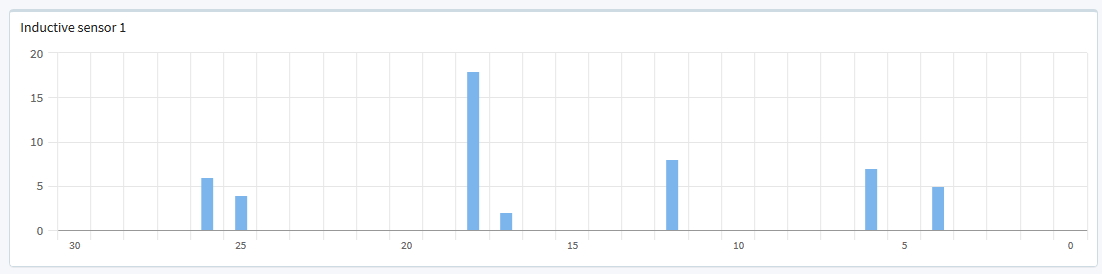
If period '30 days' has been chosen, then the widget will look like the widget below.
If period '365 days' has been chosen, then the widget will look like the widget below.