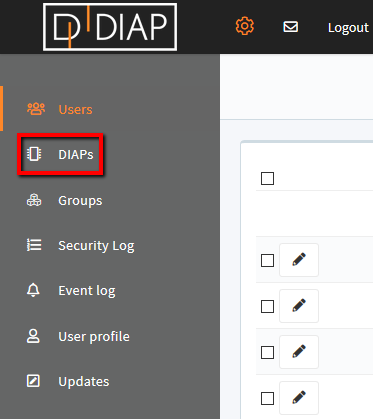
Click the 'Cogwheel' at the left side of the top menu.
Select 'DIAPs' in the menu.
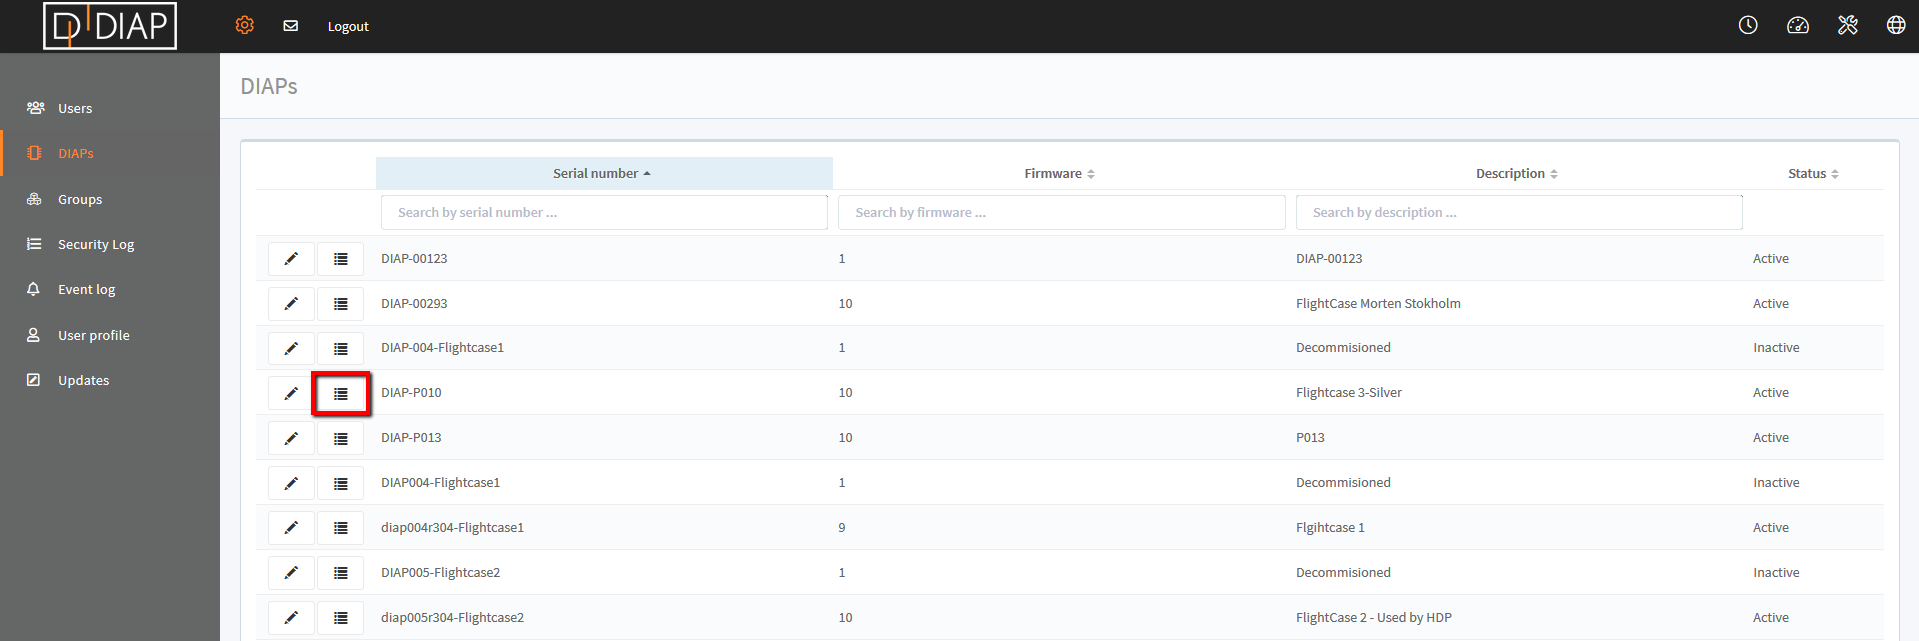
Find and select the DIAP for which you want to add/edit a PLC - click the icon 
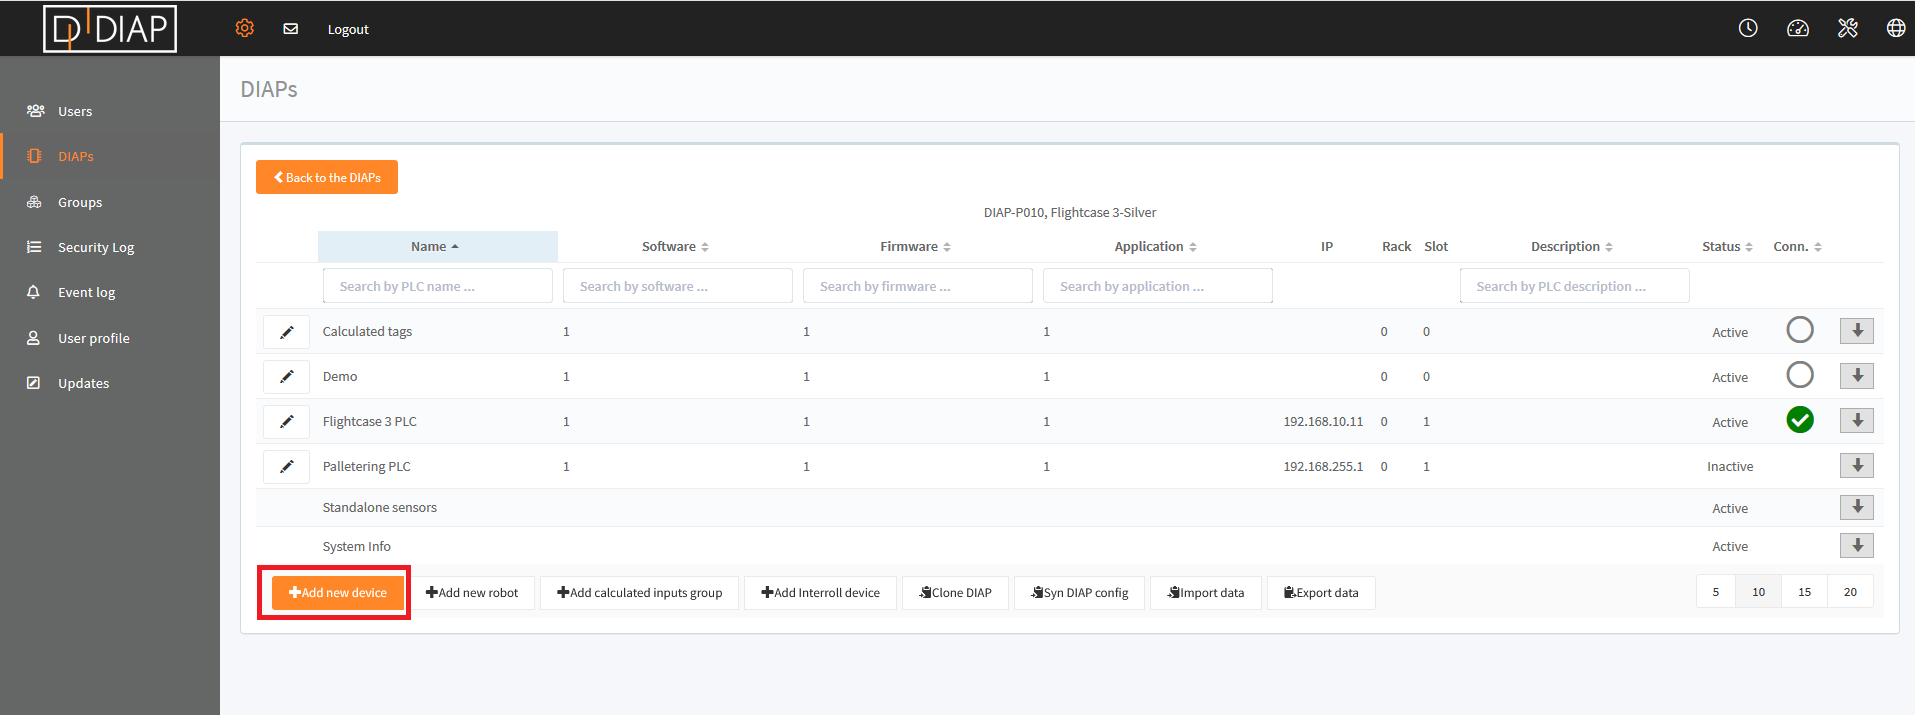
Select 'Add new device'. A pop-up will appear on the screen.
Fill in the required information.
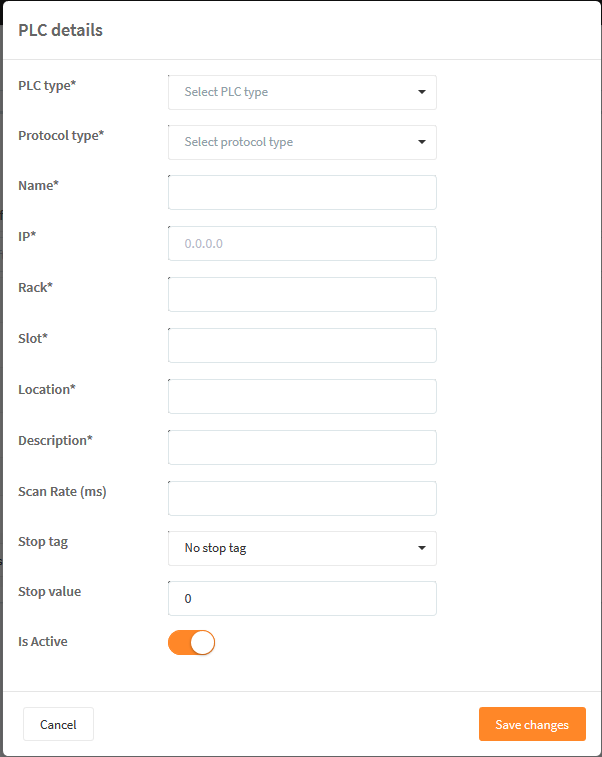
Field explanation (fields may vary depending on the type of PLC selected)
- PLC type: Choose PLC type/brand. If the correct PLC is not listed, select 'PLC'.
- Protocol type: Choose the communication protocol used to communicate with the PLC.
- Name: Enter a name of the PLC. You can enter any text in this field.
- IP: Enter the IP address of the PLC.
- Rack: Enter the rack used on the PLC? (Rack is e.g. used for Siemens PLCs, but not for all PLCs. If not use, you can enter any number in this field.
- Slot: Enter the PLC slot used. (Slot is e.g. used for Siemens PLCs, but not for all PLCs. If not used, you can enter any number in this field.
- Location: Enter a location for the PLC. You can enter any text in this field.
- Description: Enter a description of the PLC. You can enter any text in this field.
- Scan Rate (ms): The number entered here is used as a default value when creating tags. Scan Rate determines how often data is collected.
- Stop tag: Stop tag is used to stop collecting data when the tag equals a certain value.
- Stop value: Set the value to determine when the PLC is to stop collecting data.
- Is Active: Set the toggle to Enabled if the PLC is active. Set it as inactive if the PLC is no longer active.
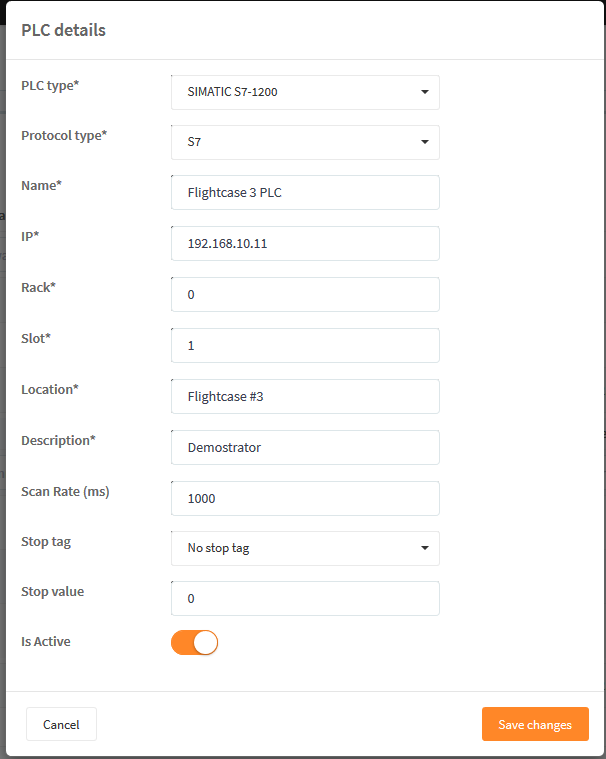
Example of a PLC configuration:
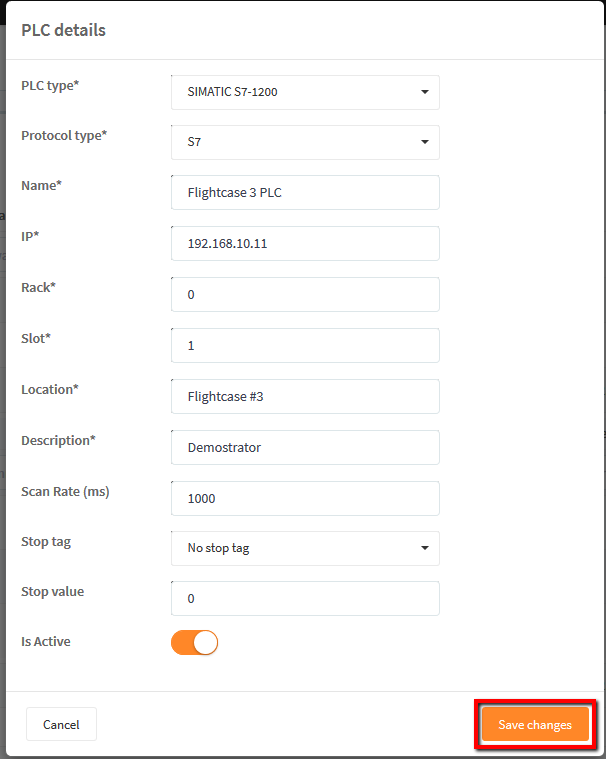
Remember to Save changes when finished.
The PLC will appear in the list under the DIAP in question.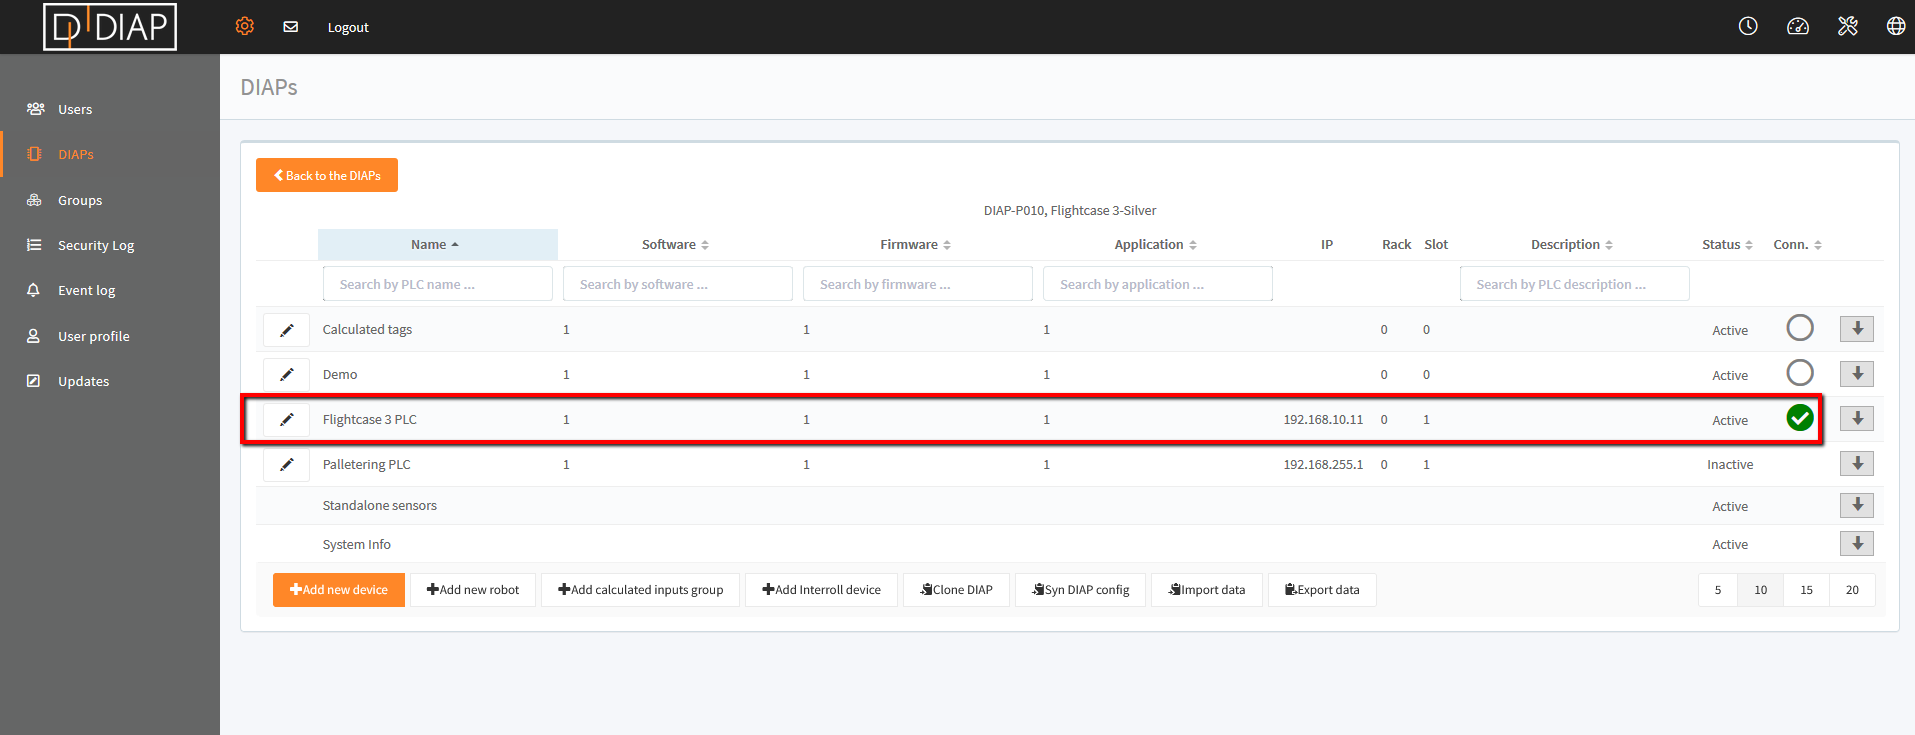
To be able to communicate with the PLC, the DIAP must be on the same subnet. Please do as follows:
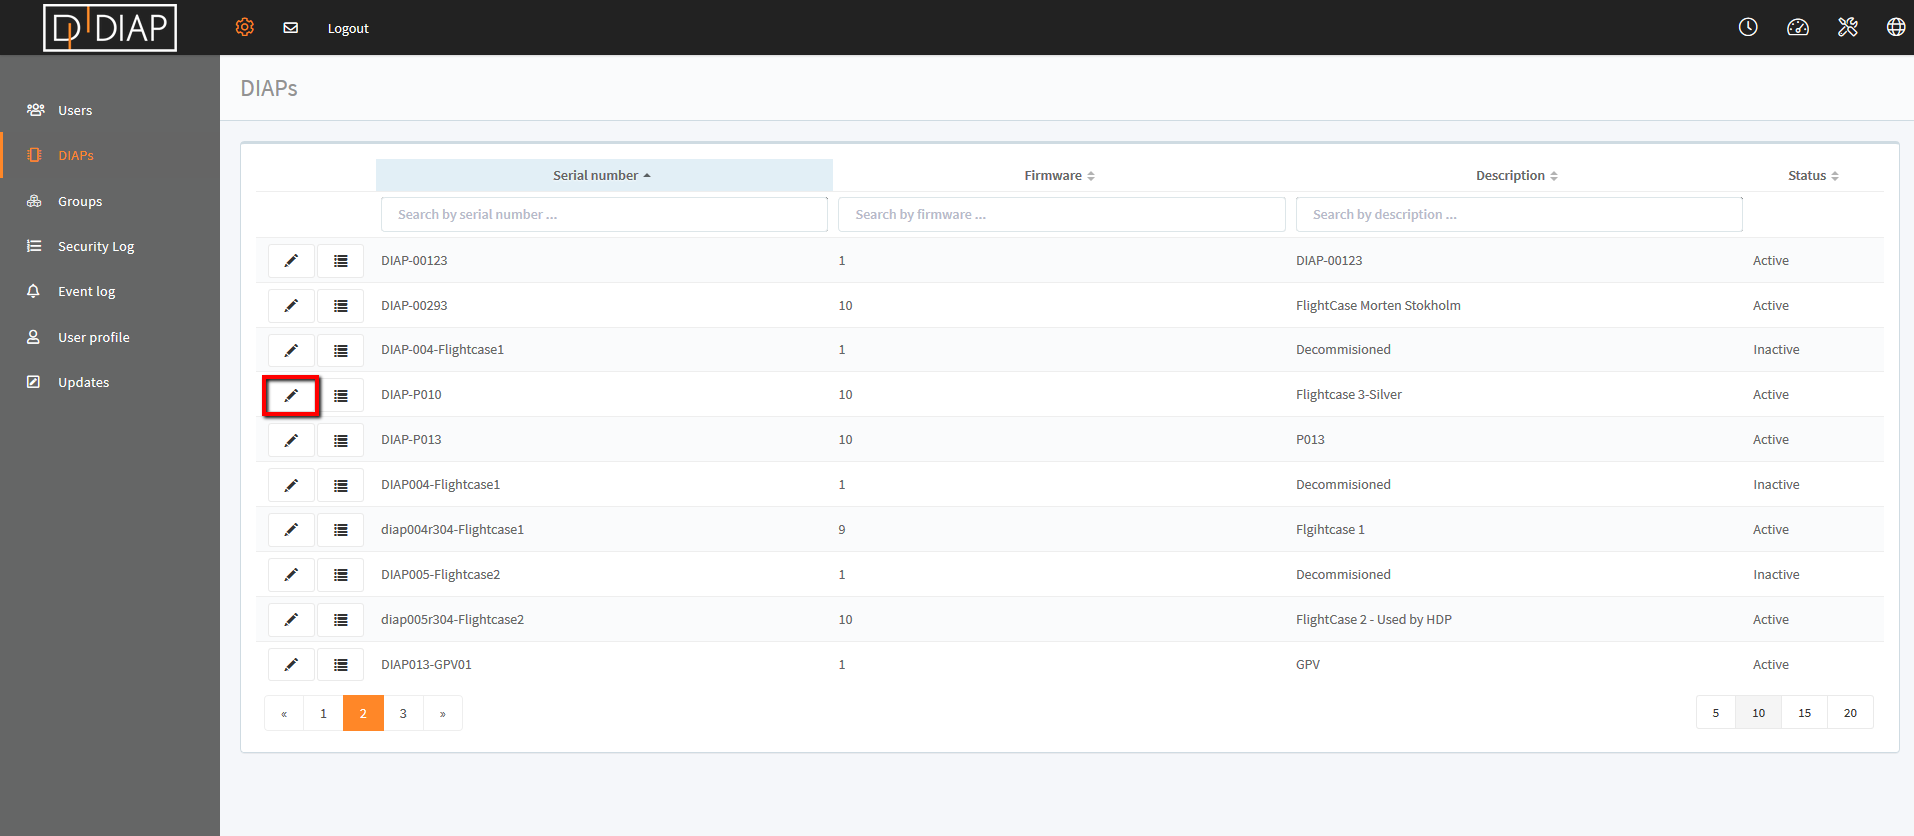
Select 'DIAPs' in the menu, and choose the pen to edit the DIAP with the newly configured PLC.
A pop-up will appear.
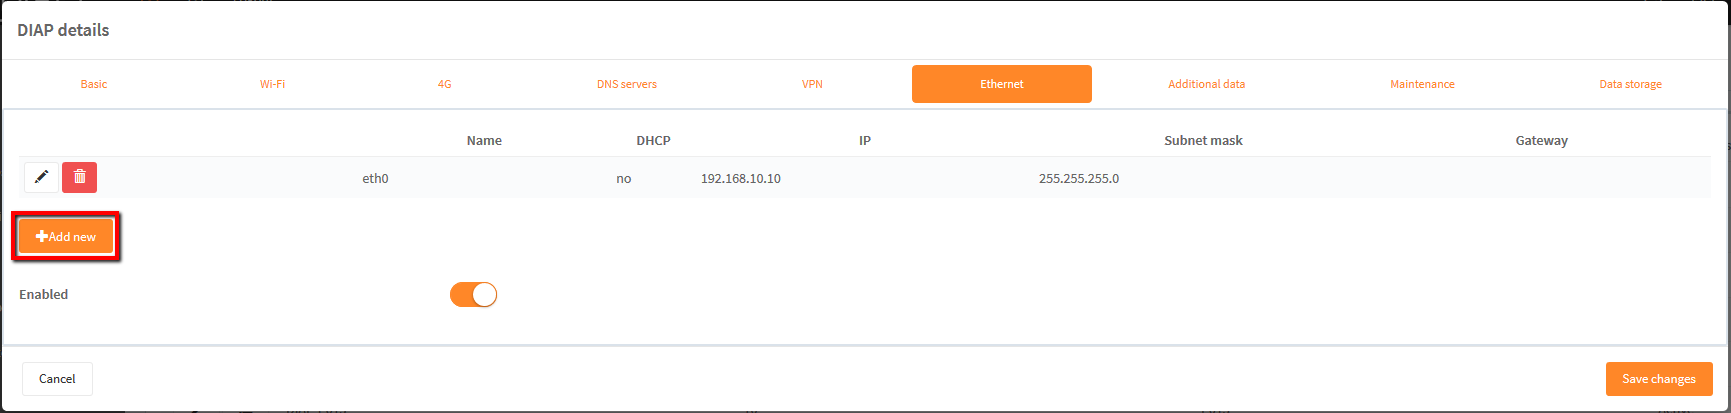
Choose 'Ethernet' in the top menu.

Select 'Add new'.
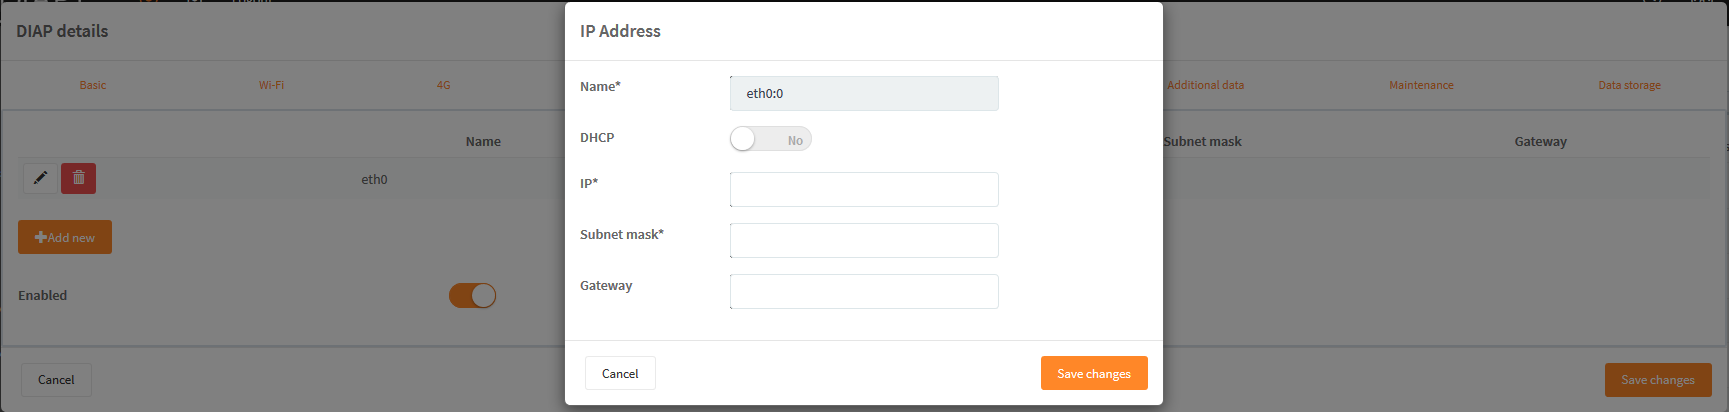
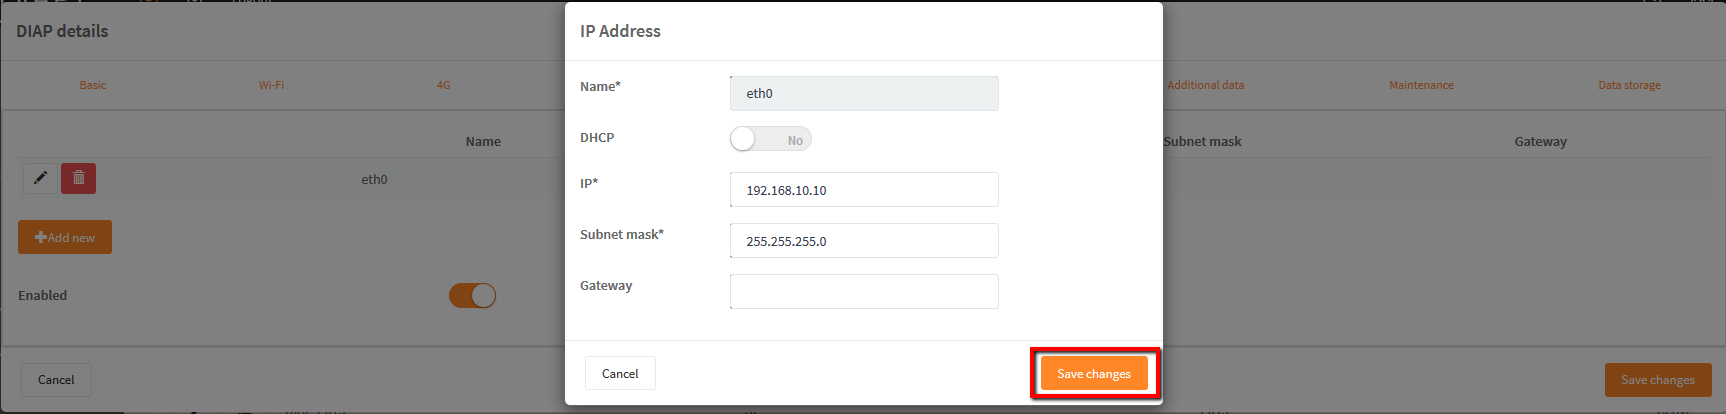
A new pop-up will appear. Fill in the required information.
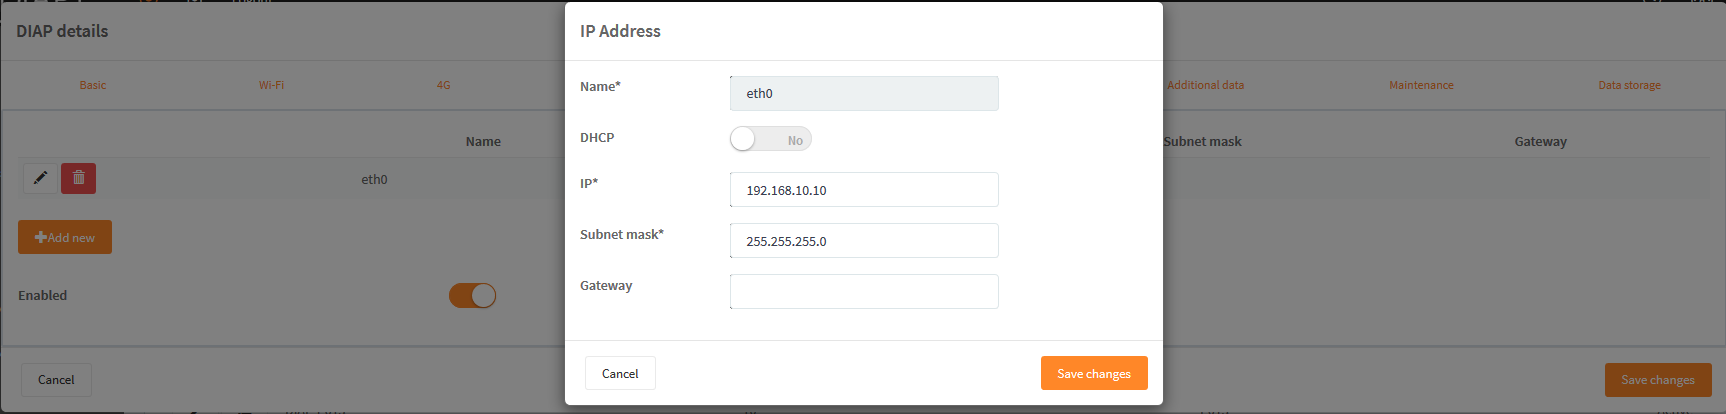
Enter IP and subnet mask.
Please see example:
Remember to Save changes on both pop-ups when finished.
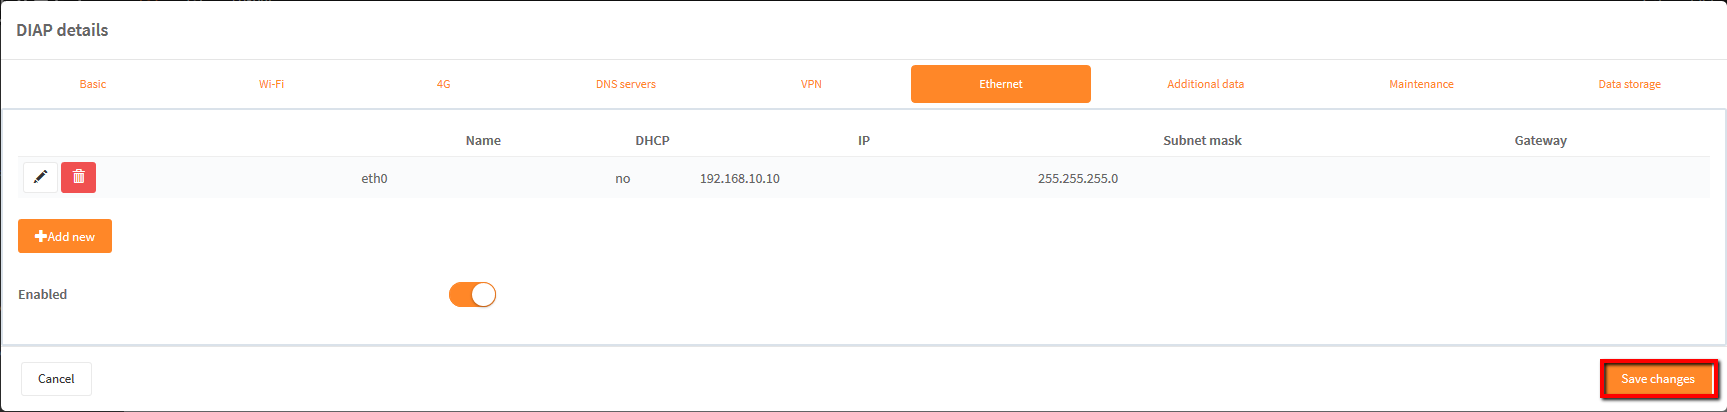
You are now ready to collect data from your PLC.
** If you cannot access data from the PLC, then please take look at: Configuring DIAP to reach PLCs